How It Works
Step 1: Order Your Impression Kit or Piece It Together on Your Own
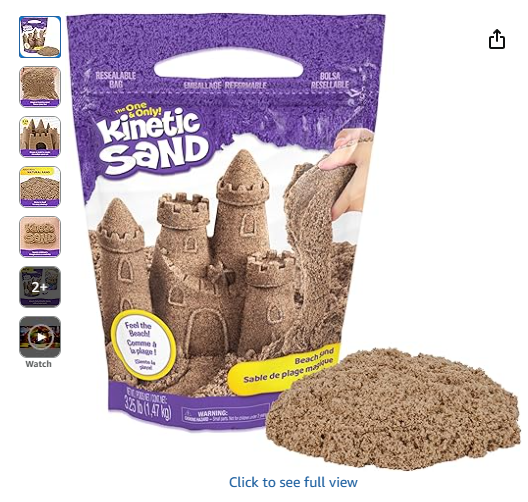
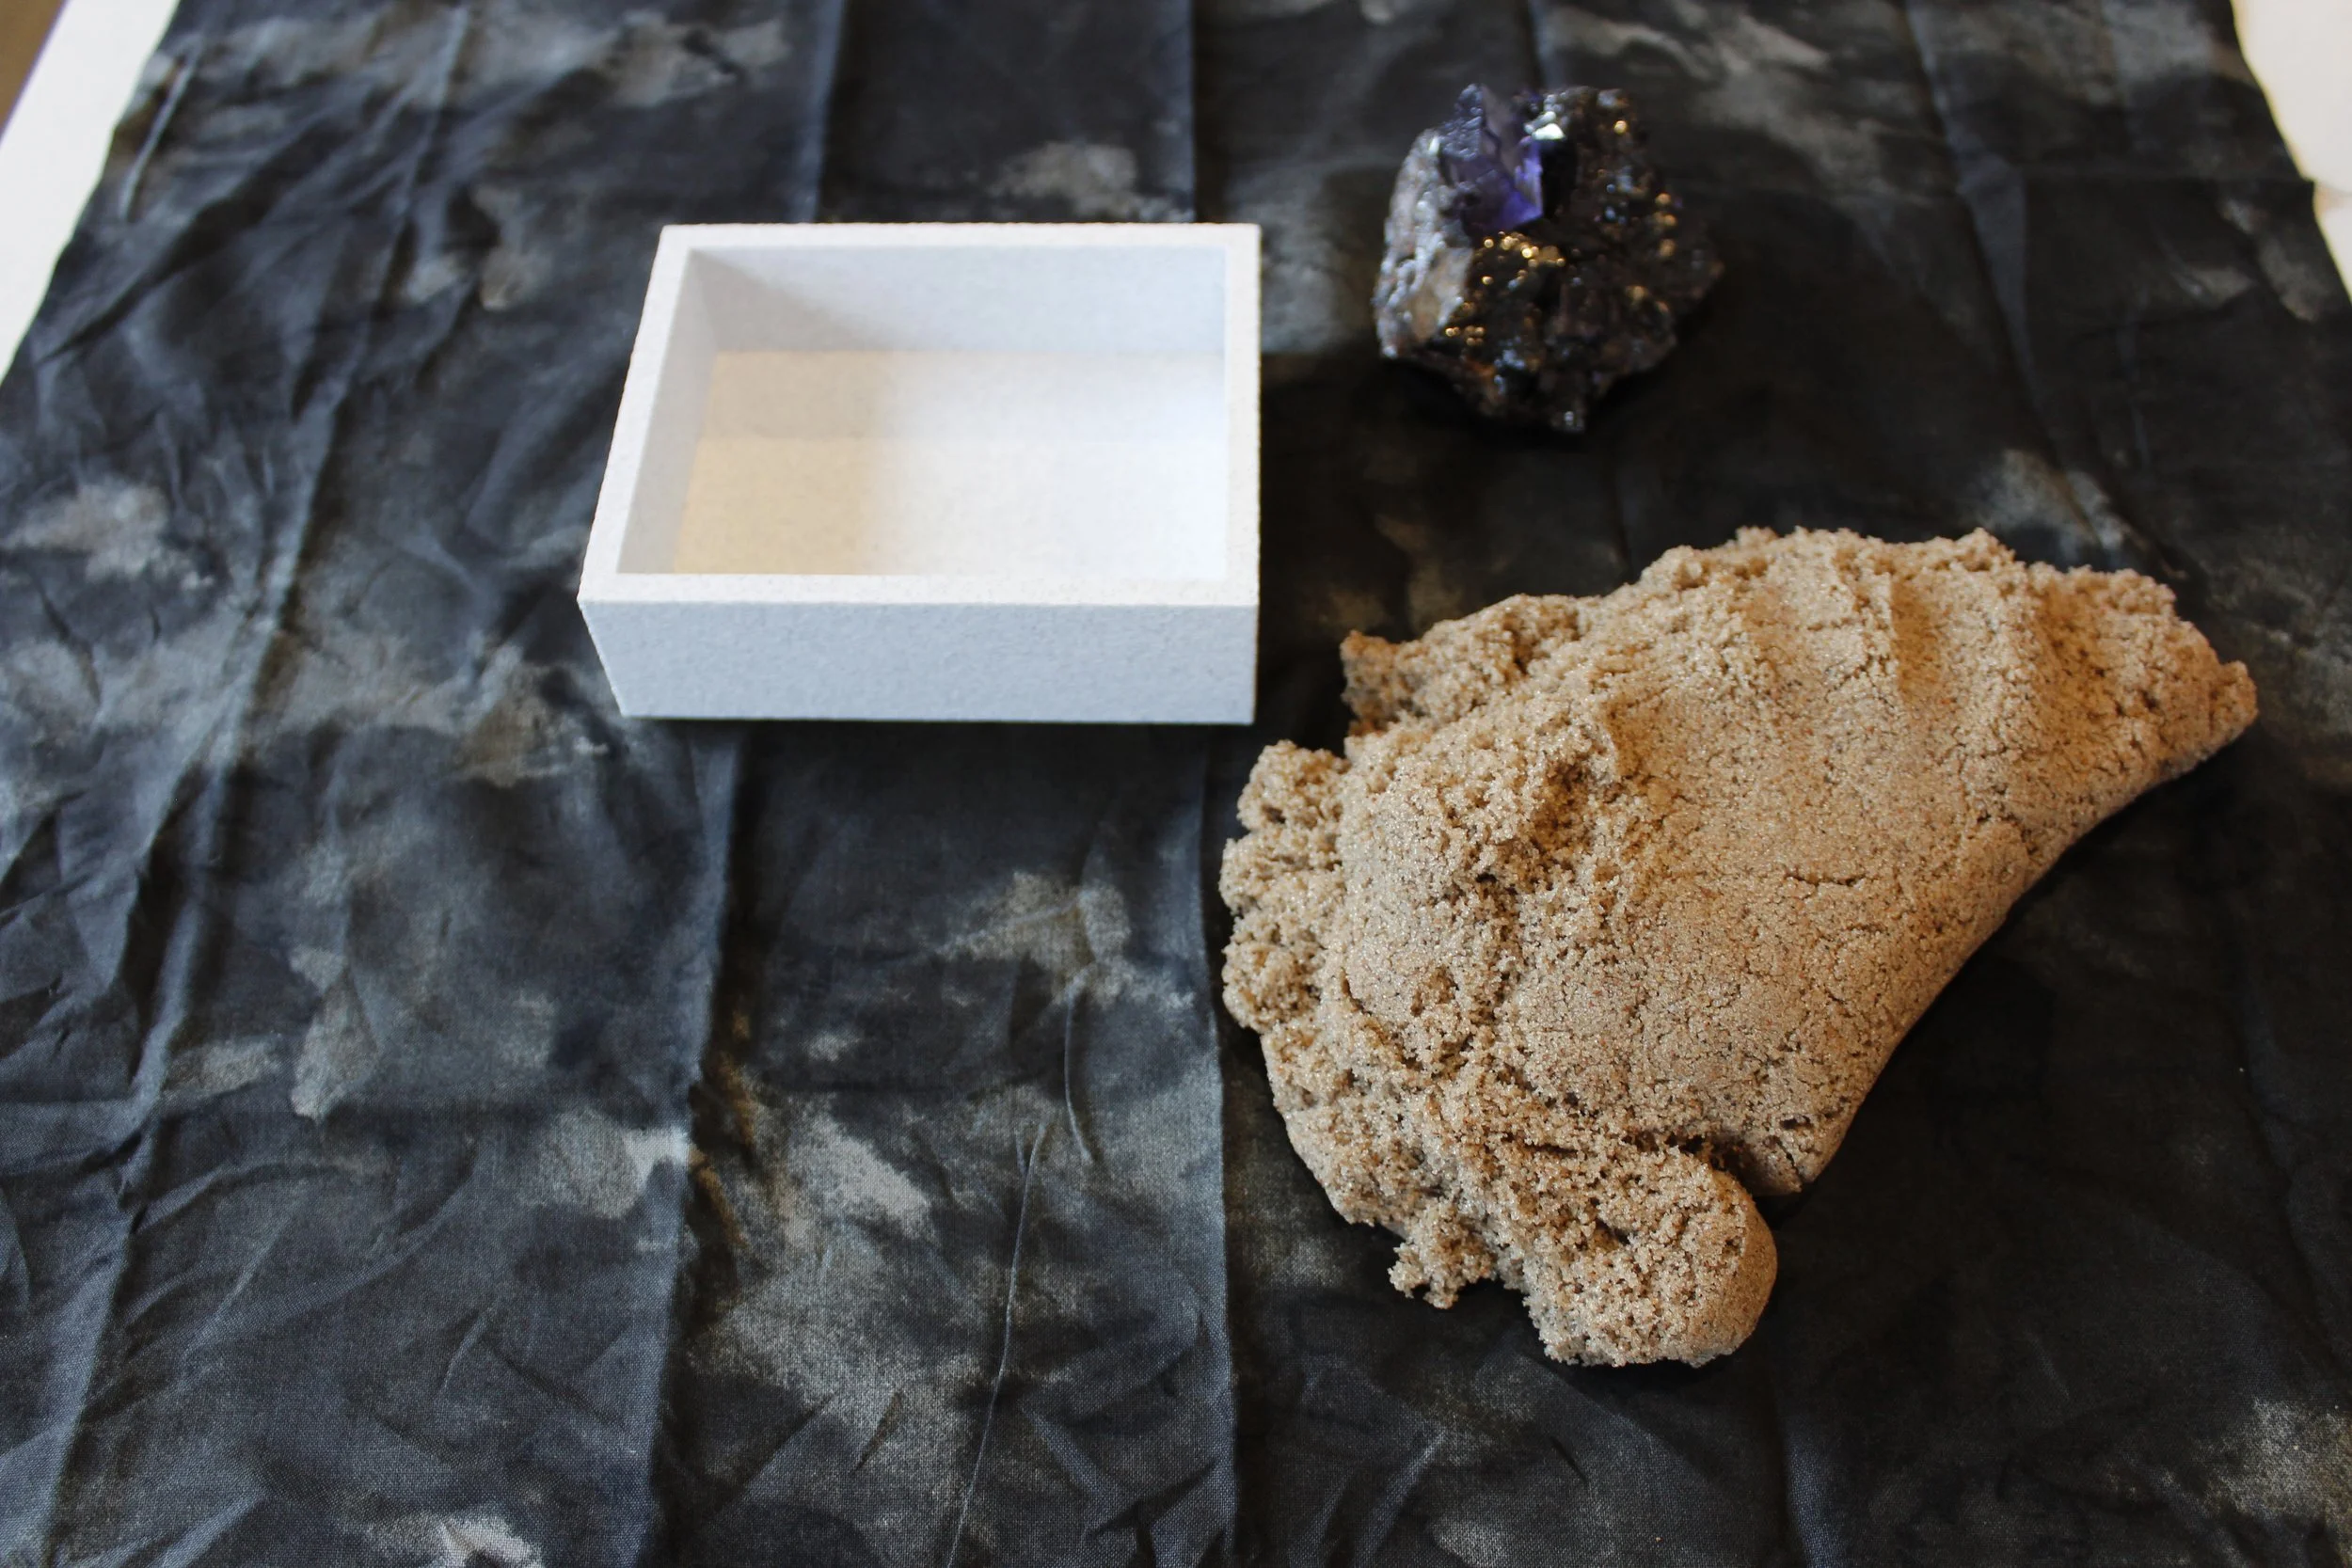
Use our shop to order a pre-made impression mold kit. It will include everything you need to make the impression mold of your specimen. Alternatively, you can assemble your own kit: you’ll need Kinetic Sand (we recommend the beach-sand color), plus a bin to hold the sand (avoid transparent or glossy containers—solid white, gray, patterned bins, or even Lego blocks will work).


Step 2: Prepare the Impression Mold
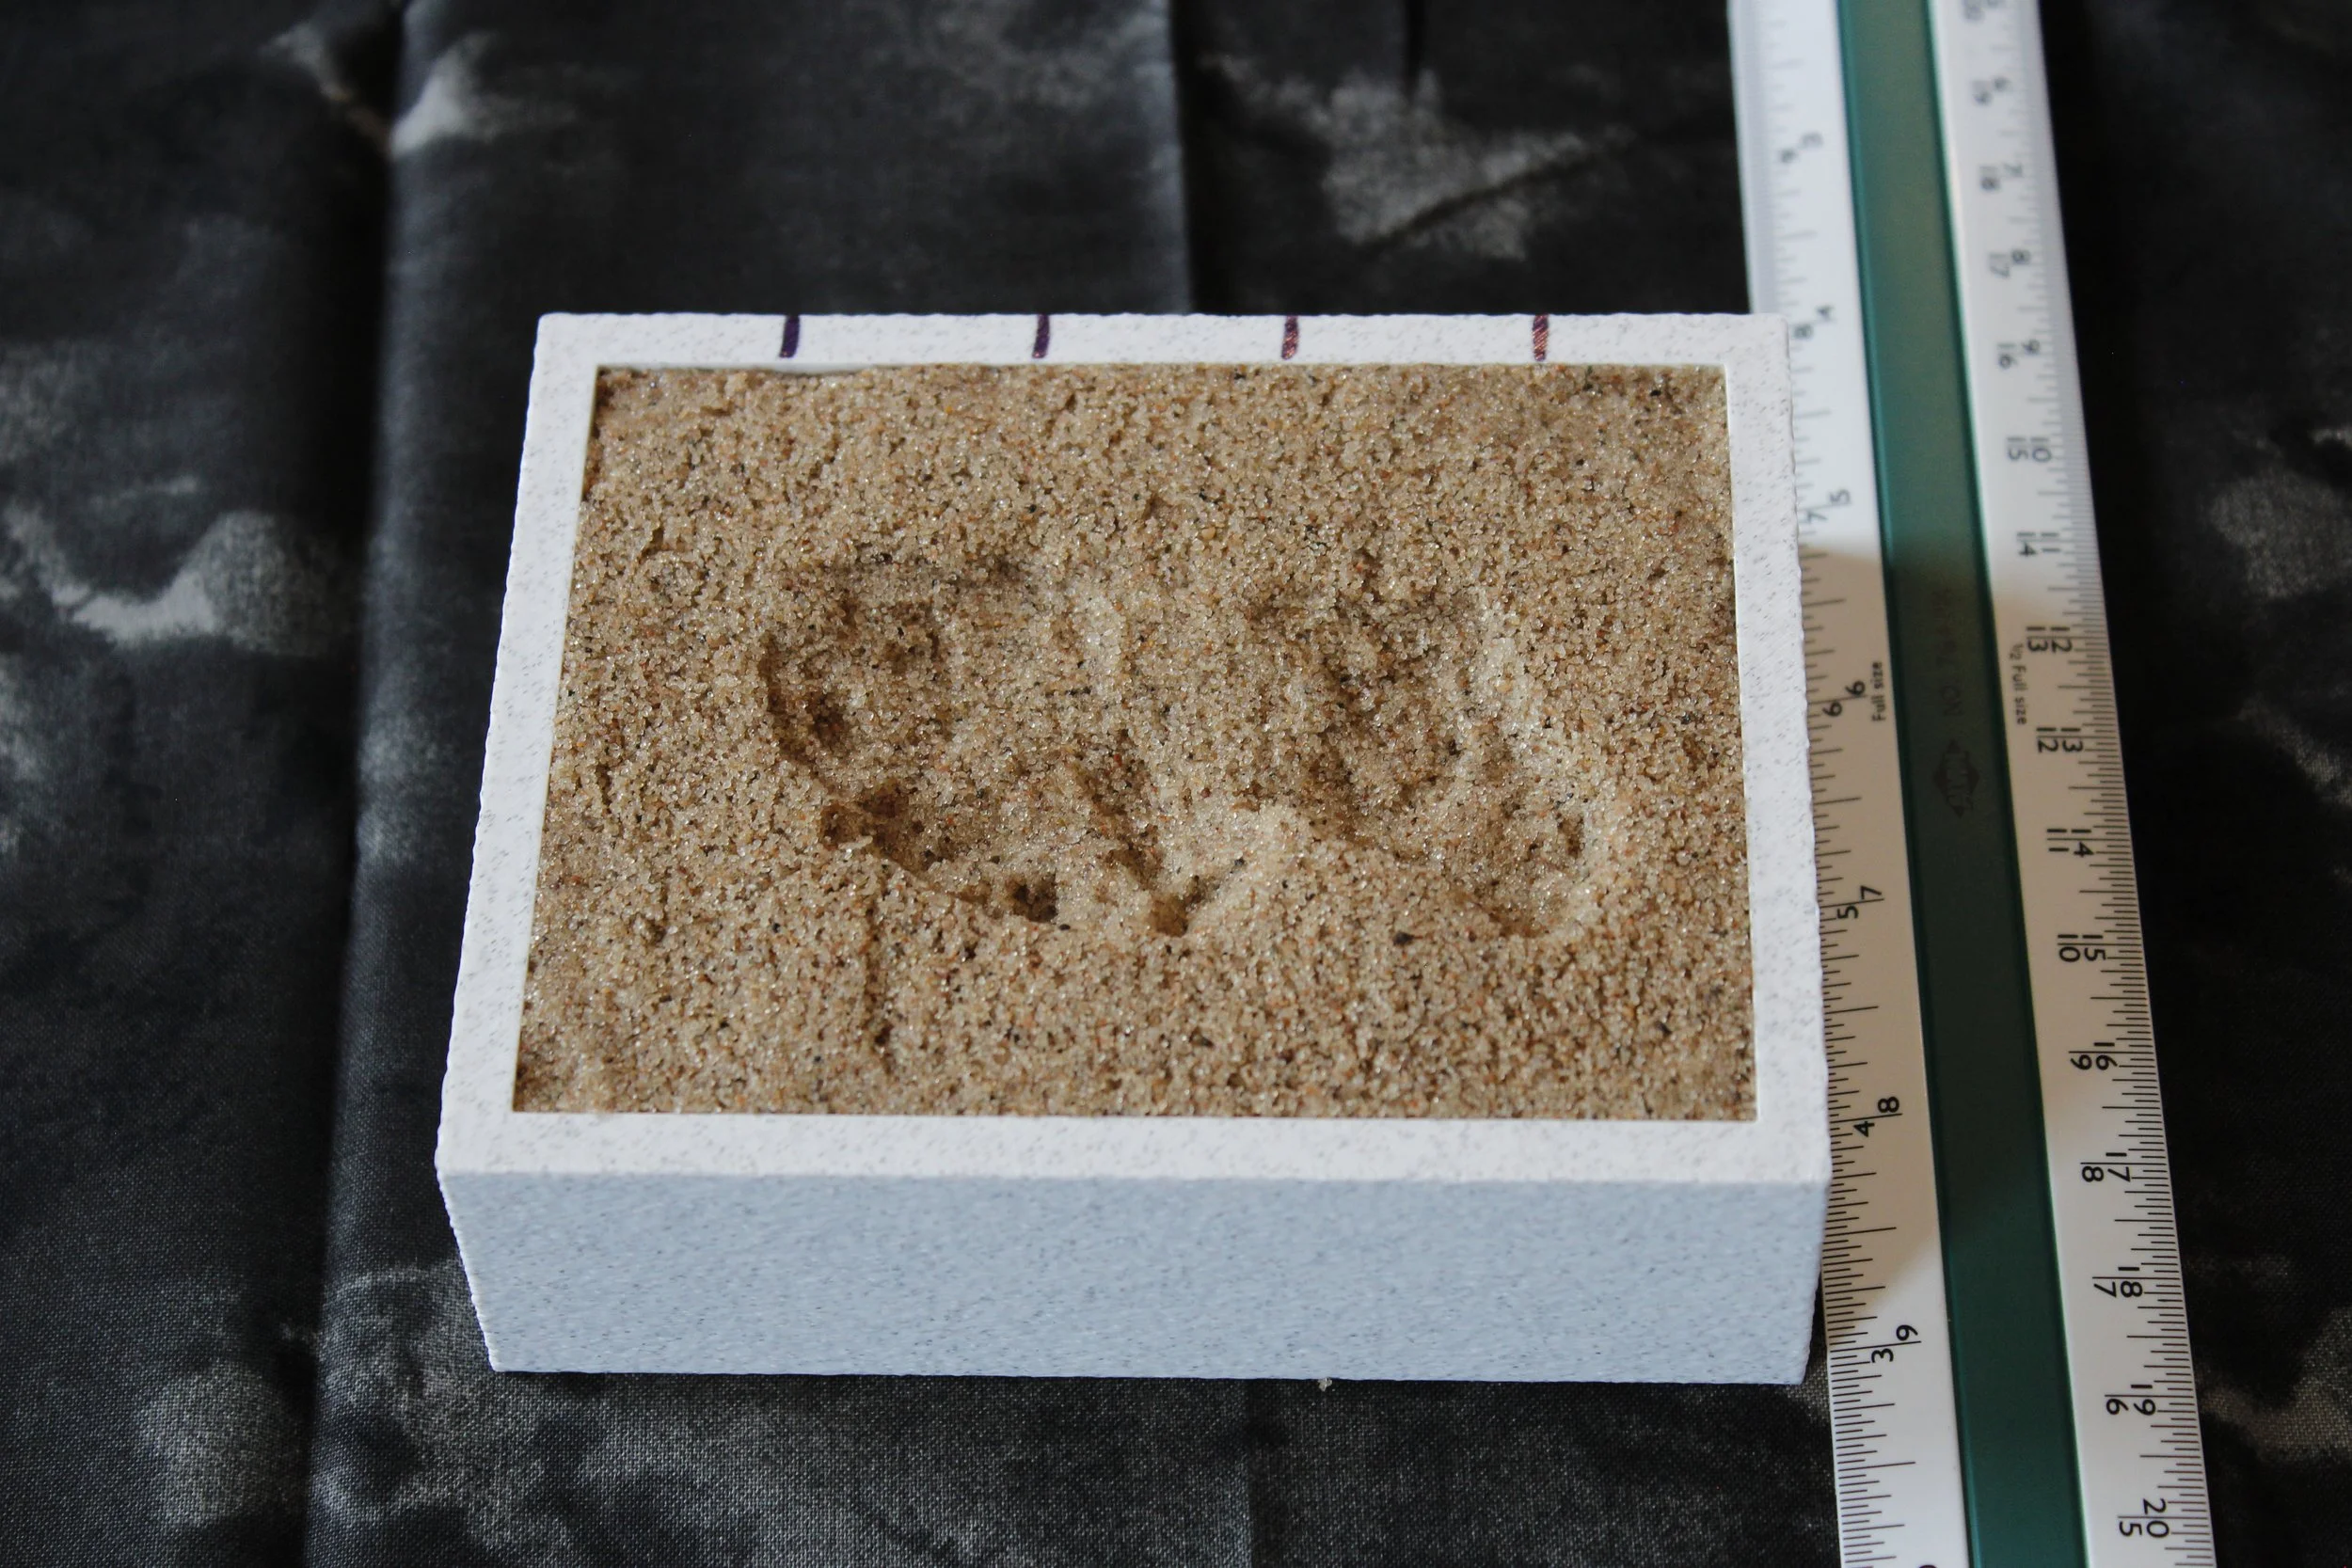
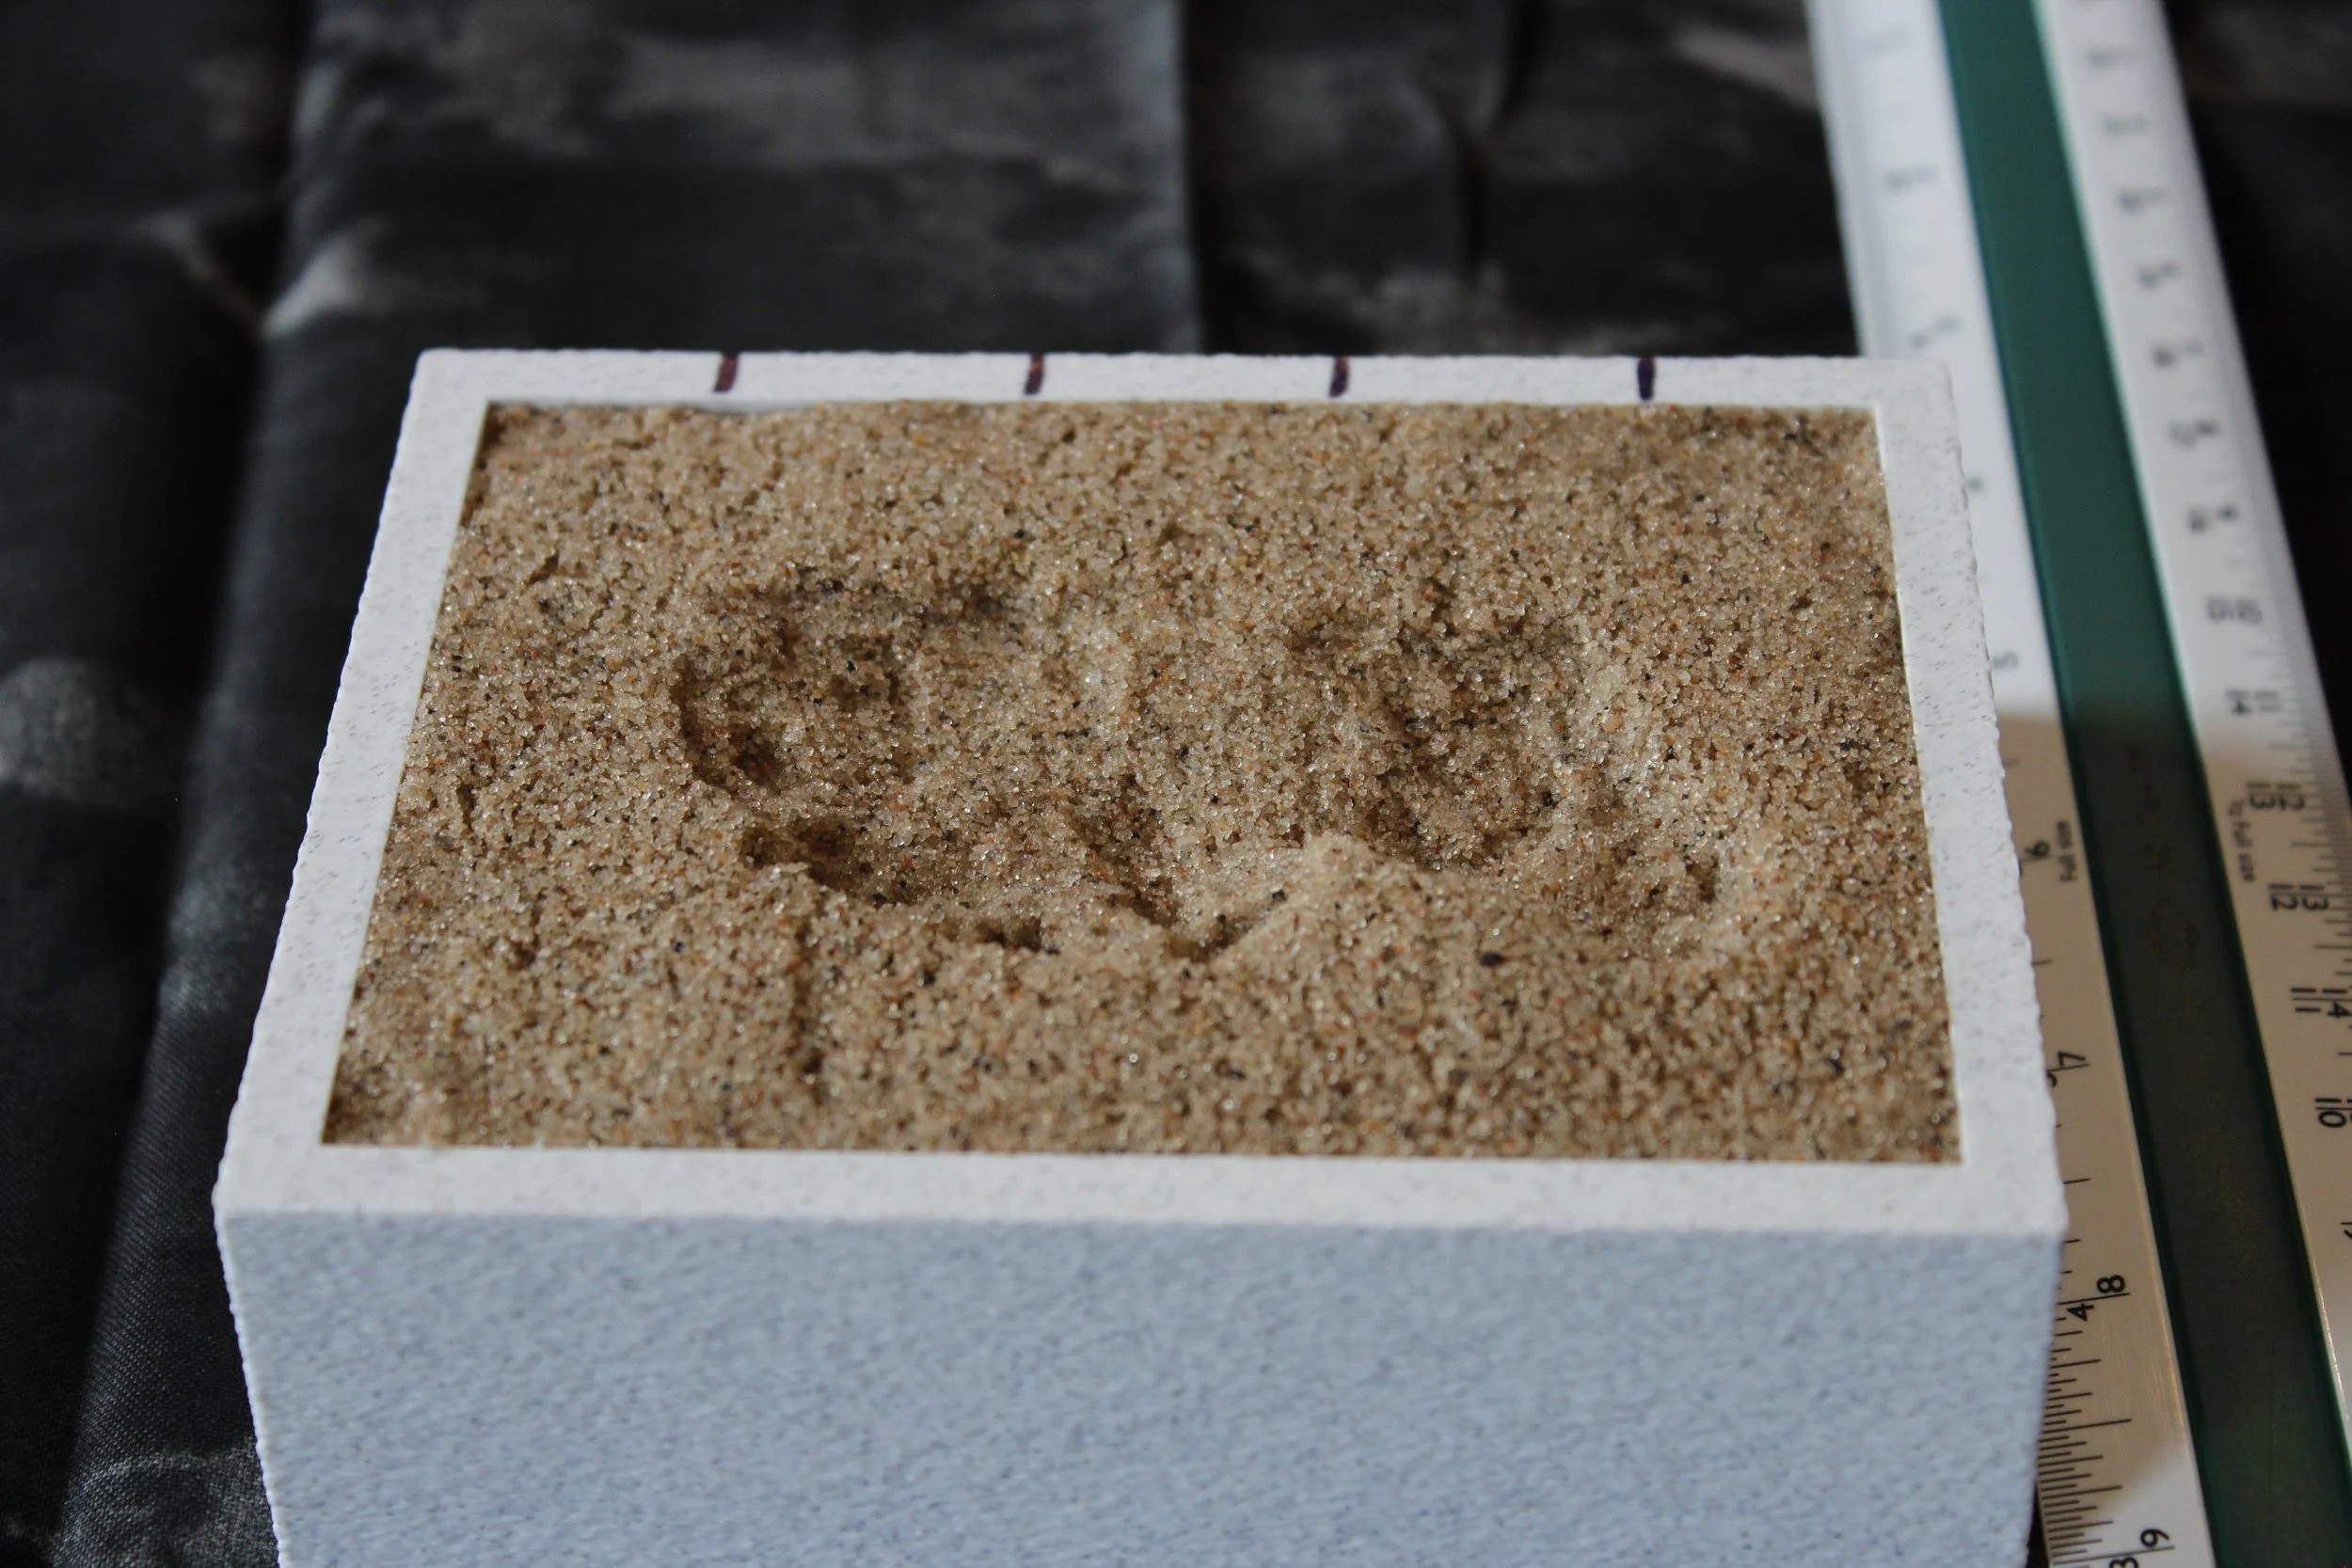
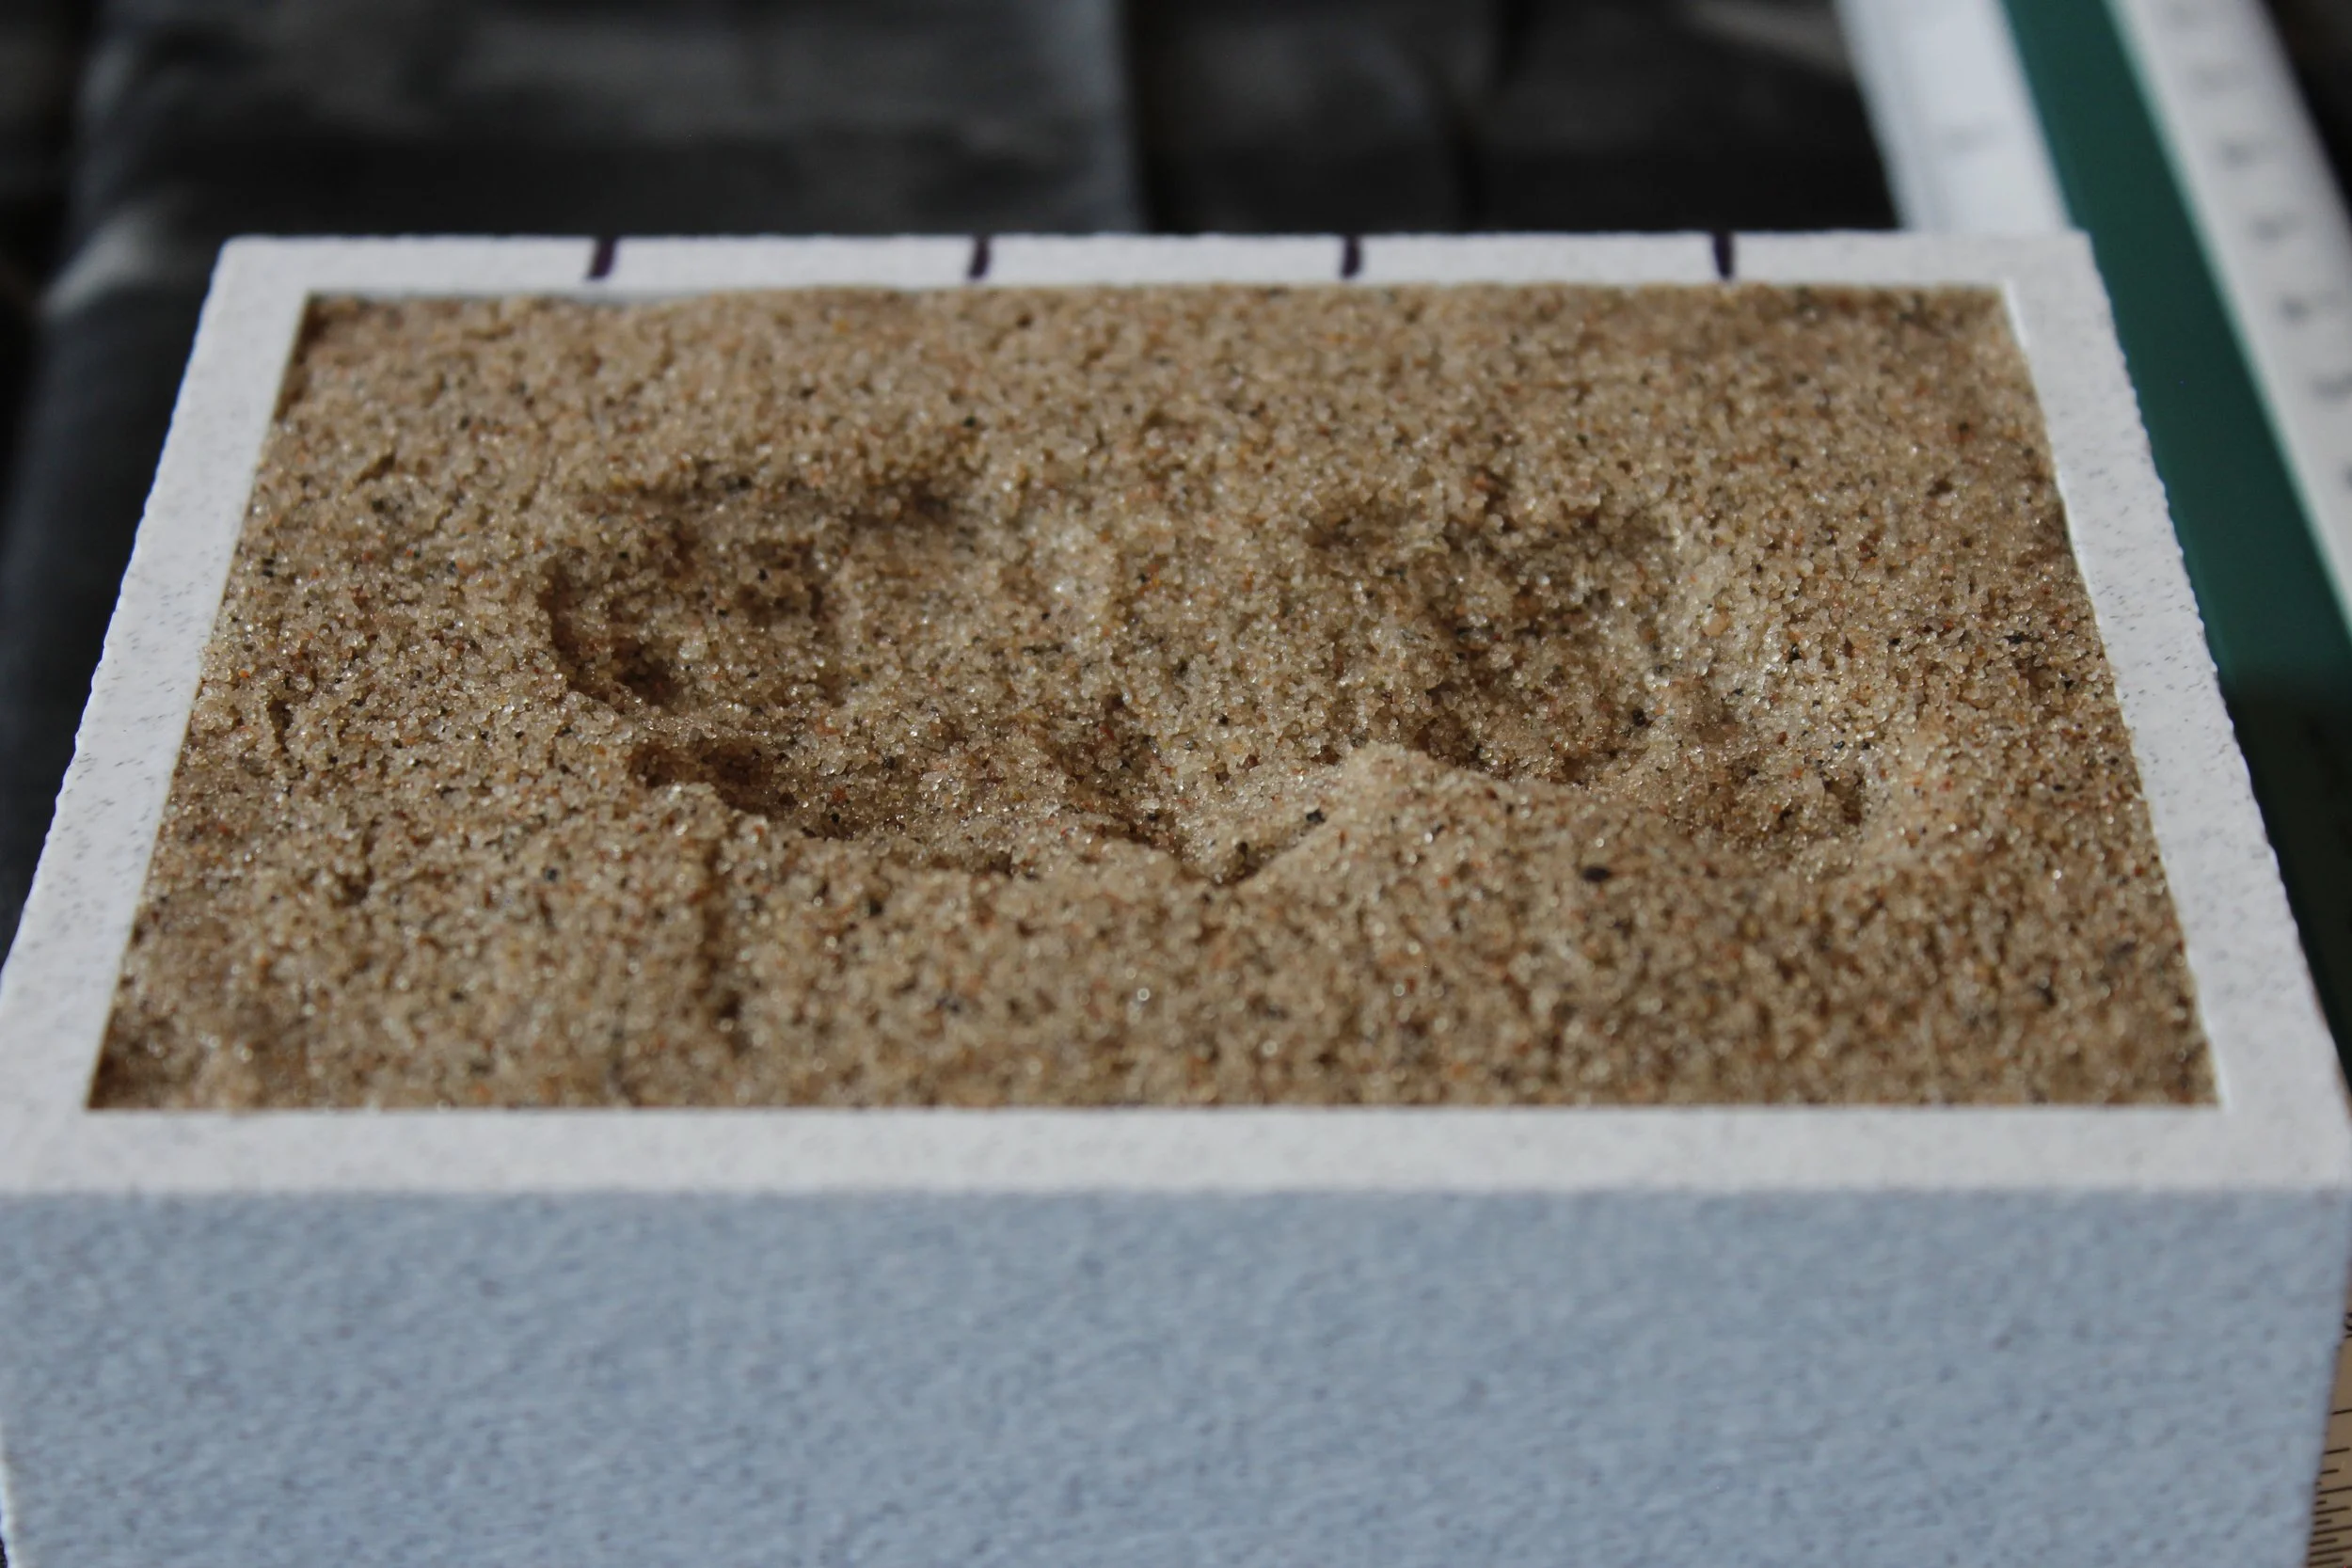
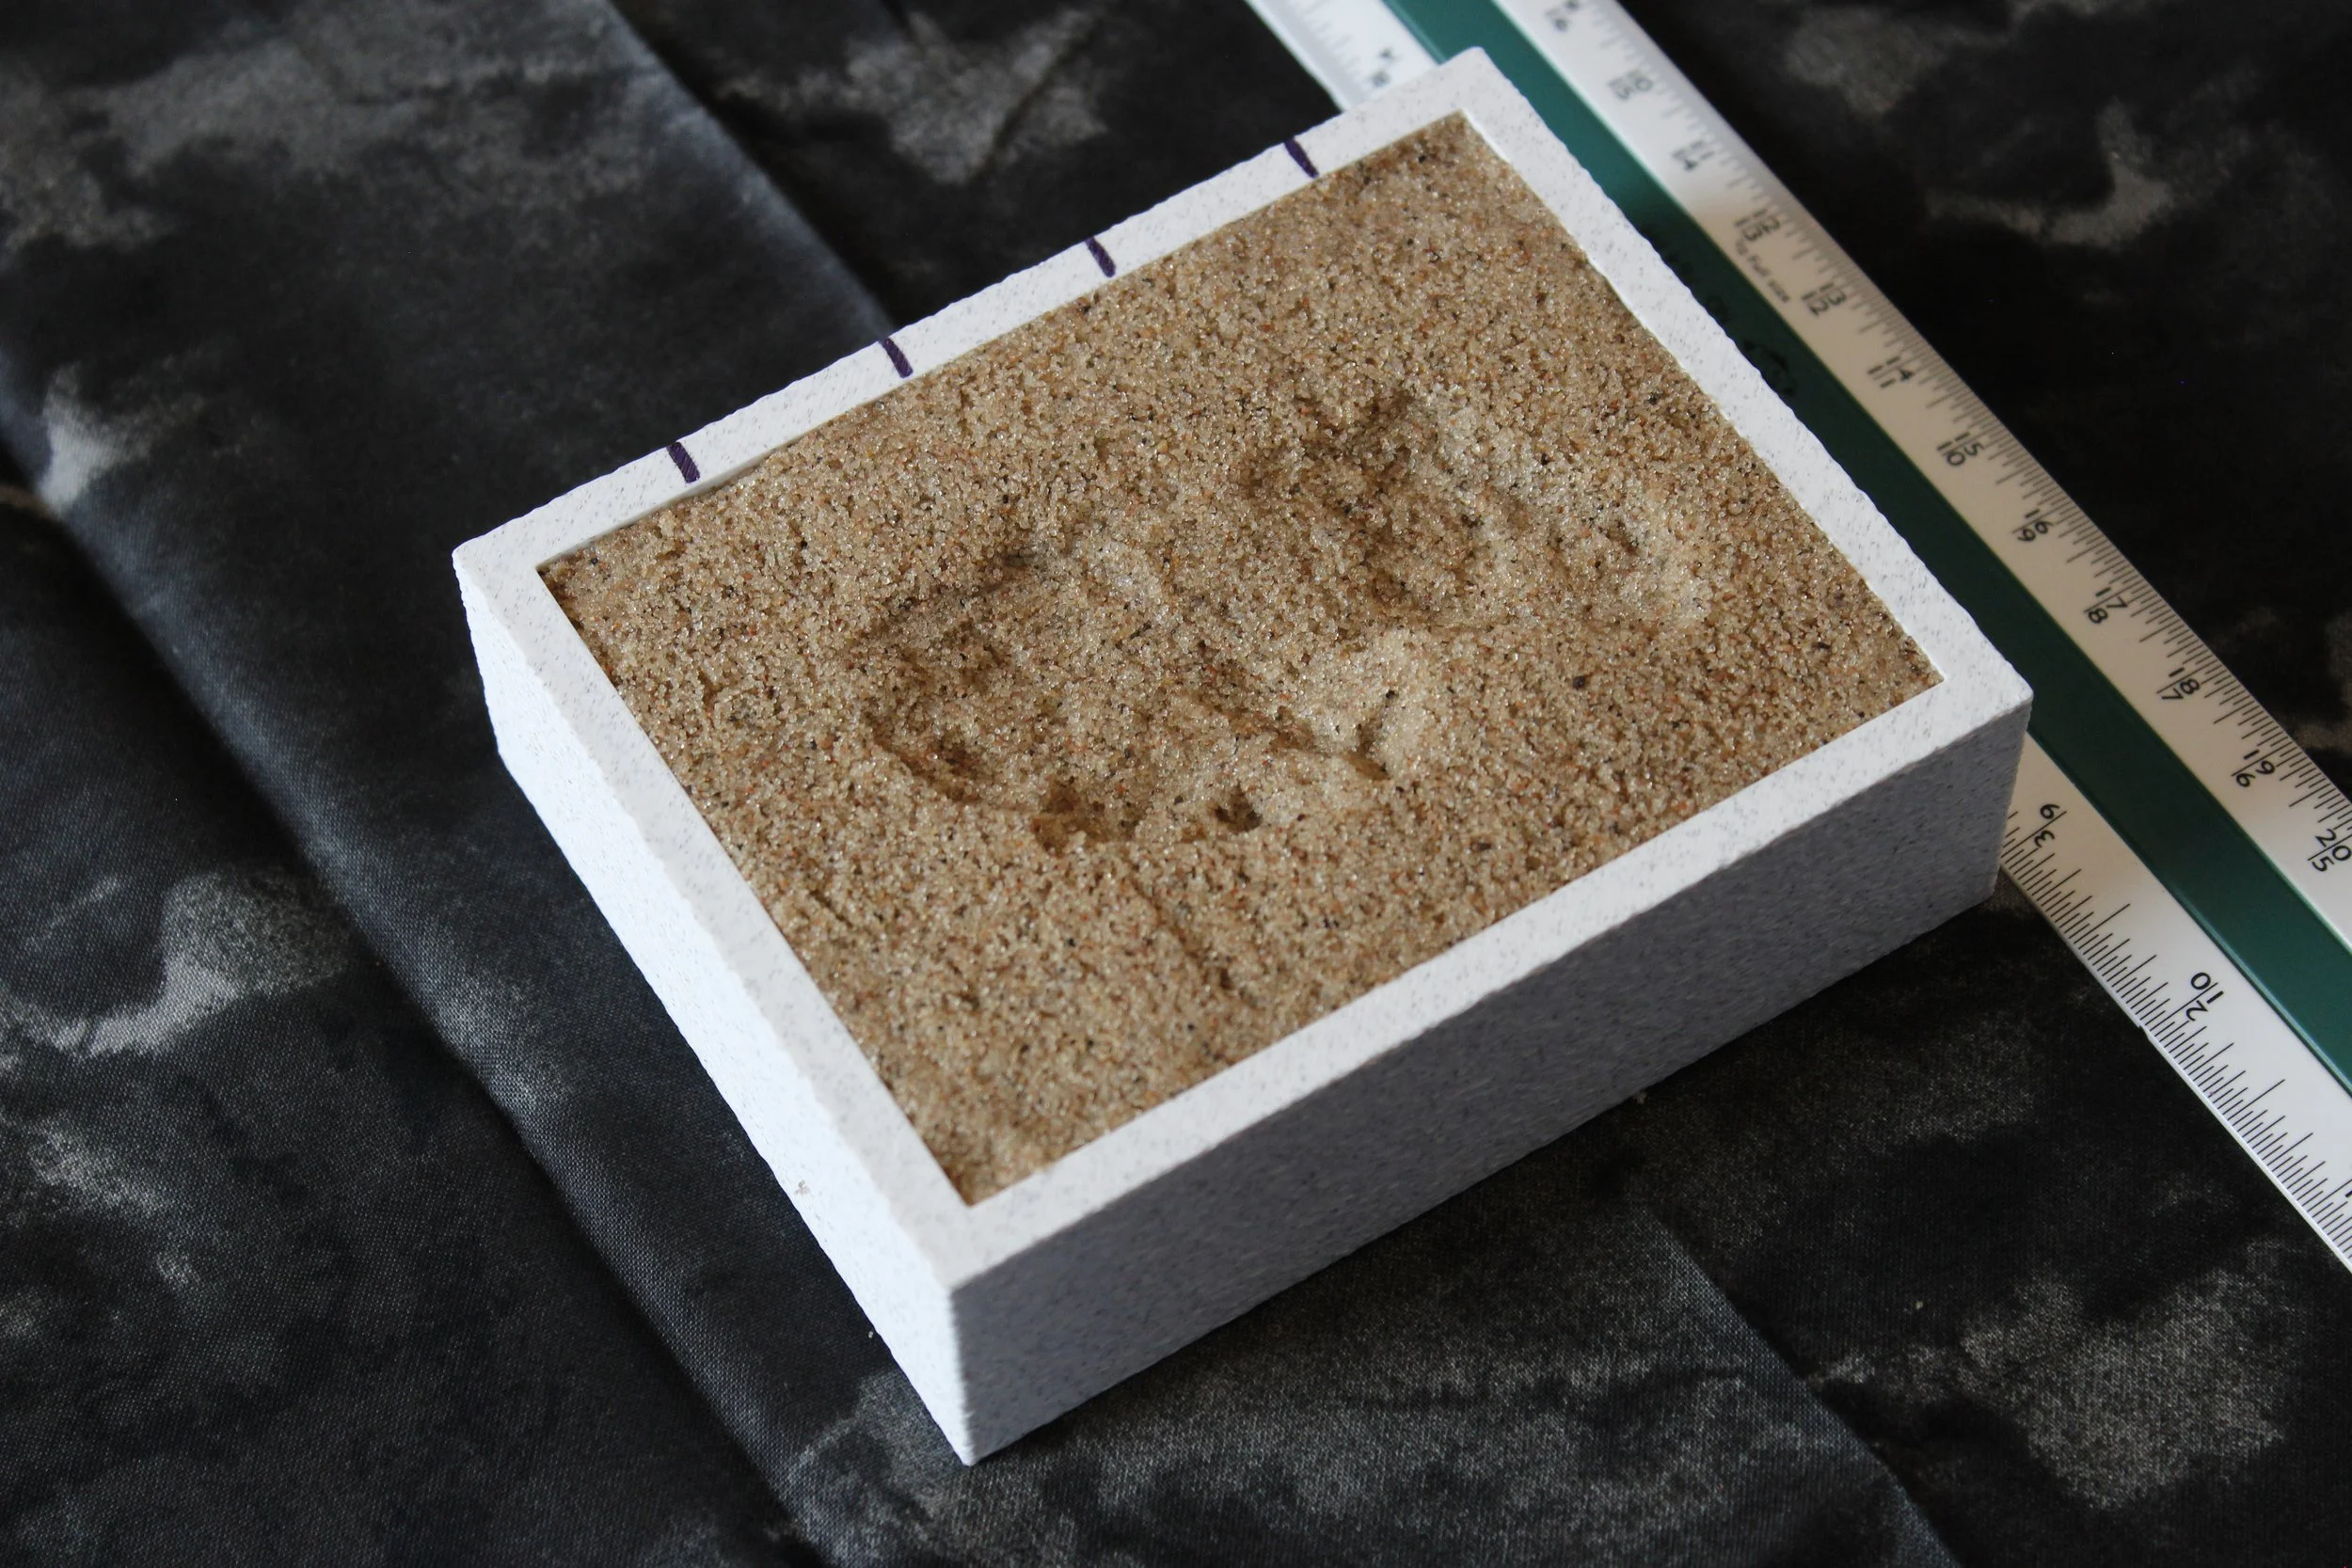
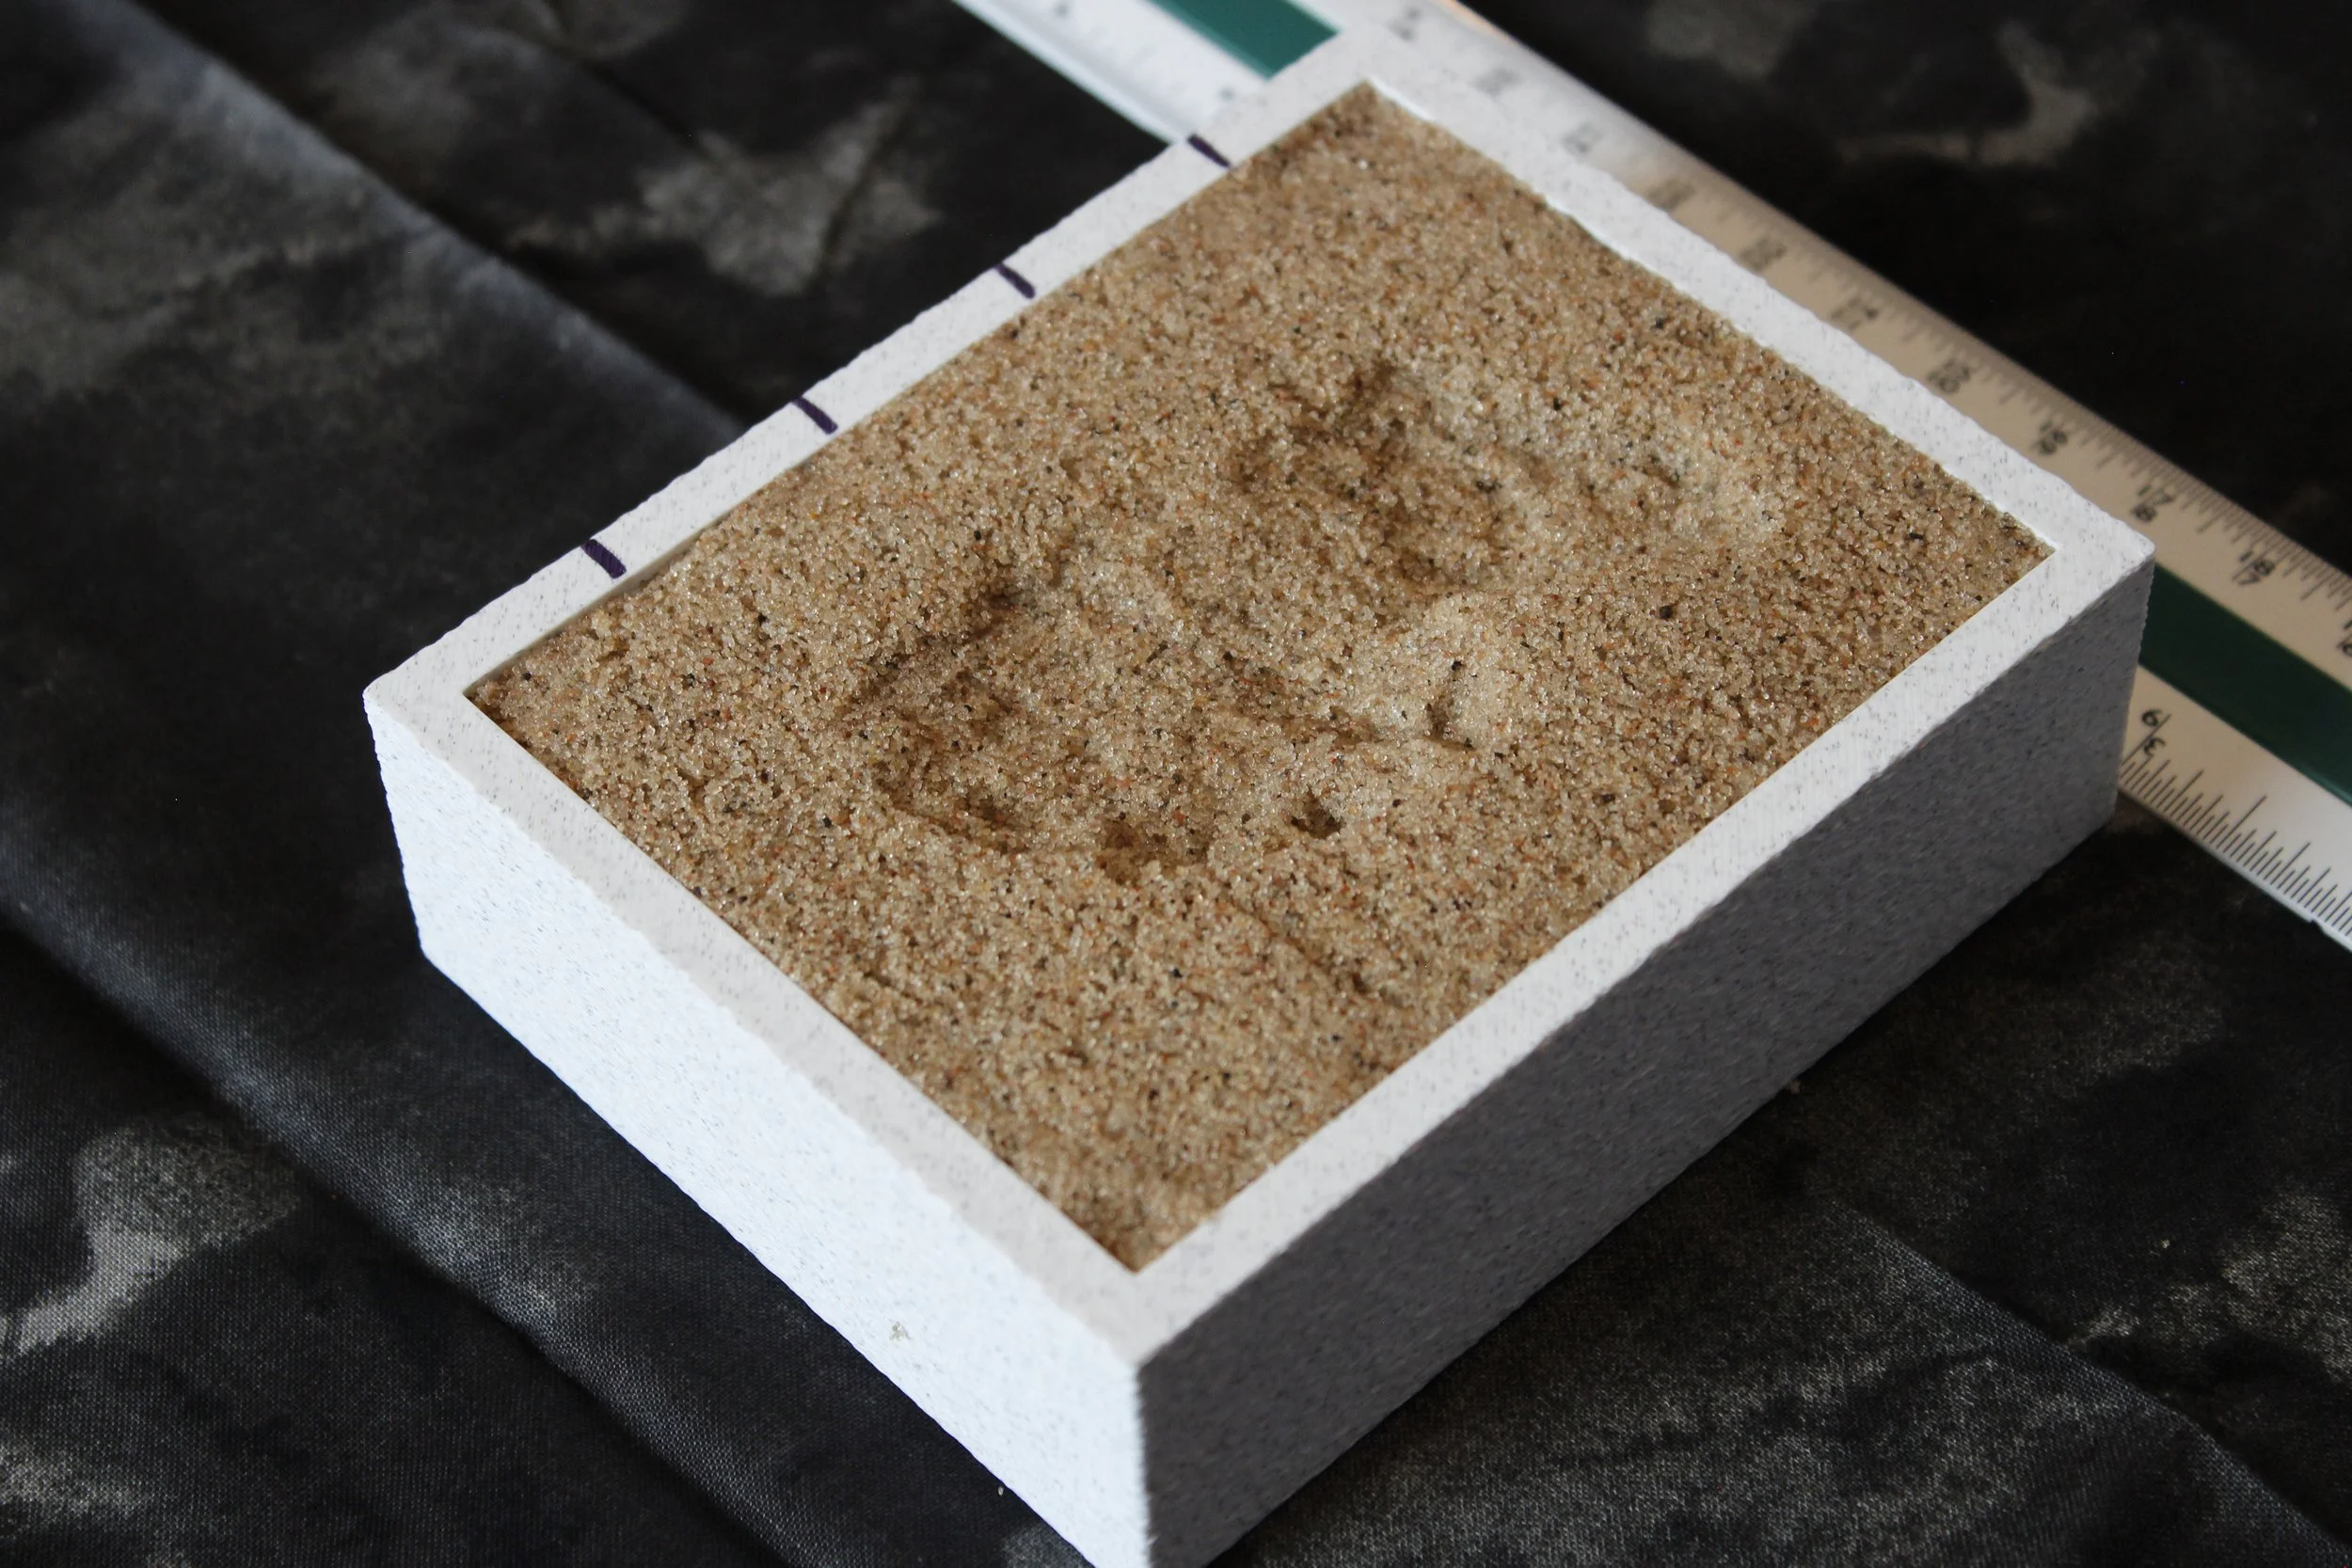
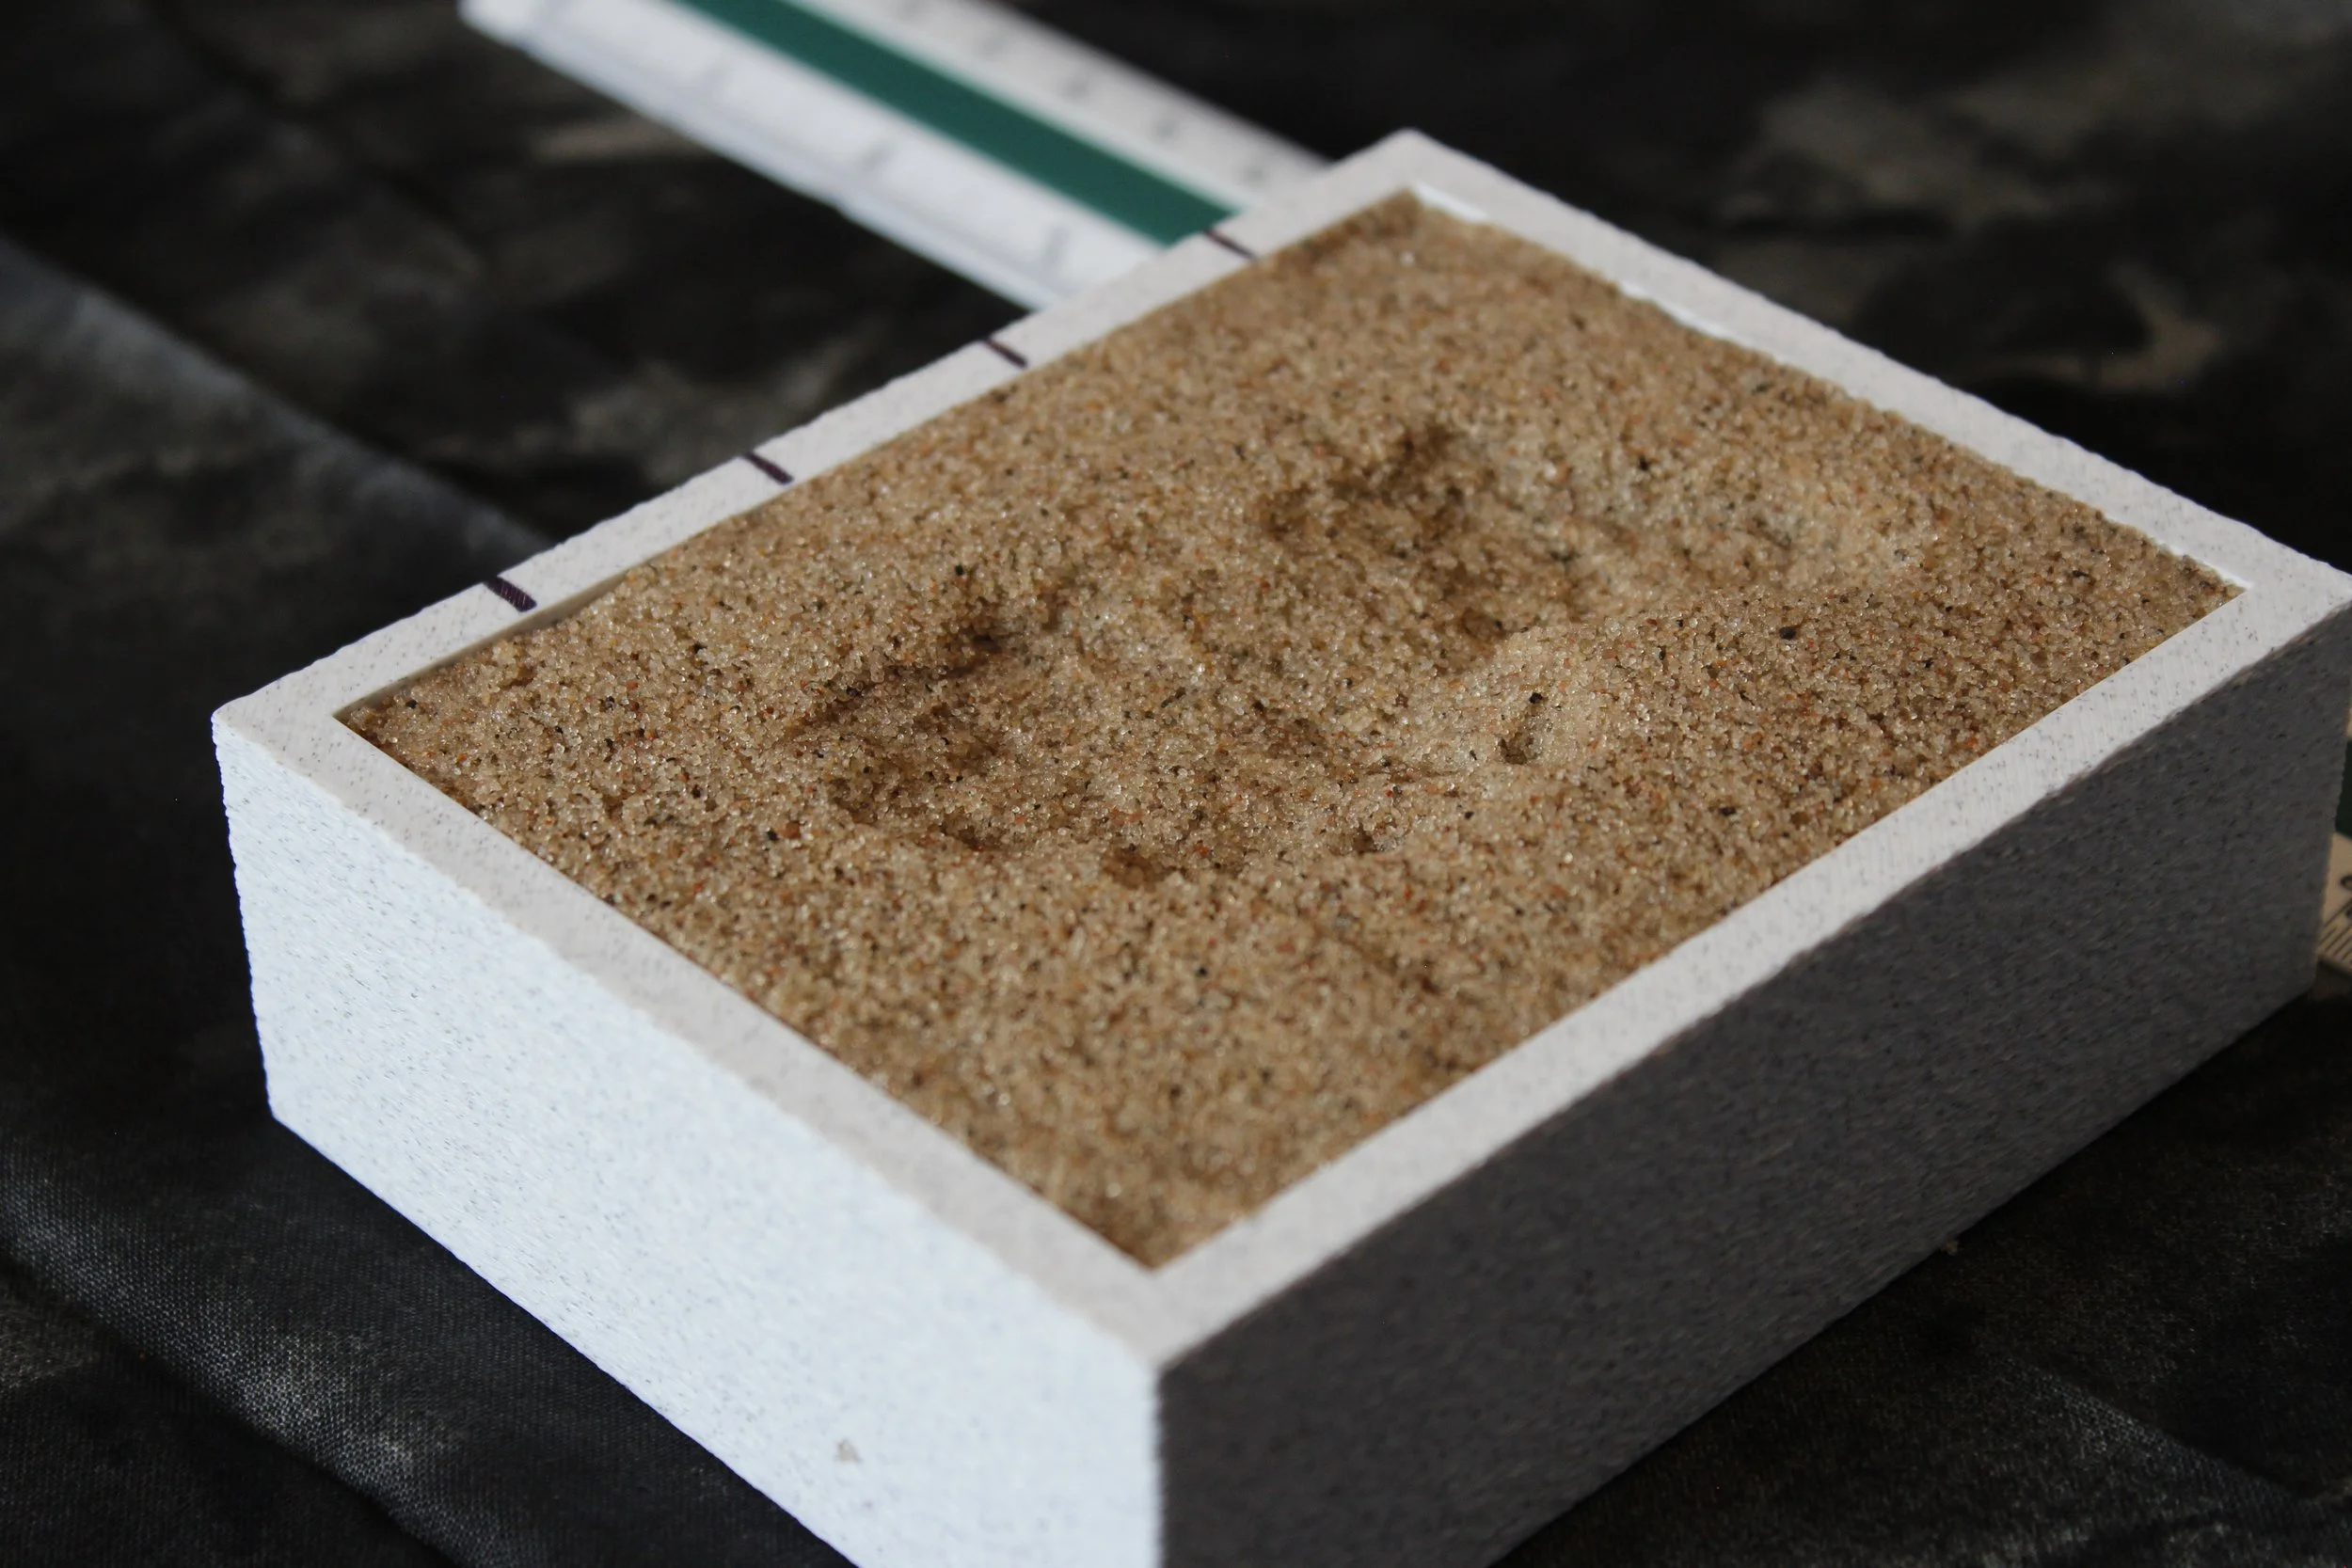
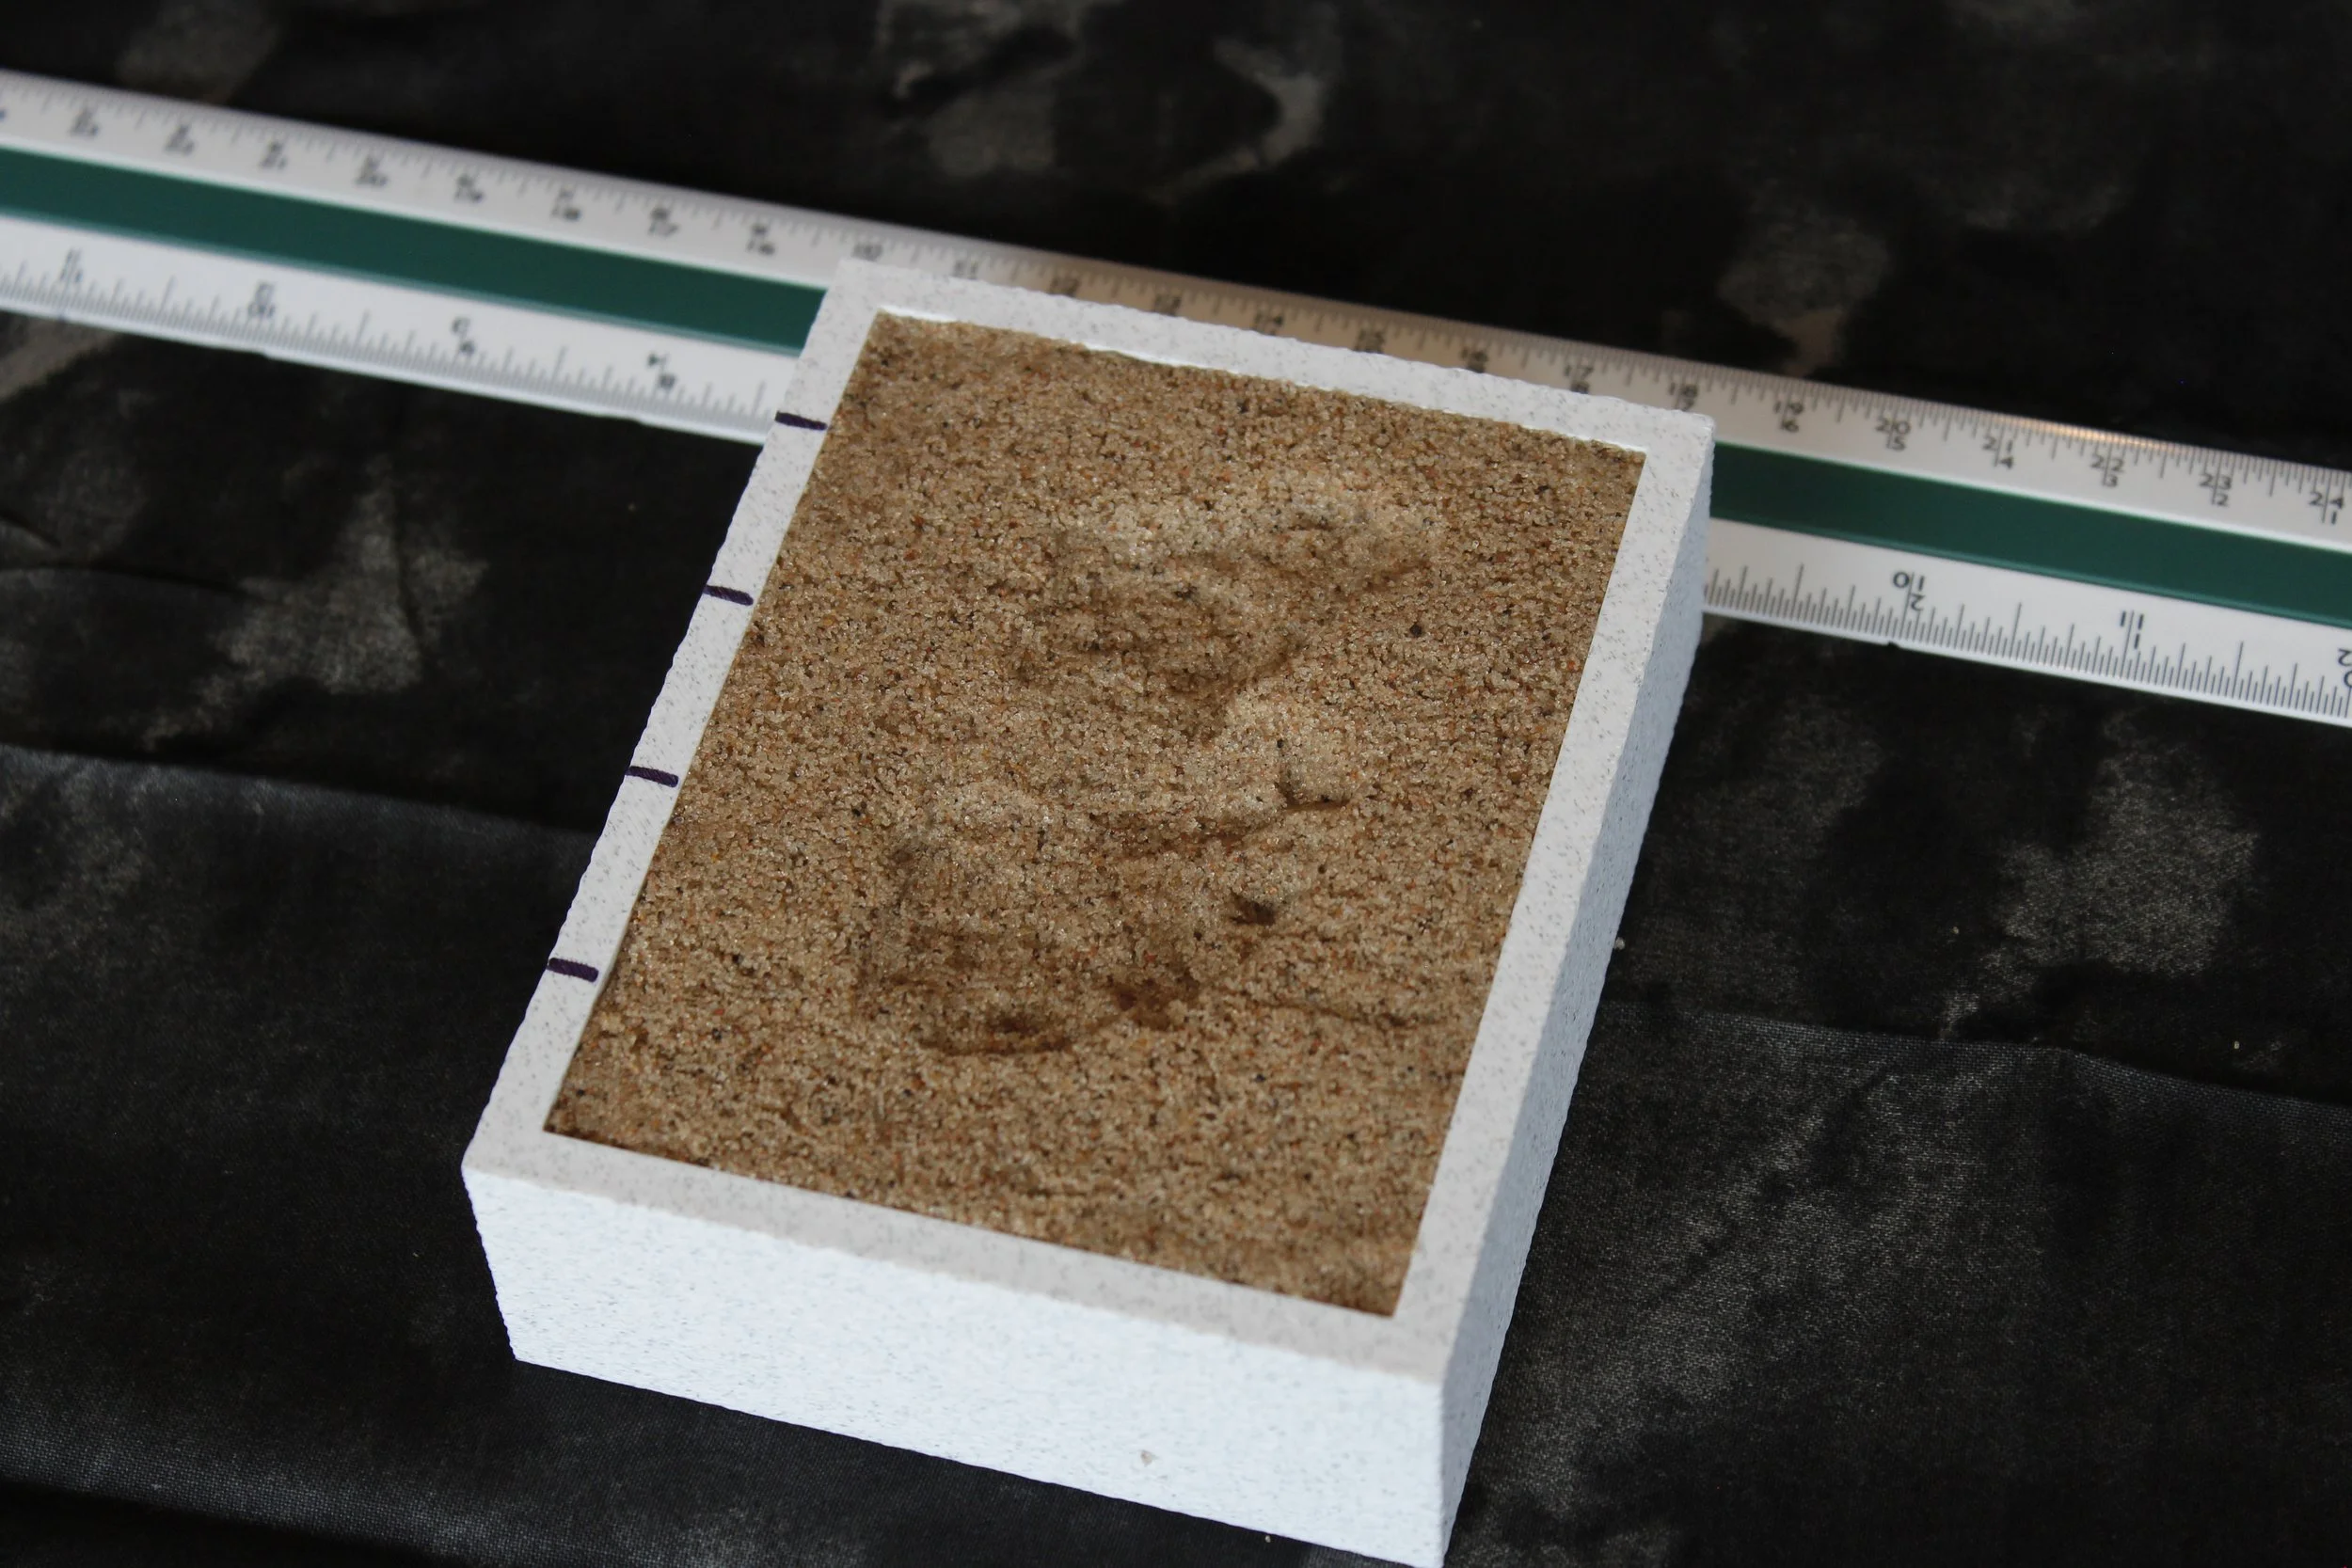
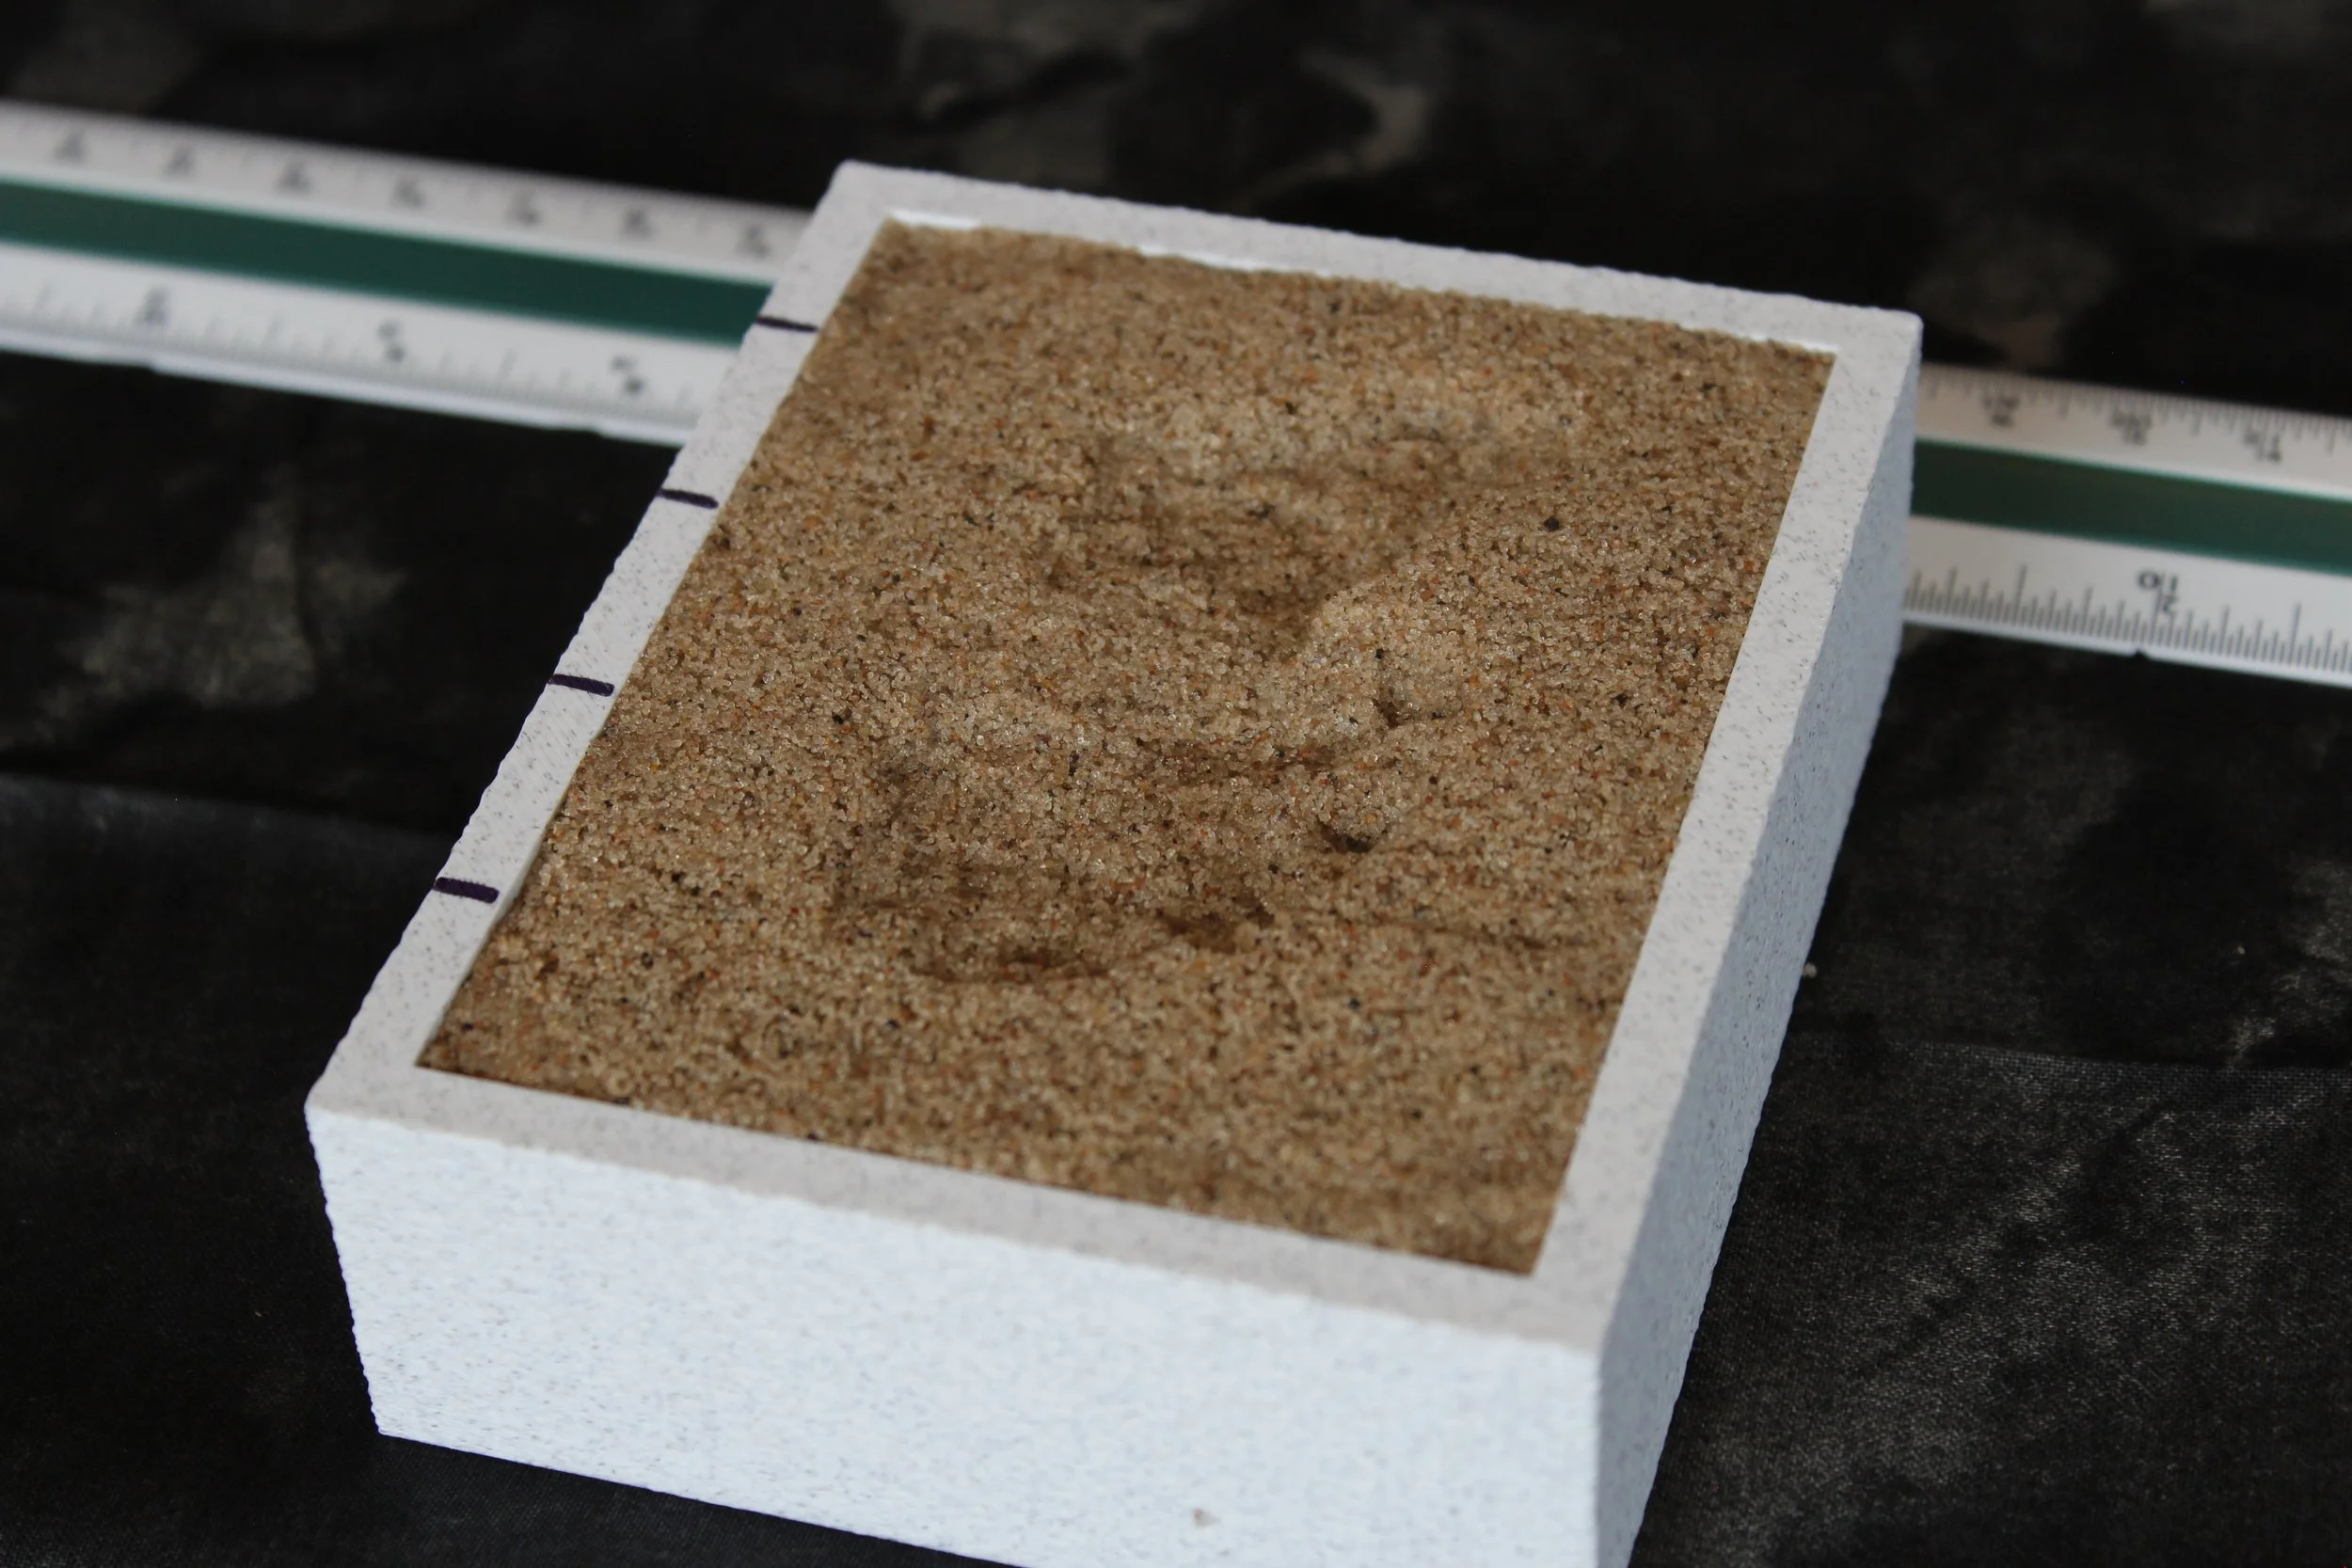
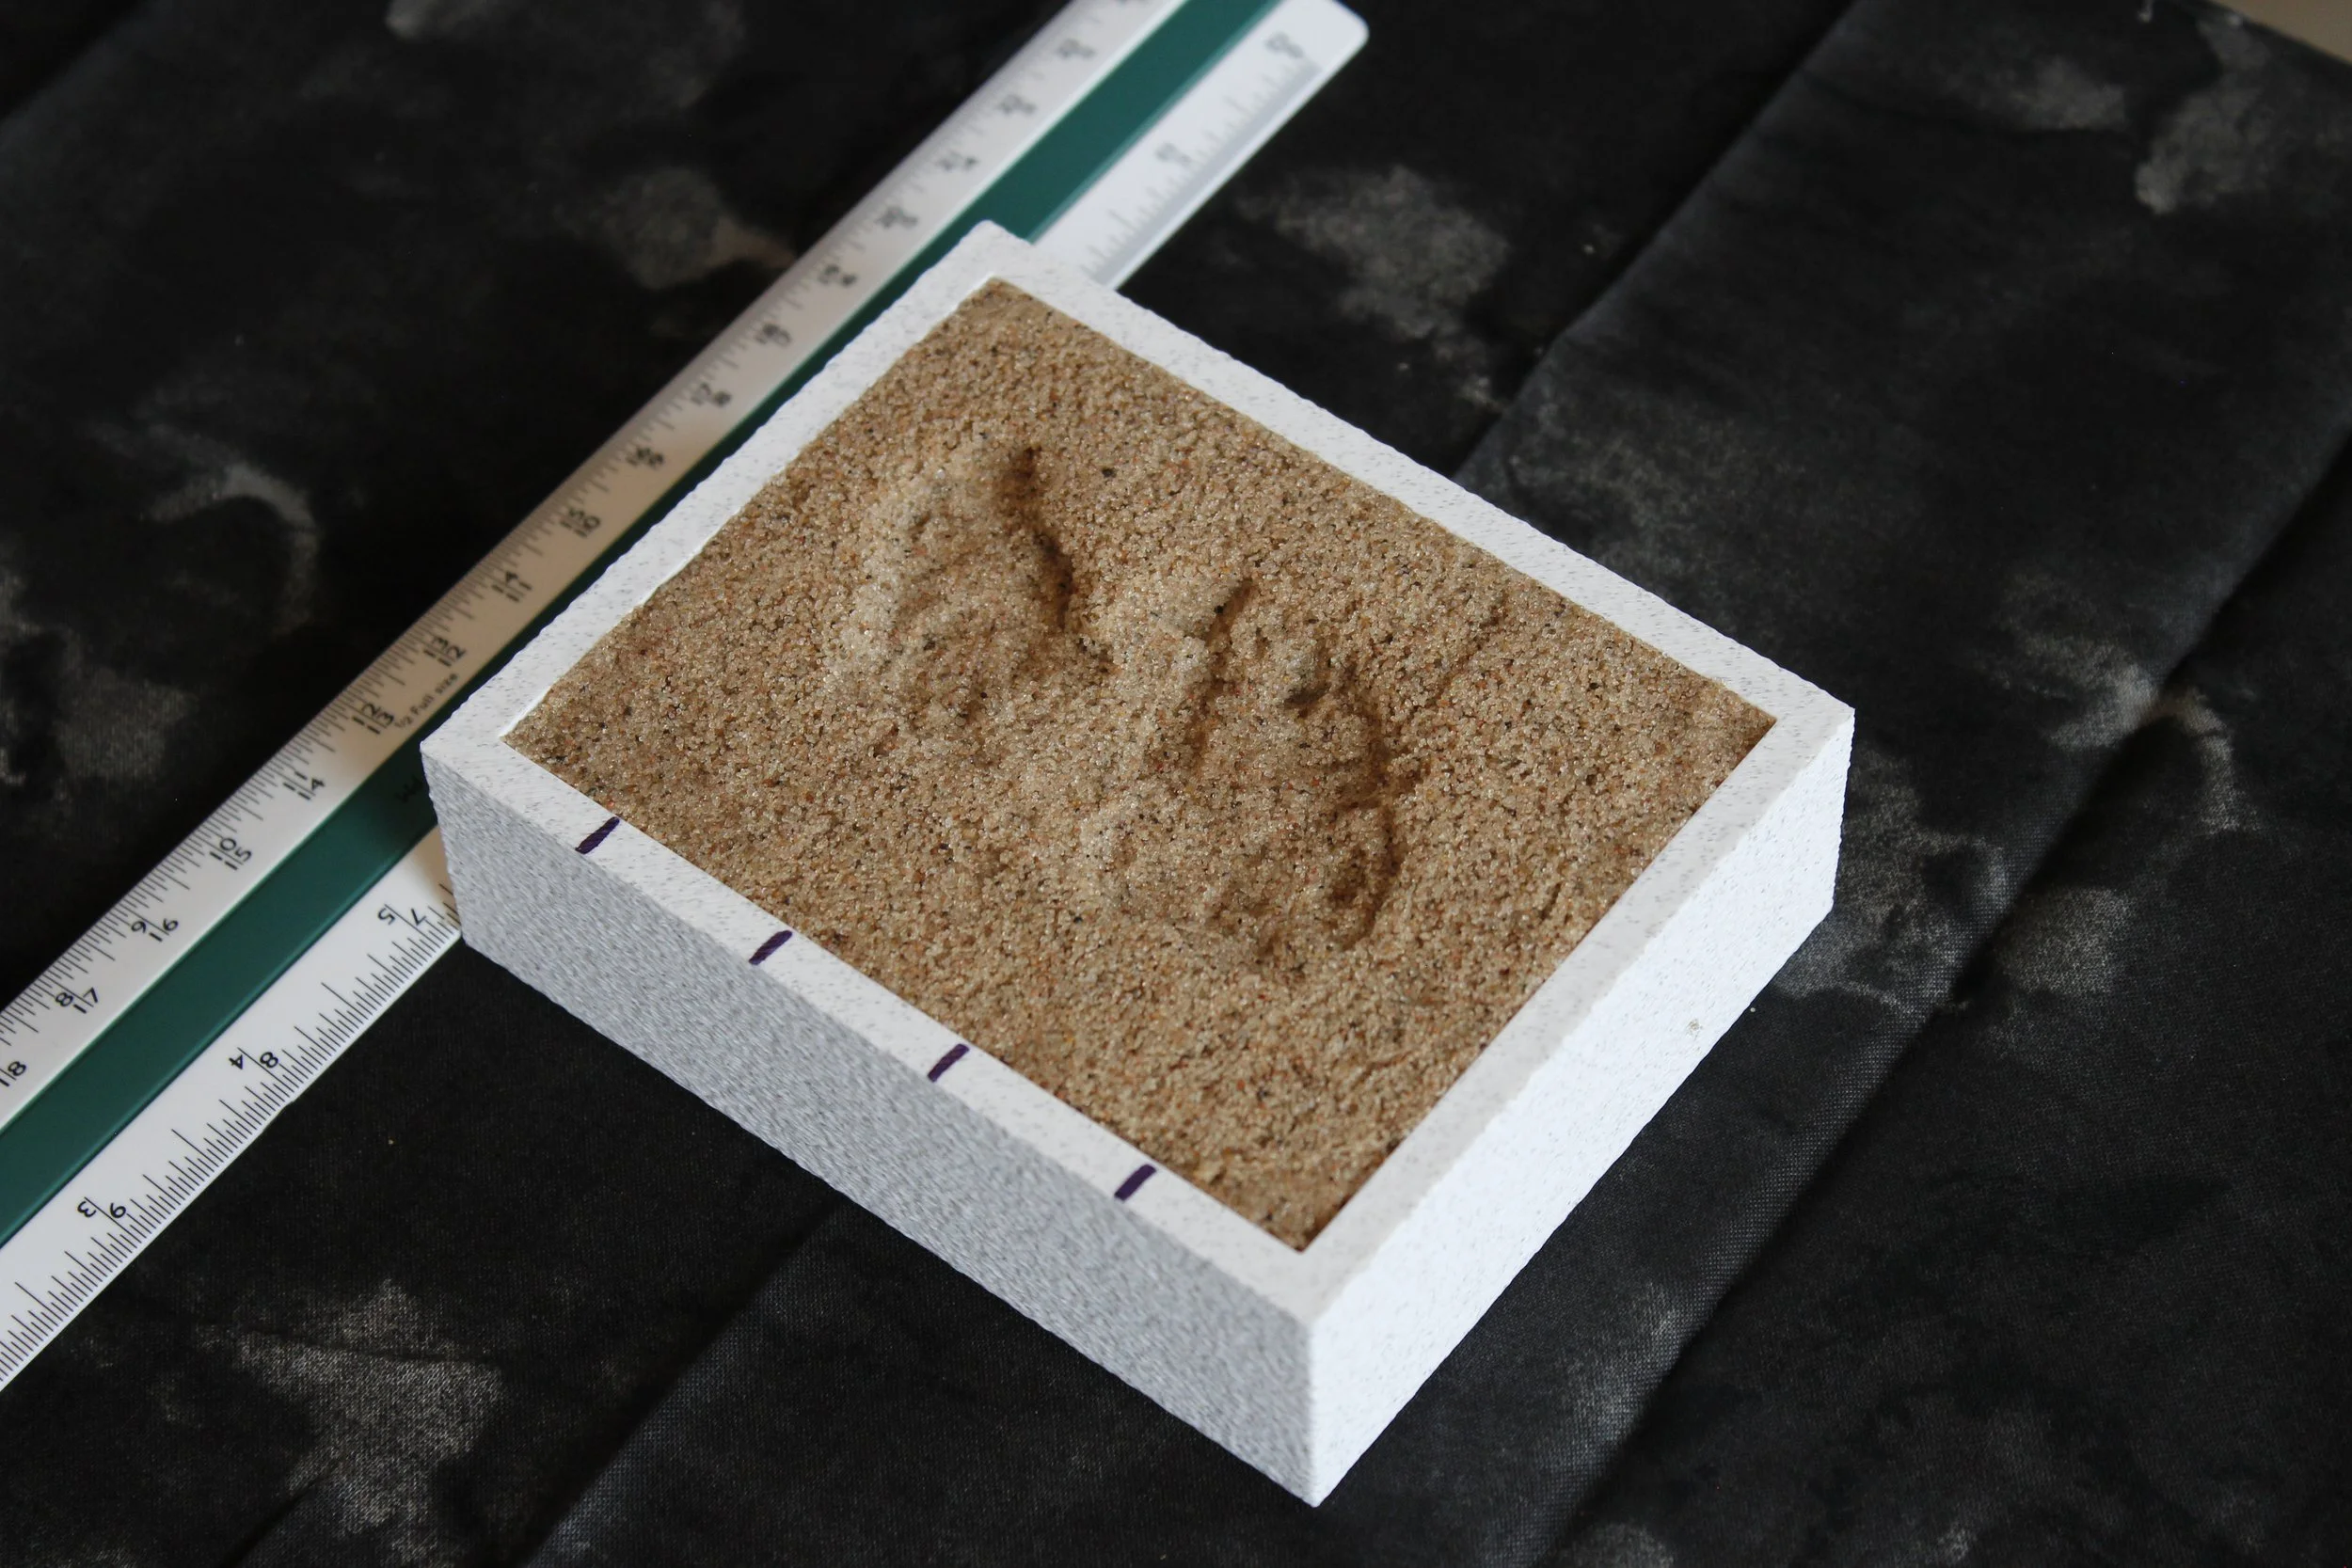
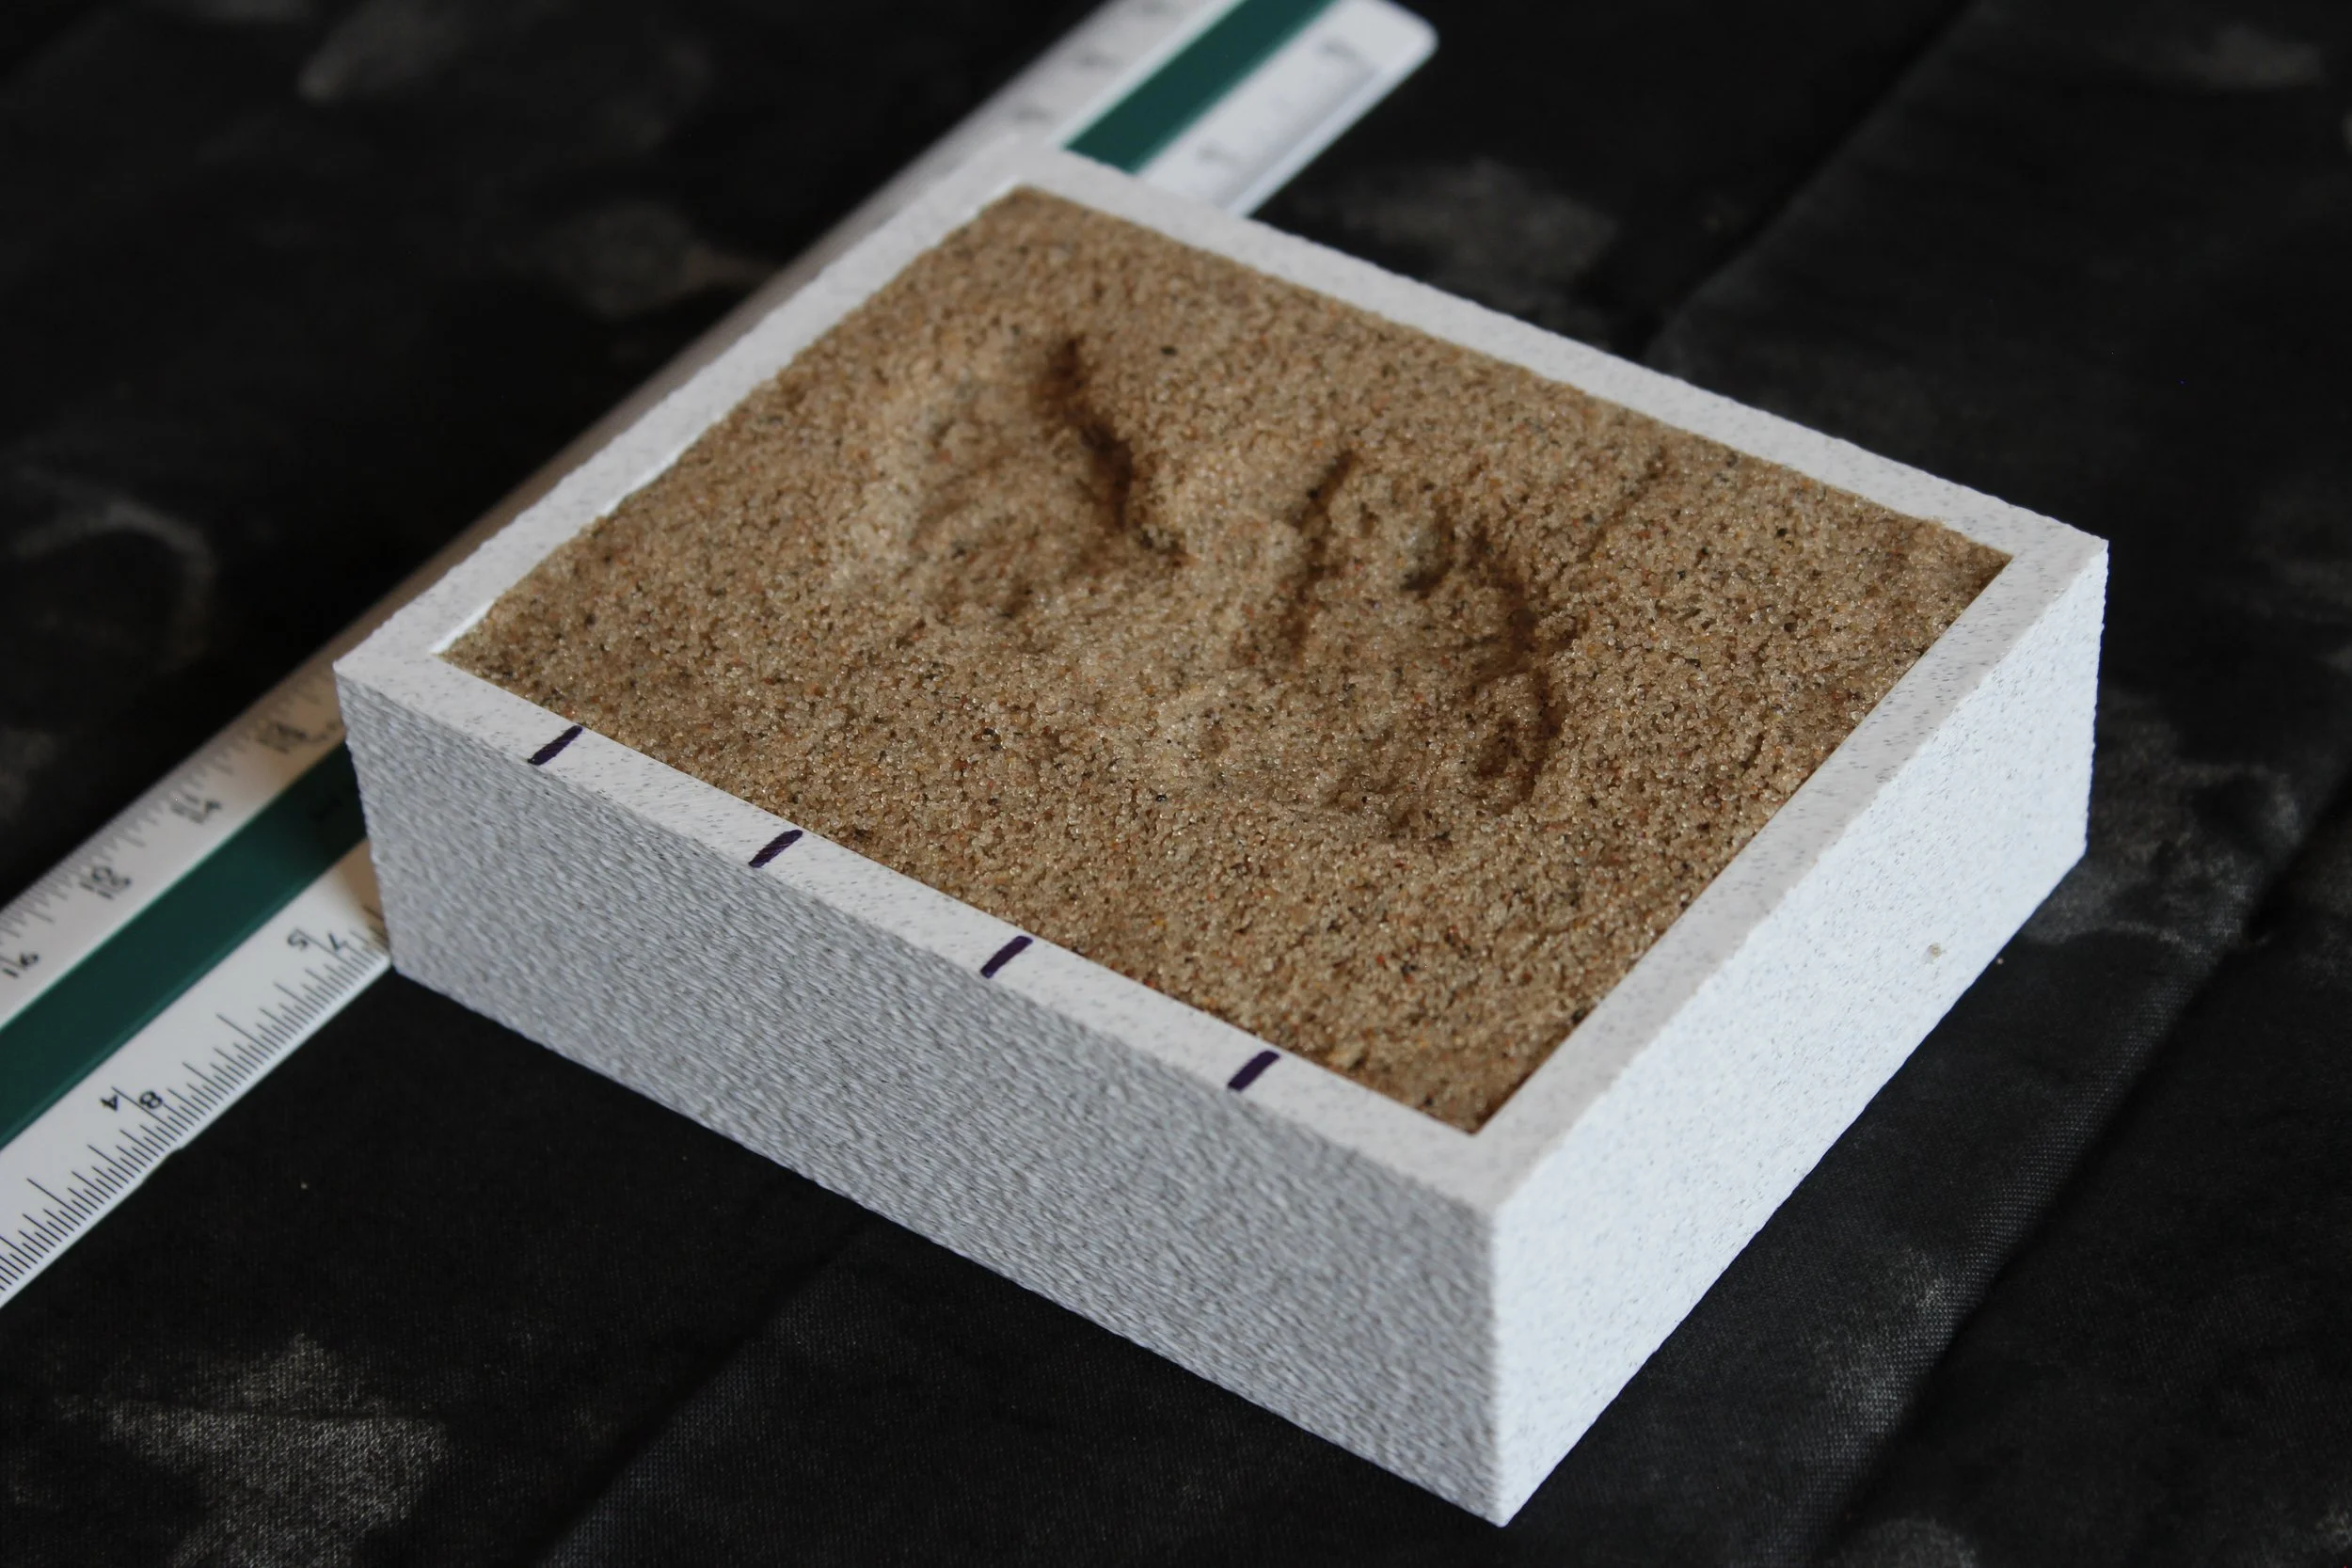
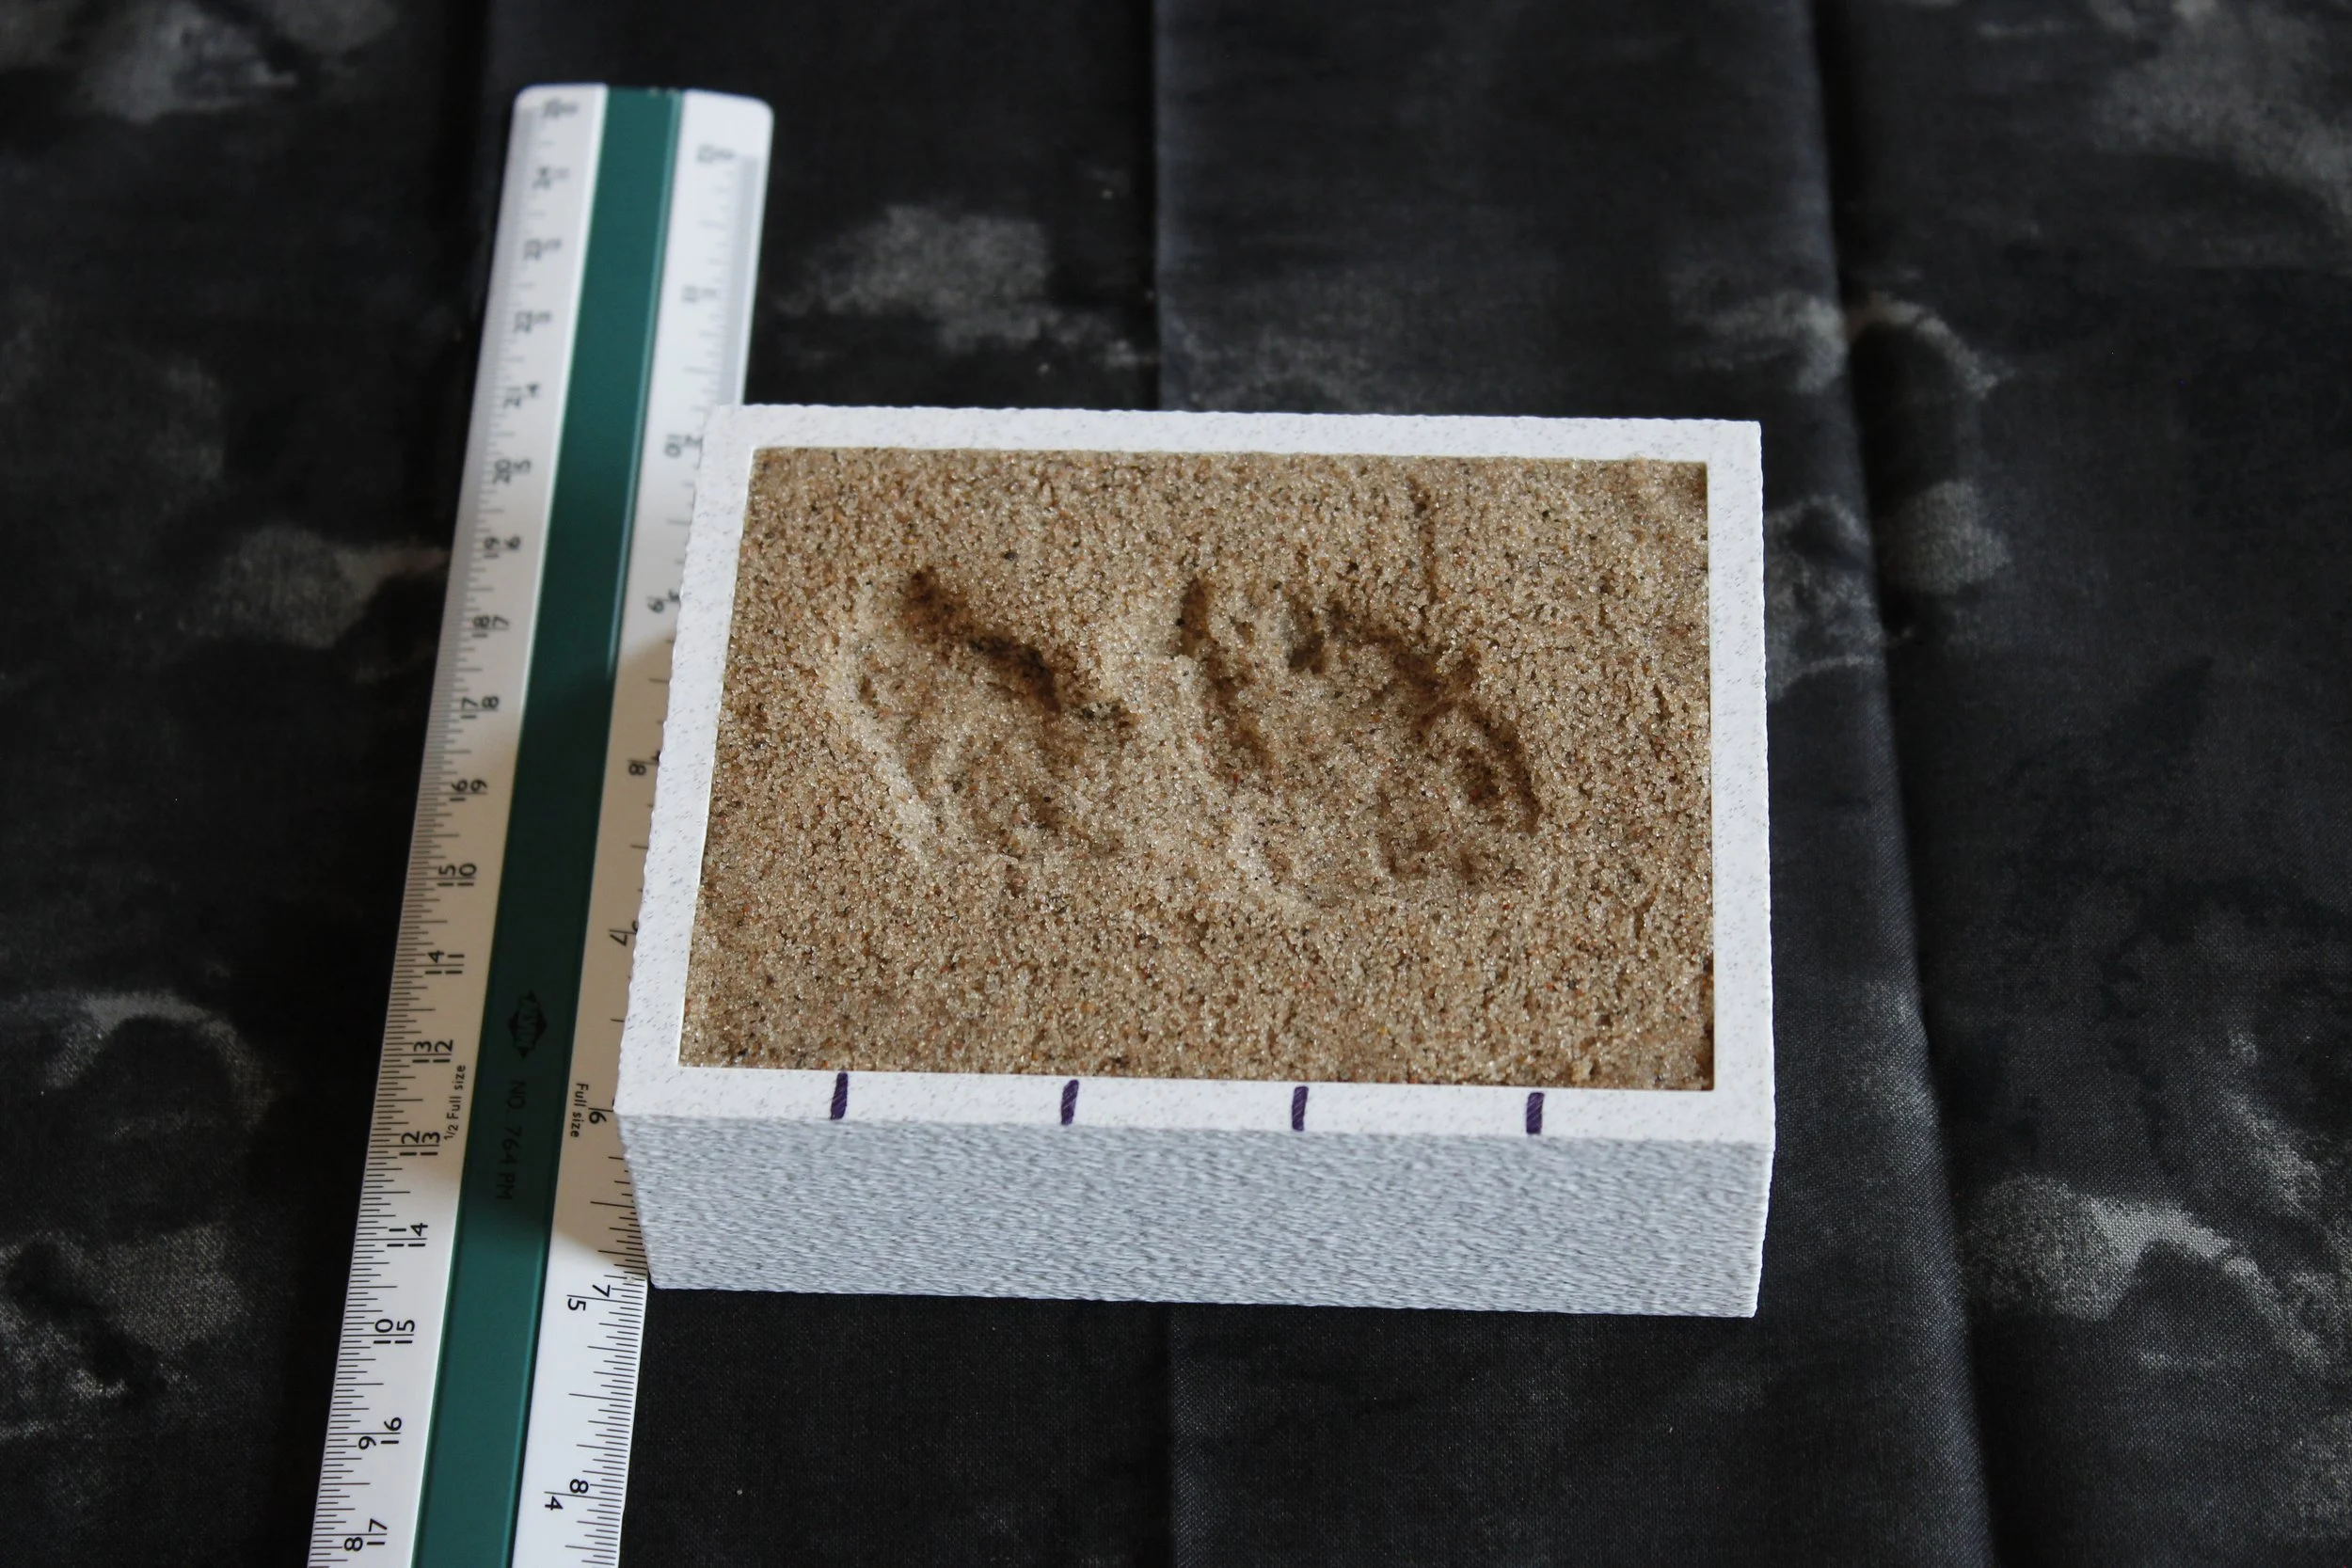
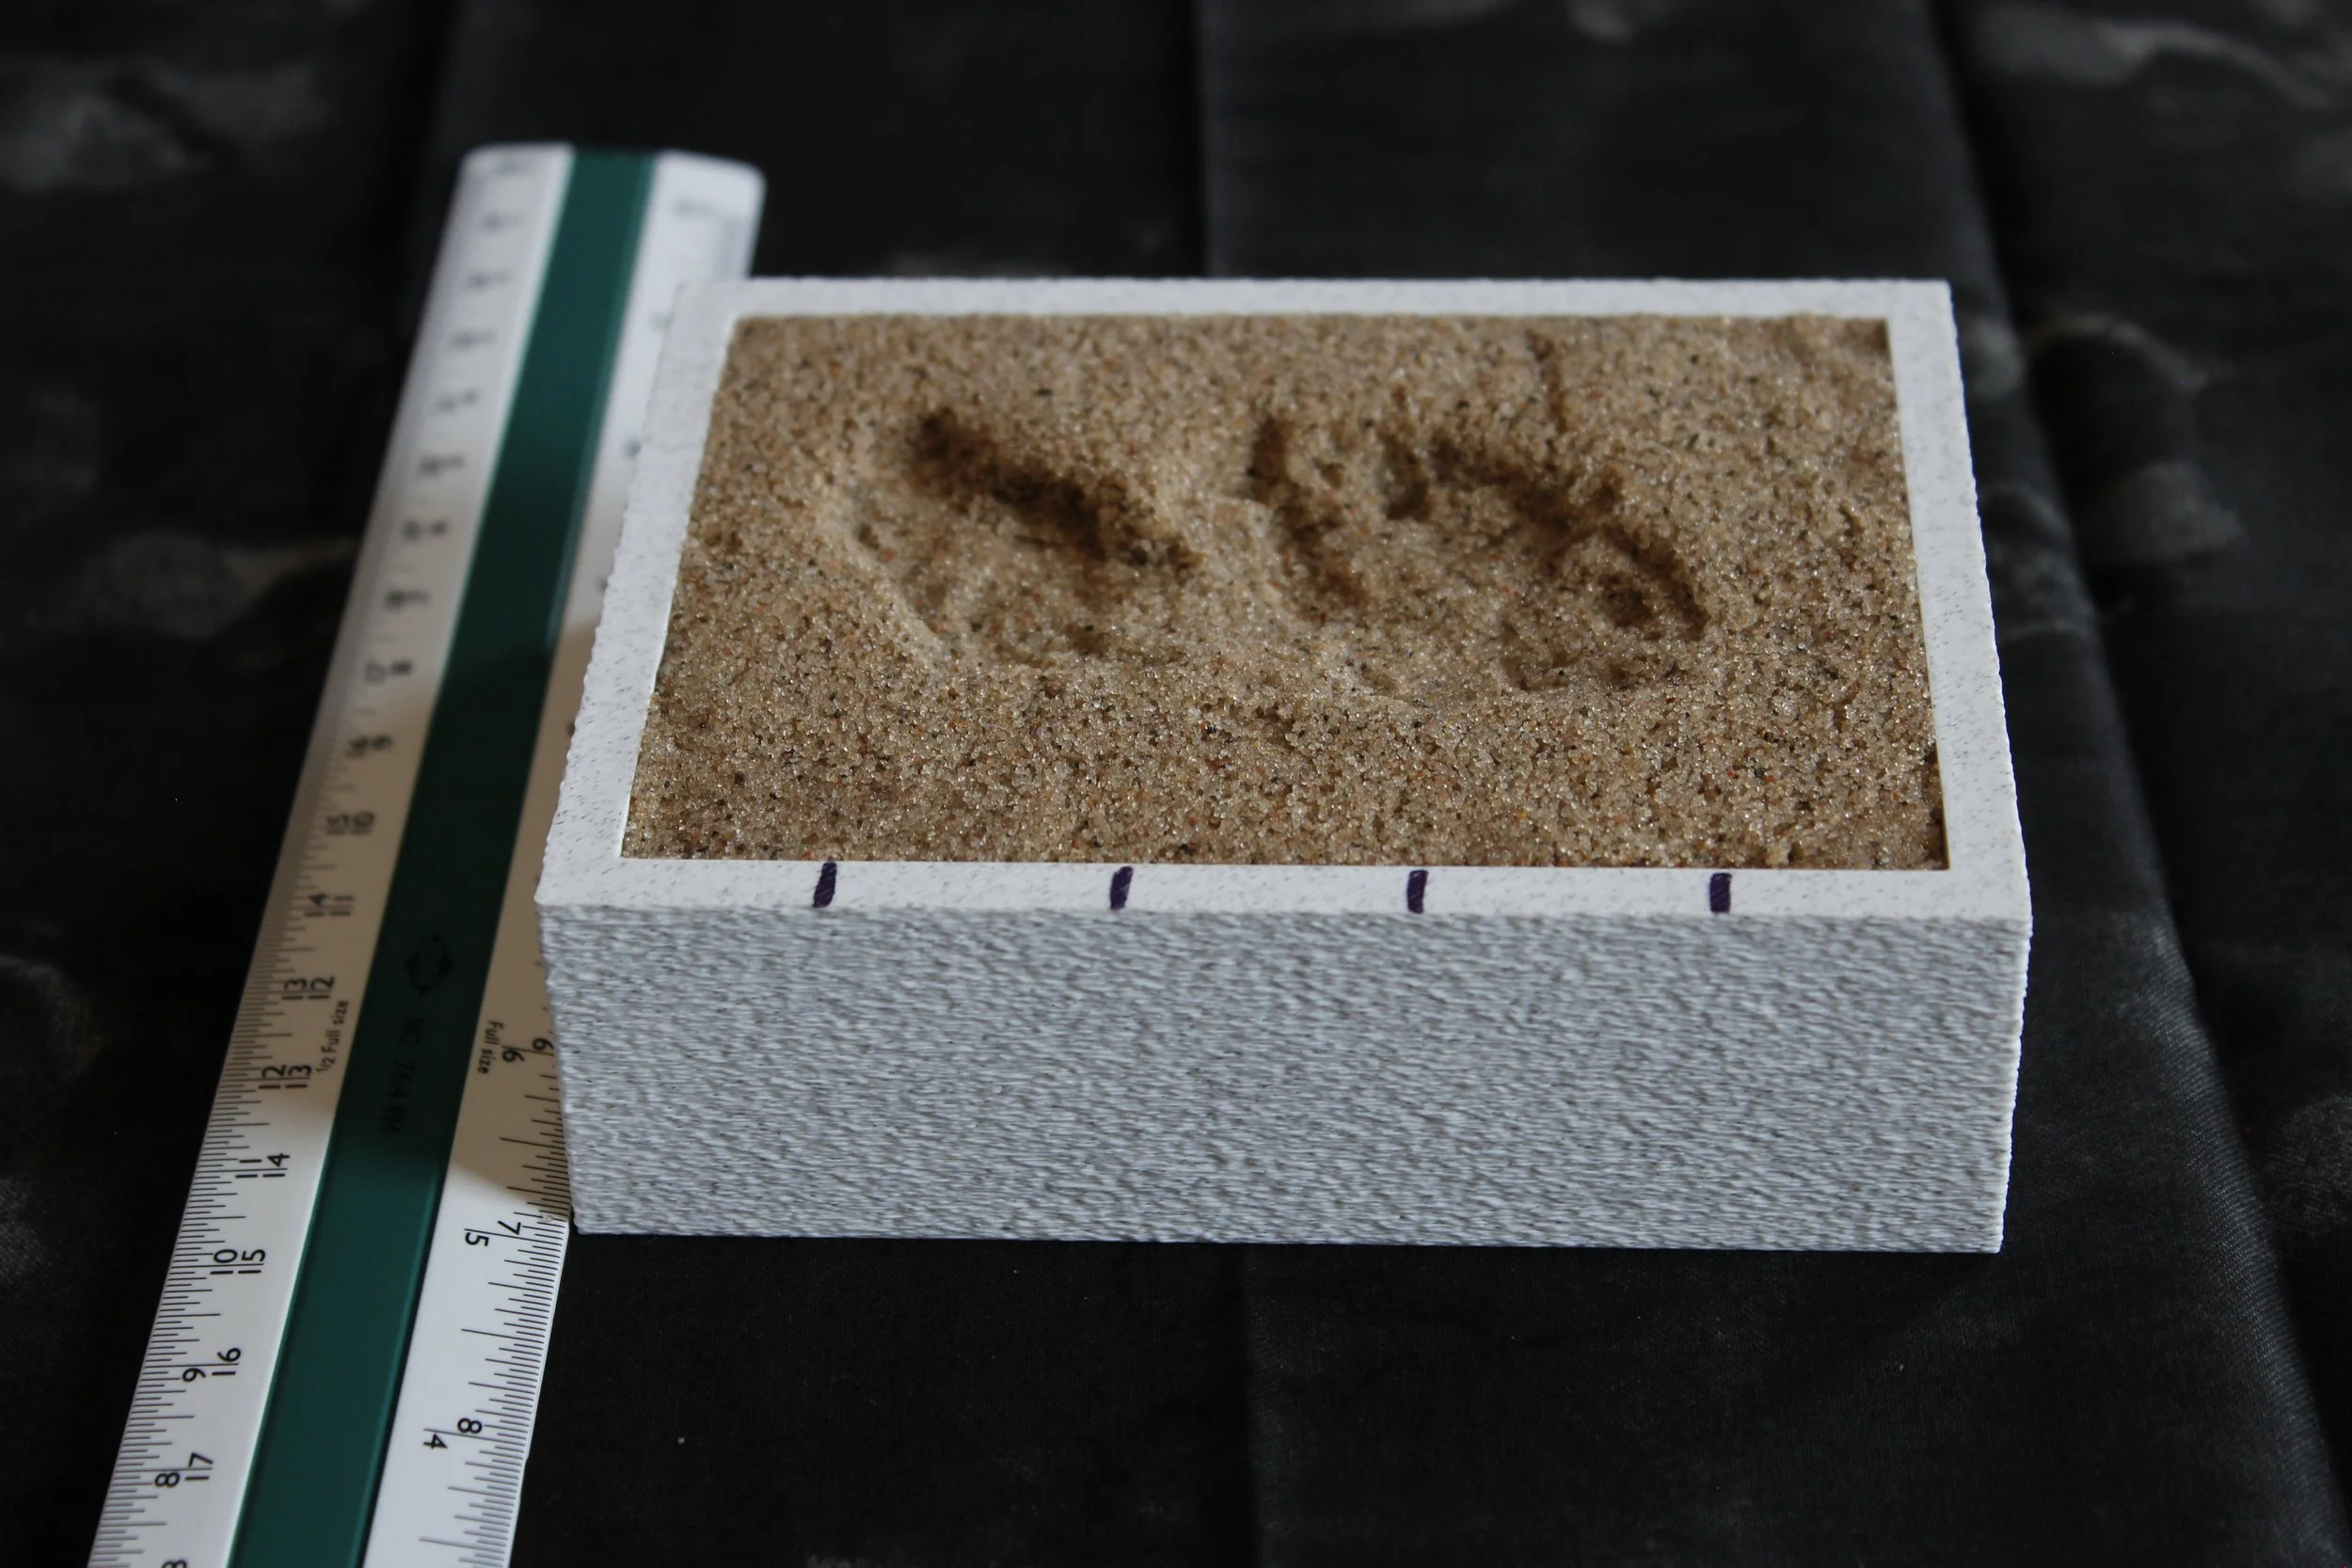
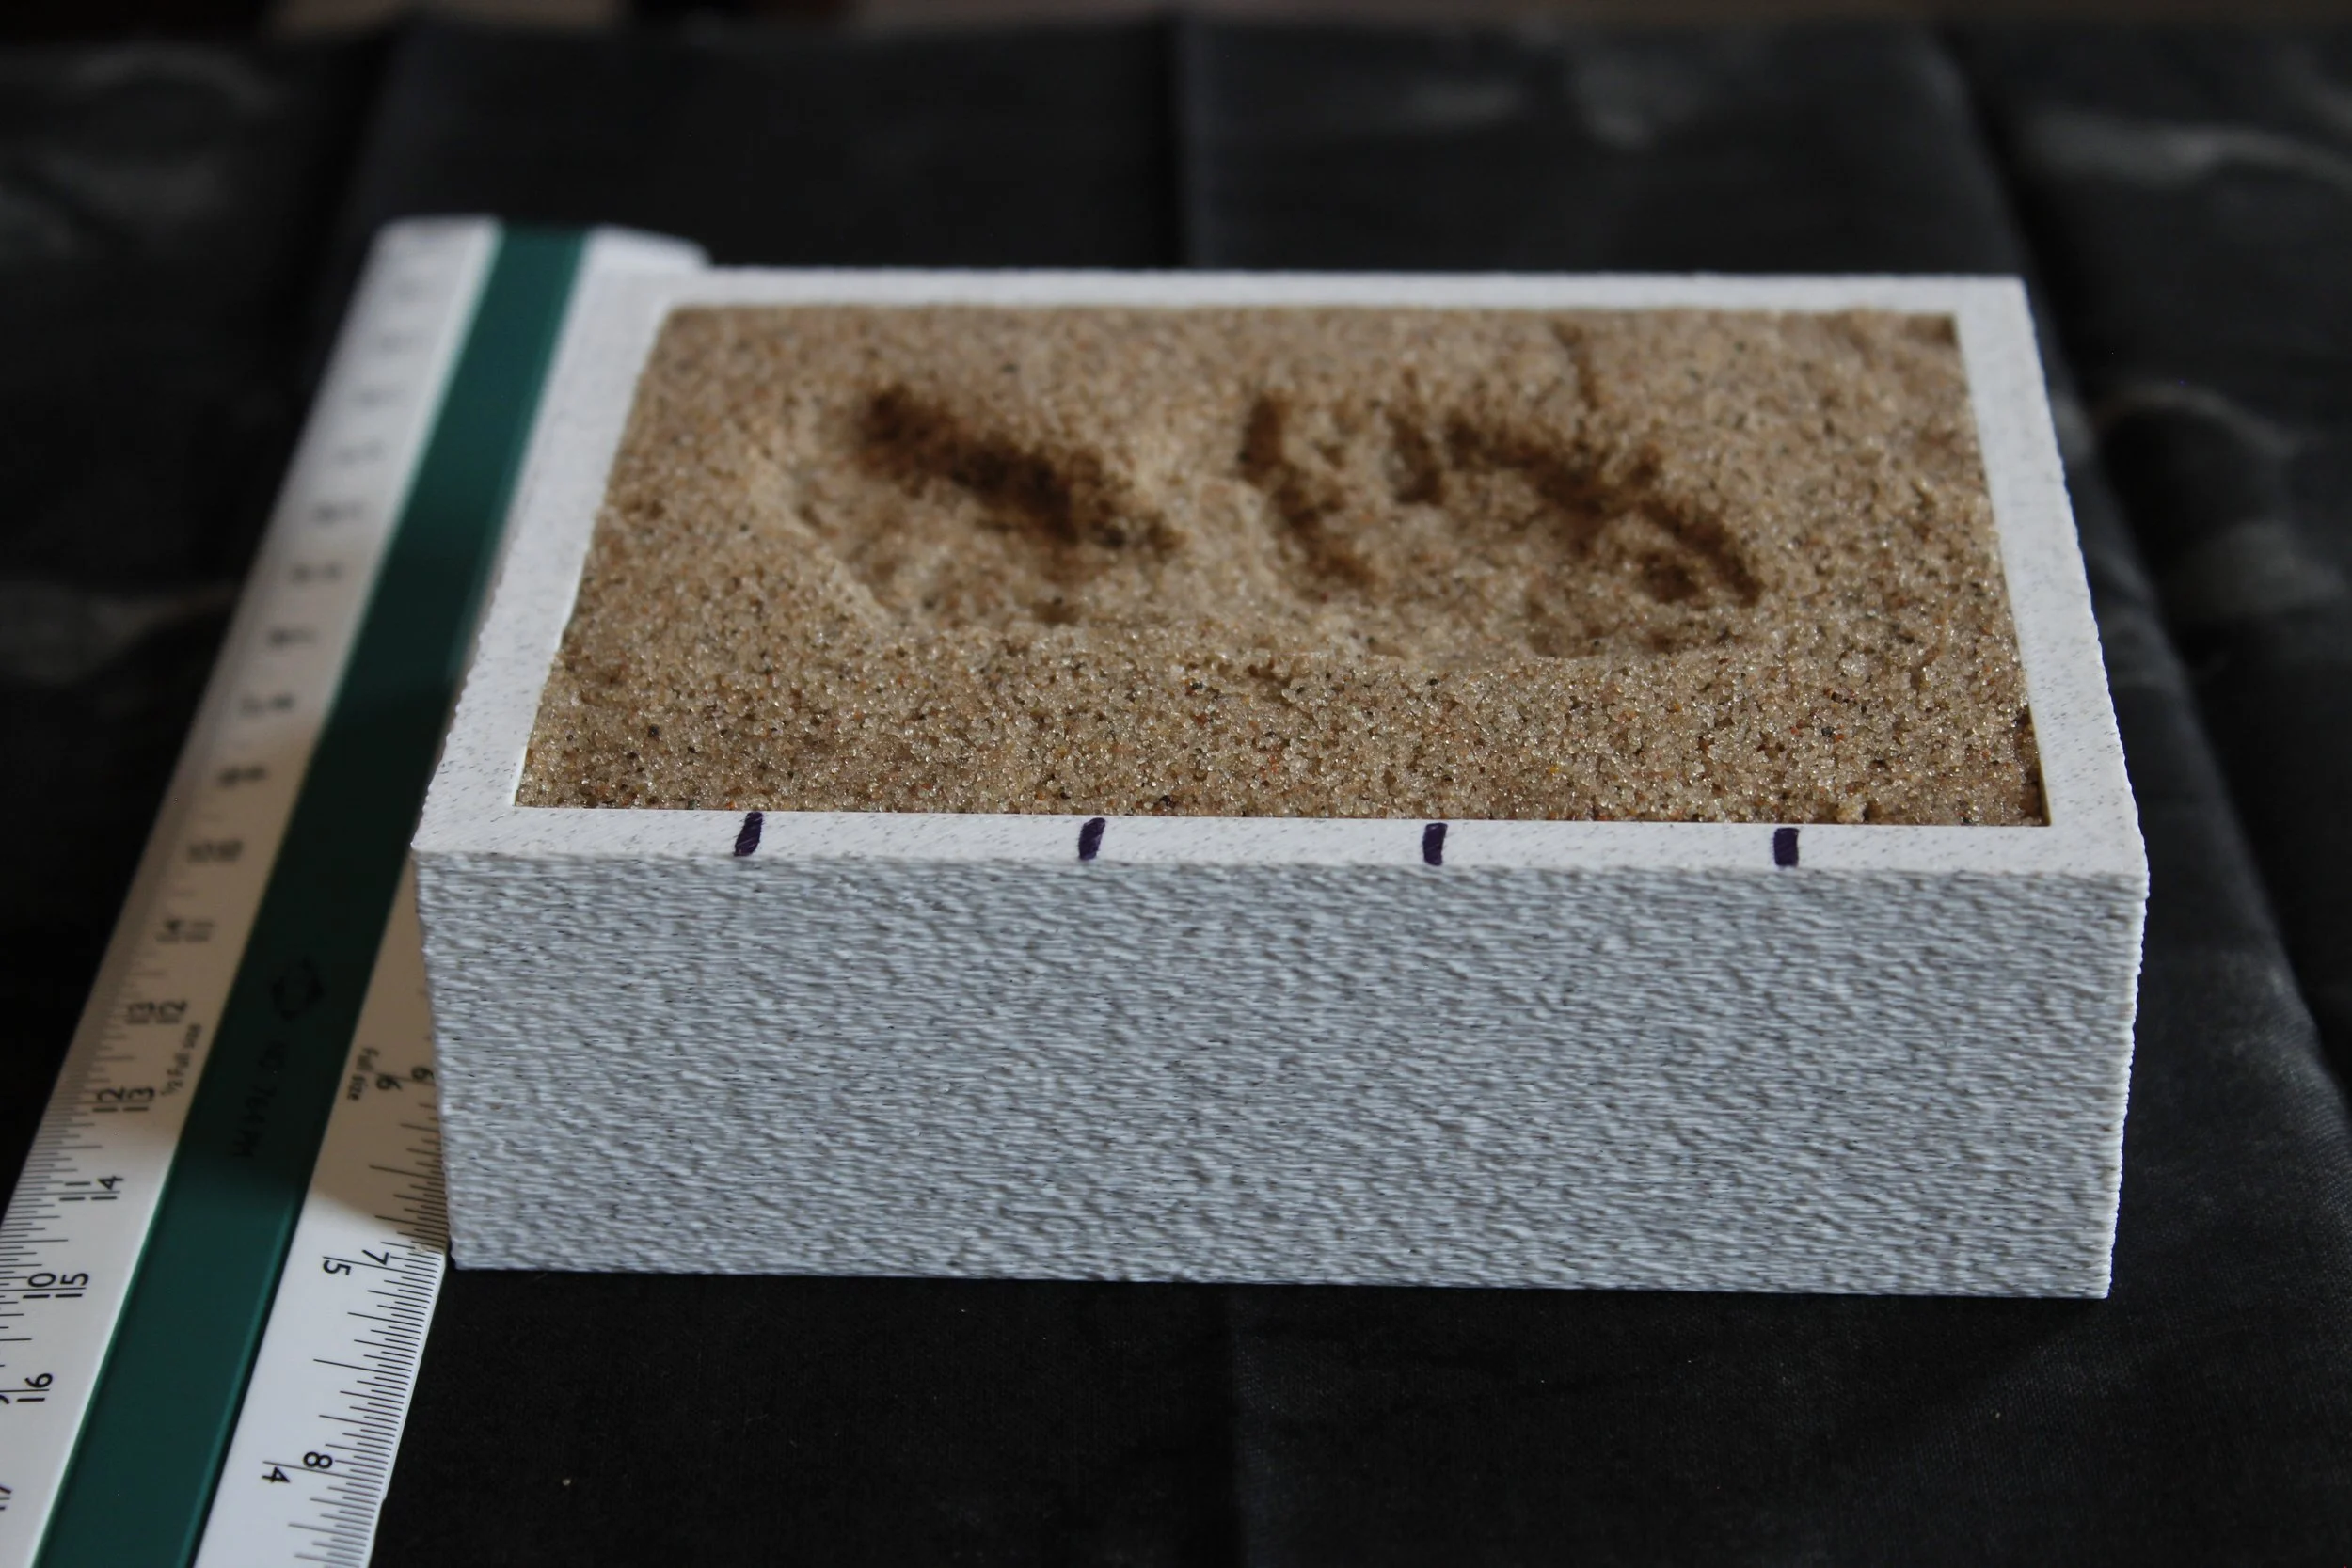
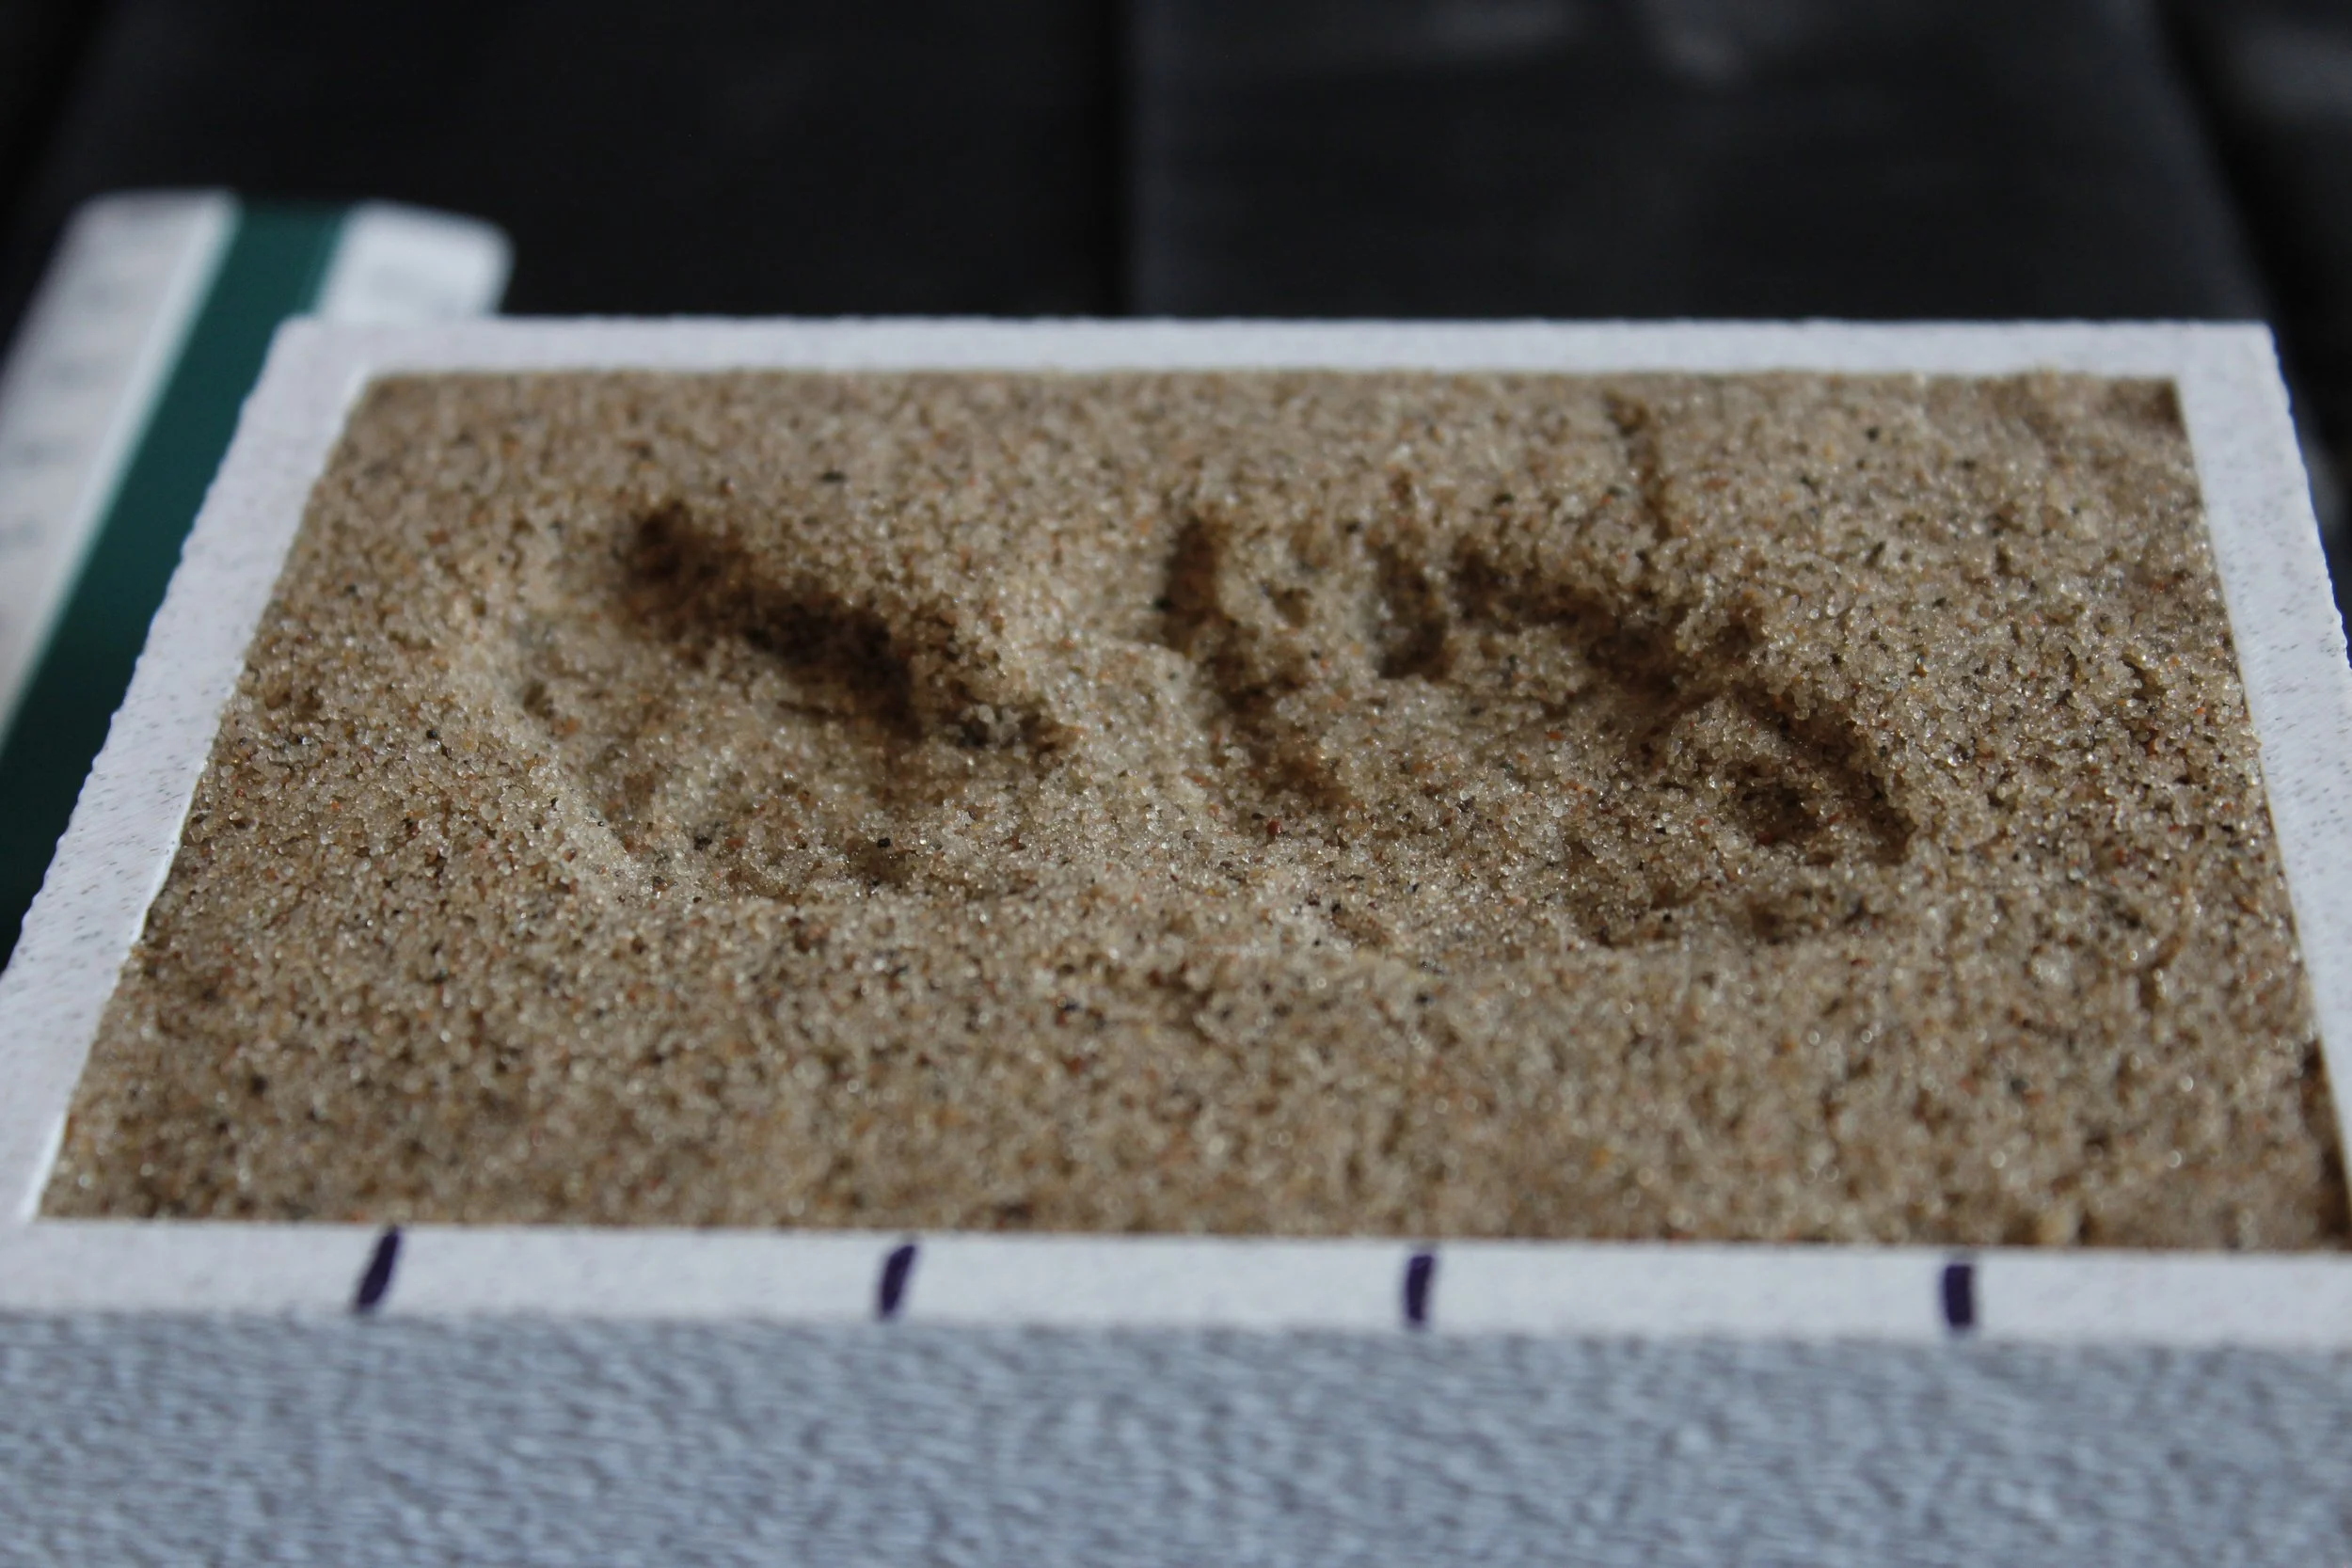
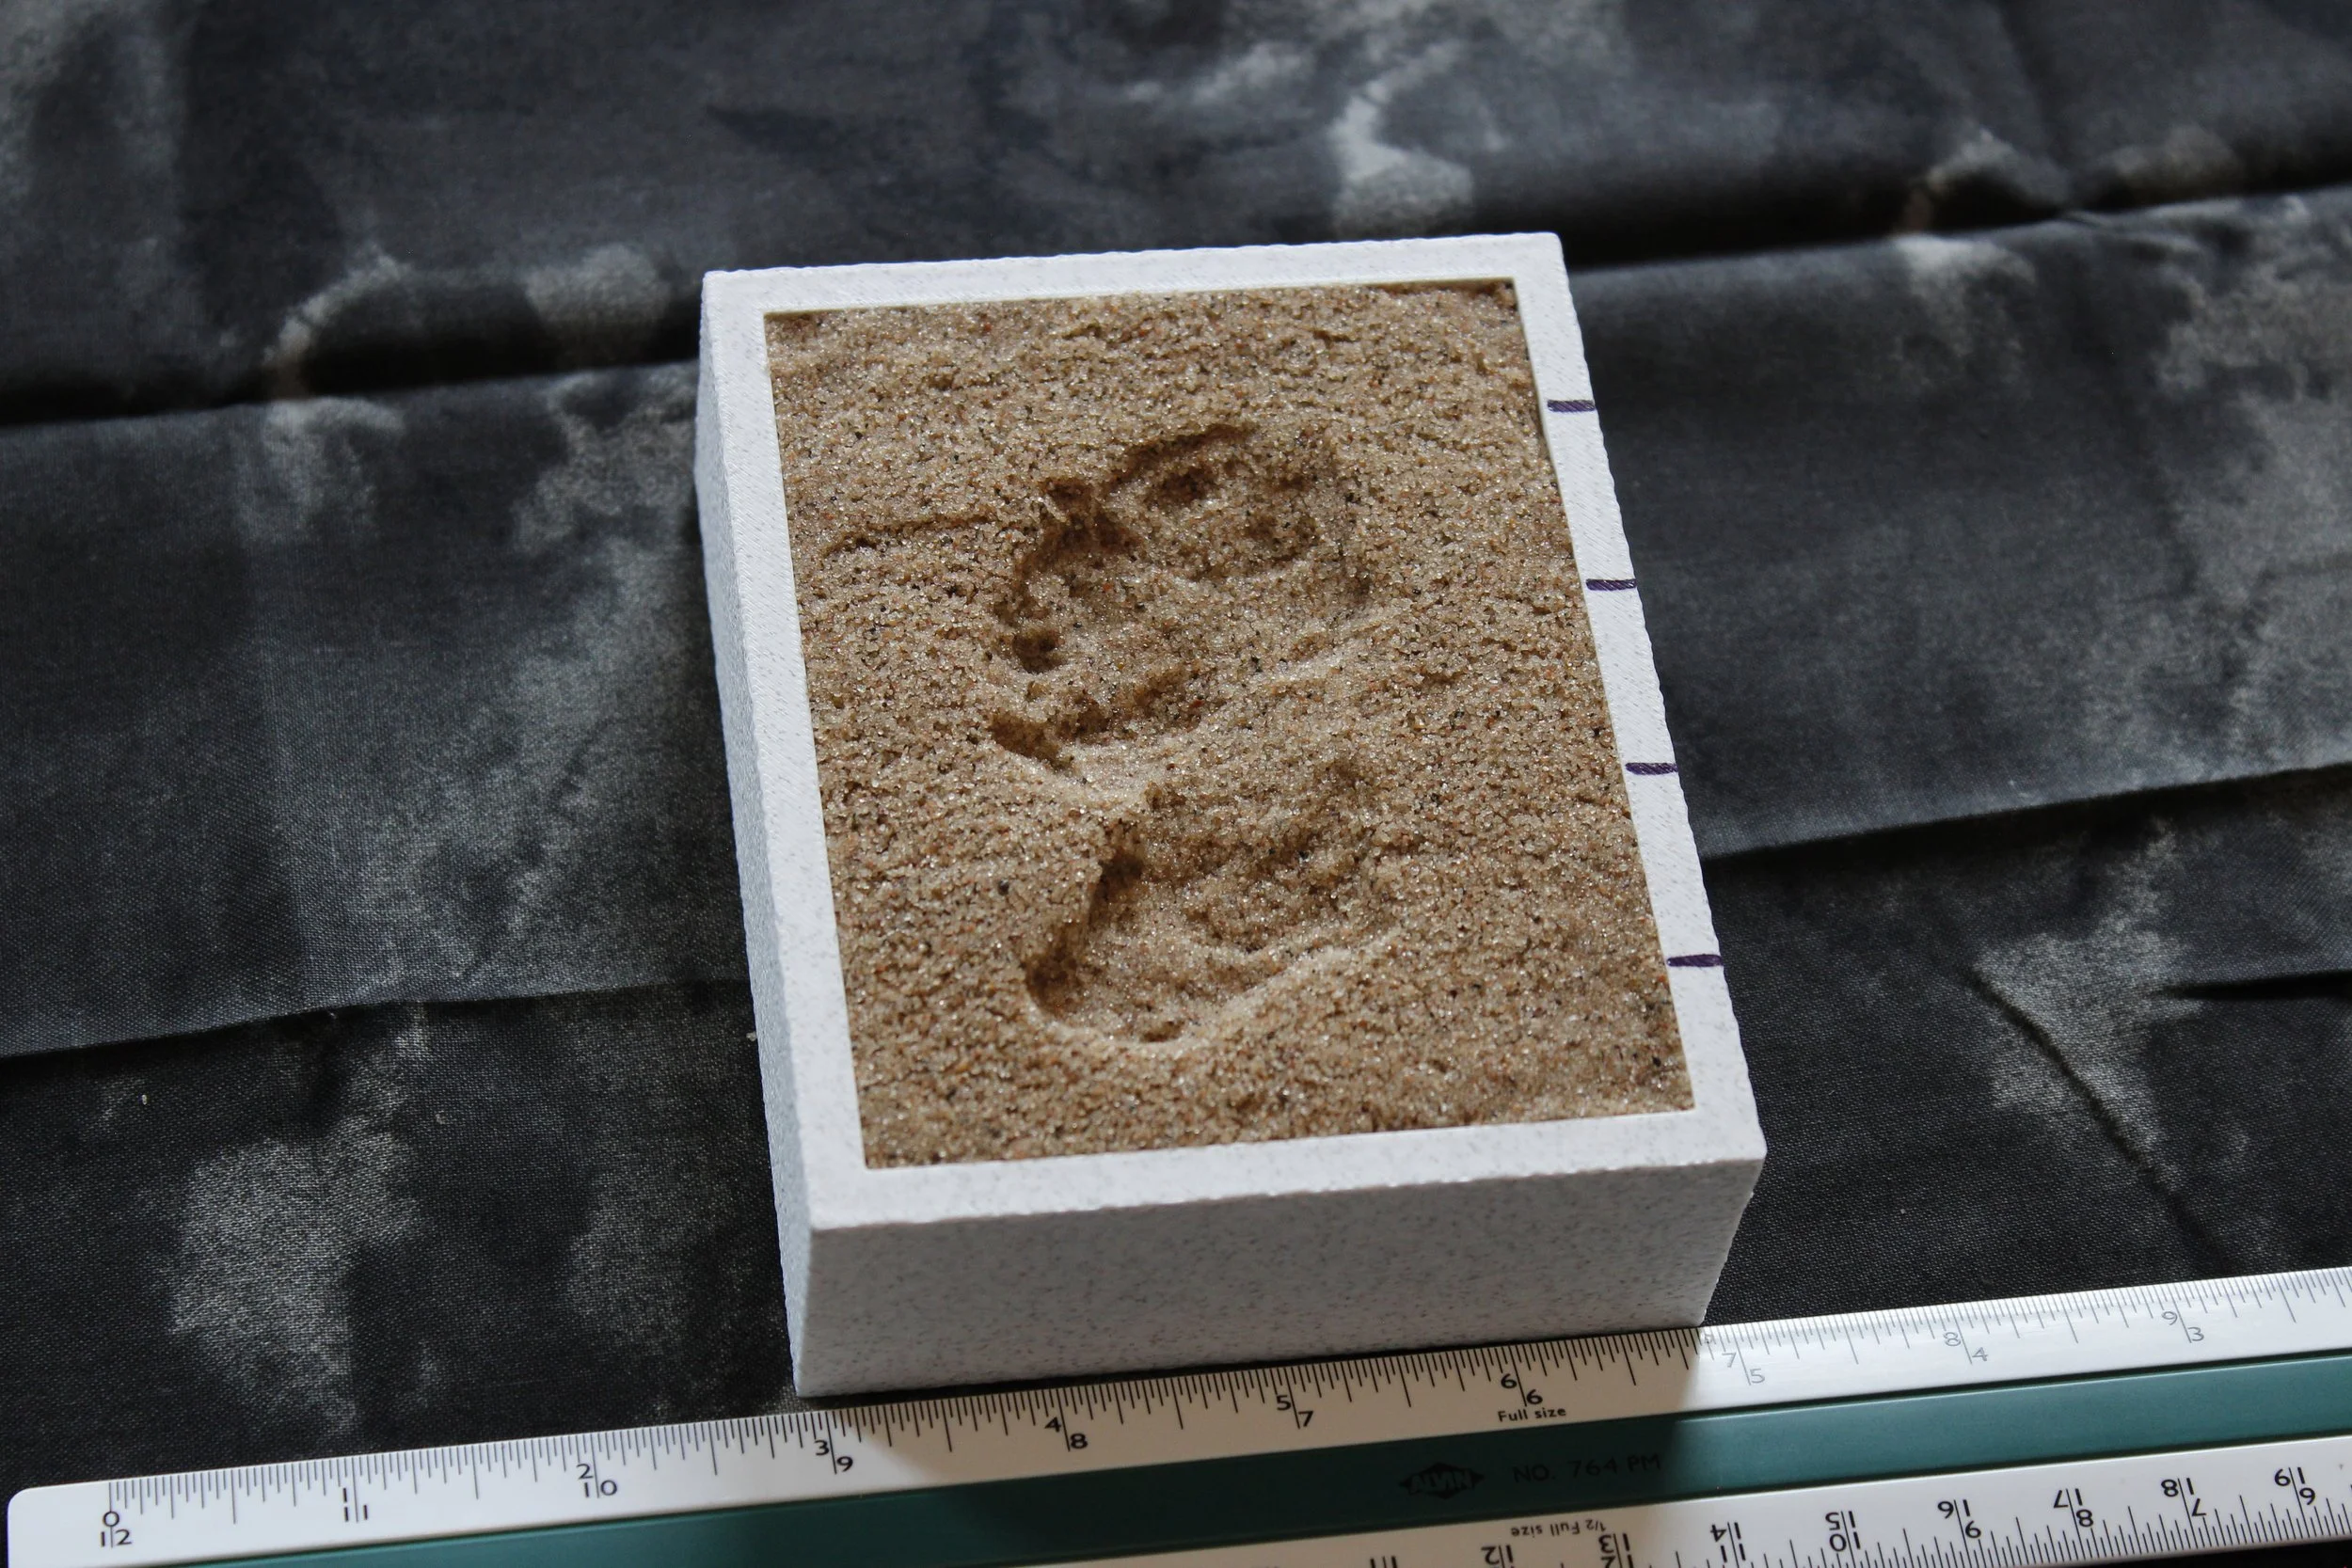
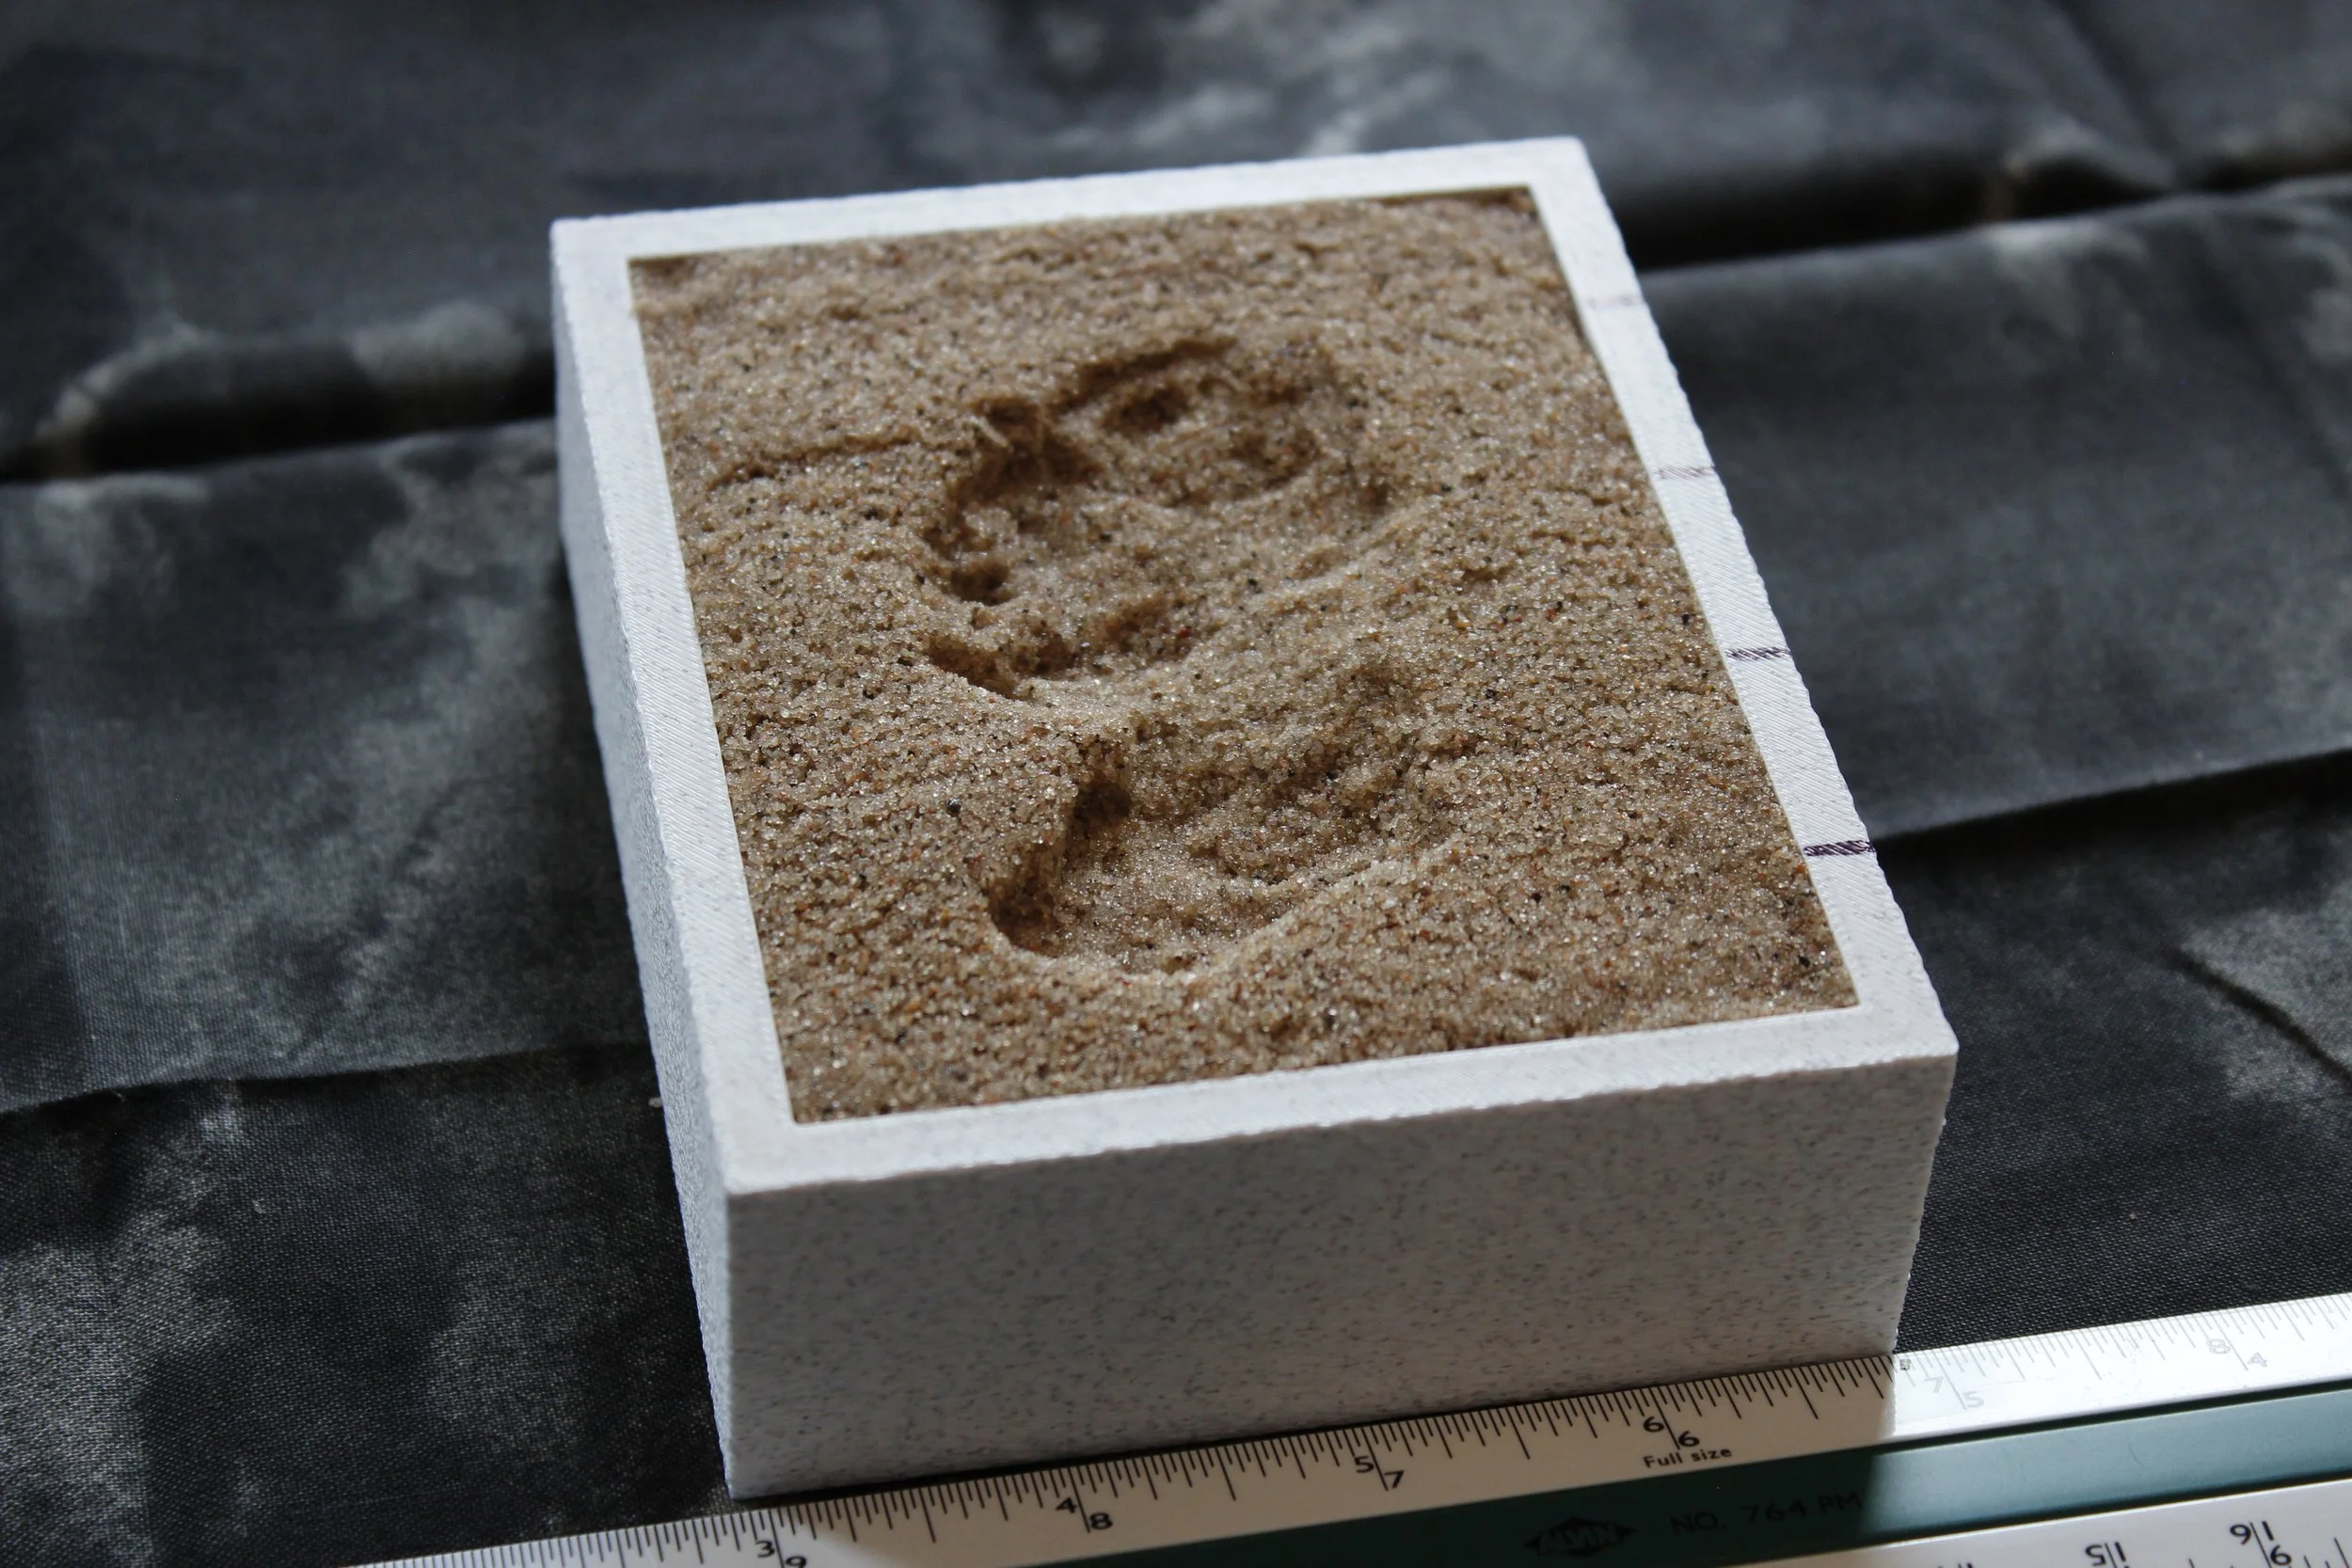
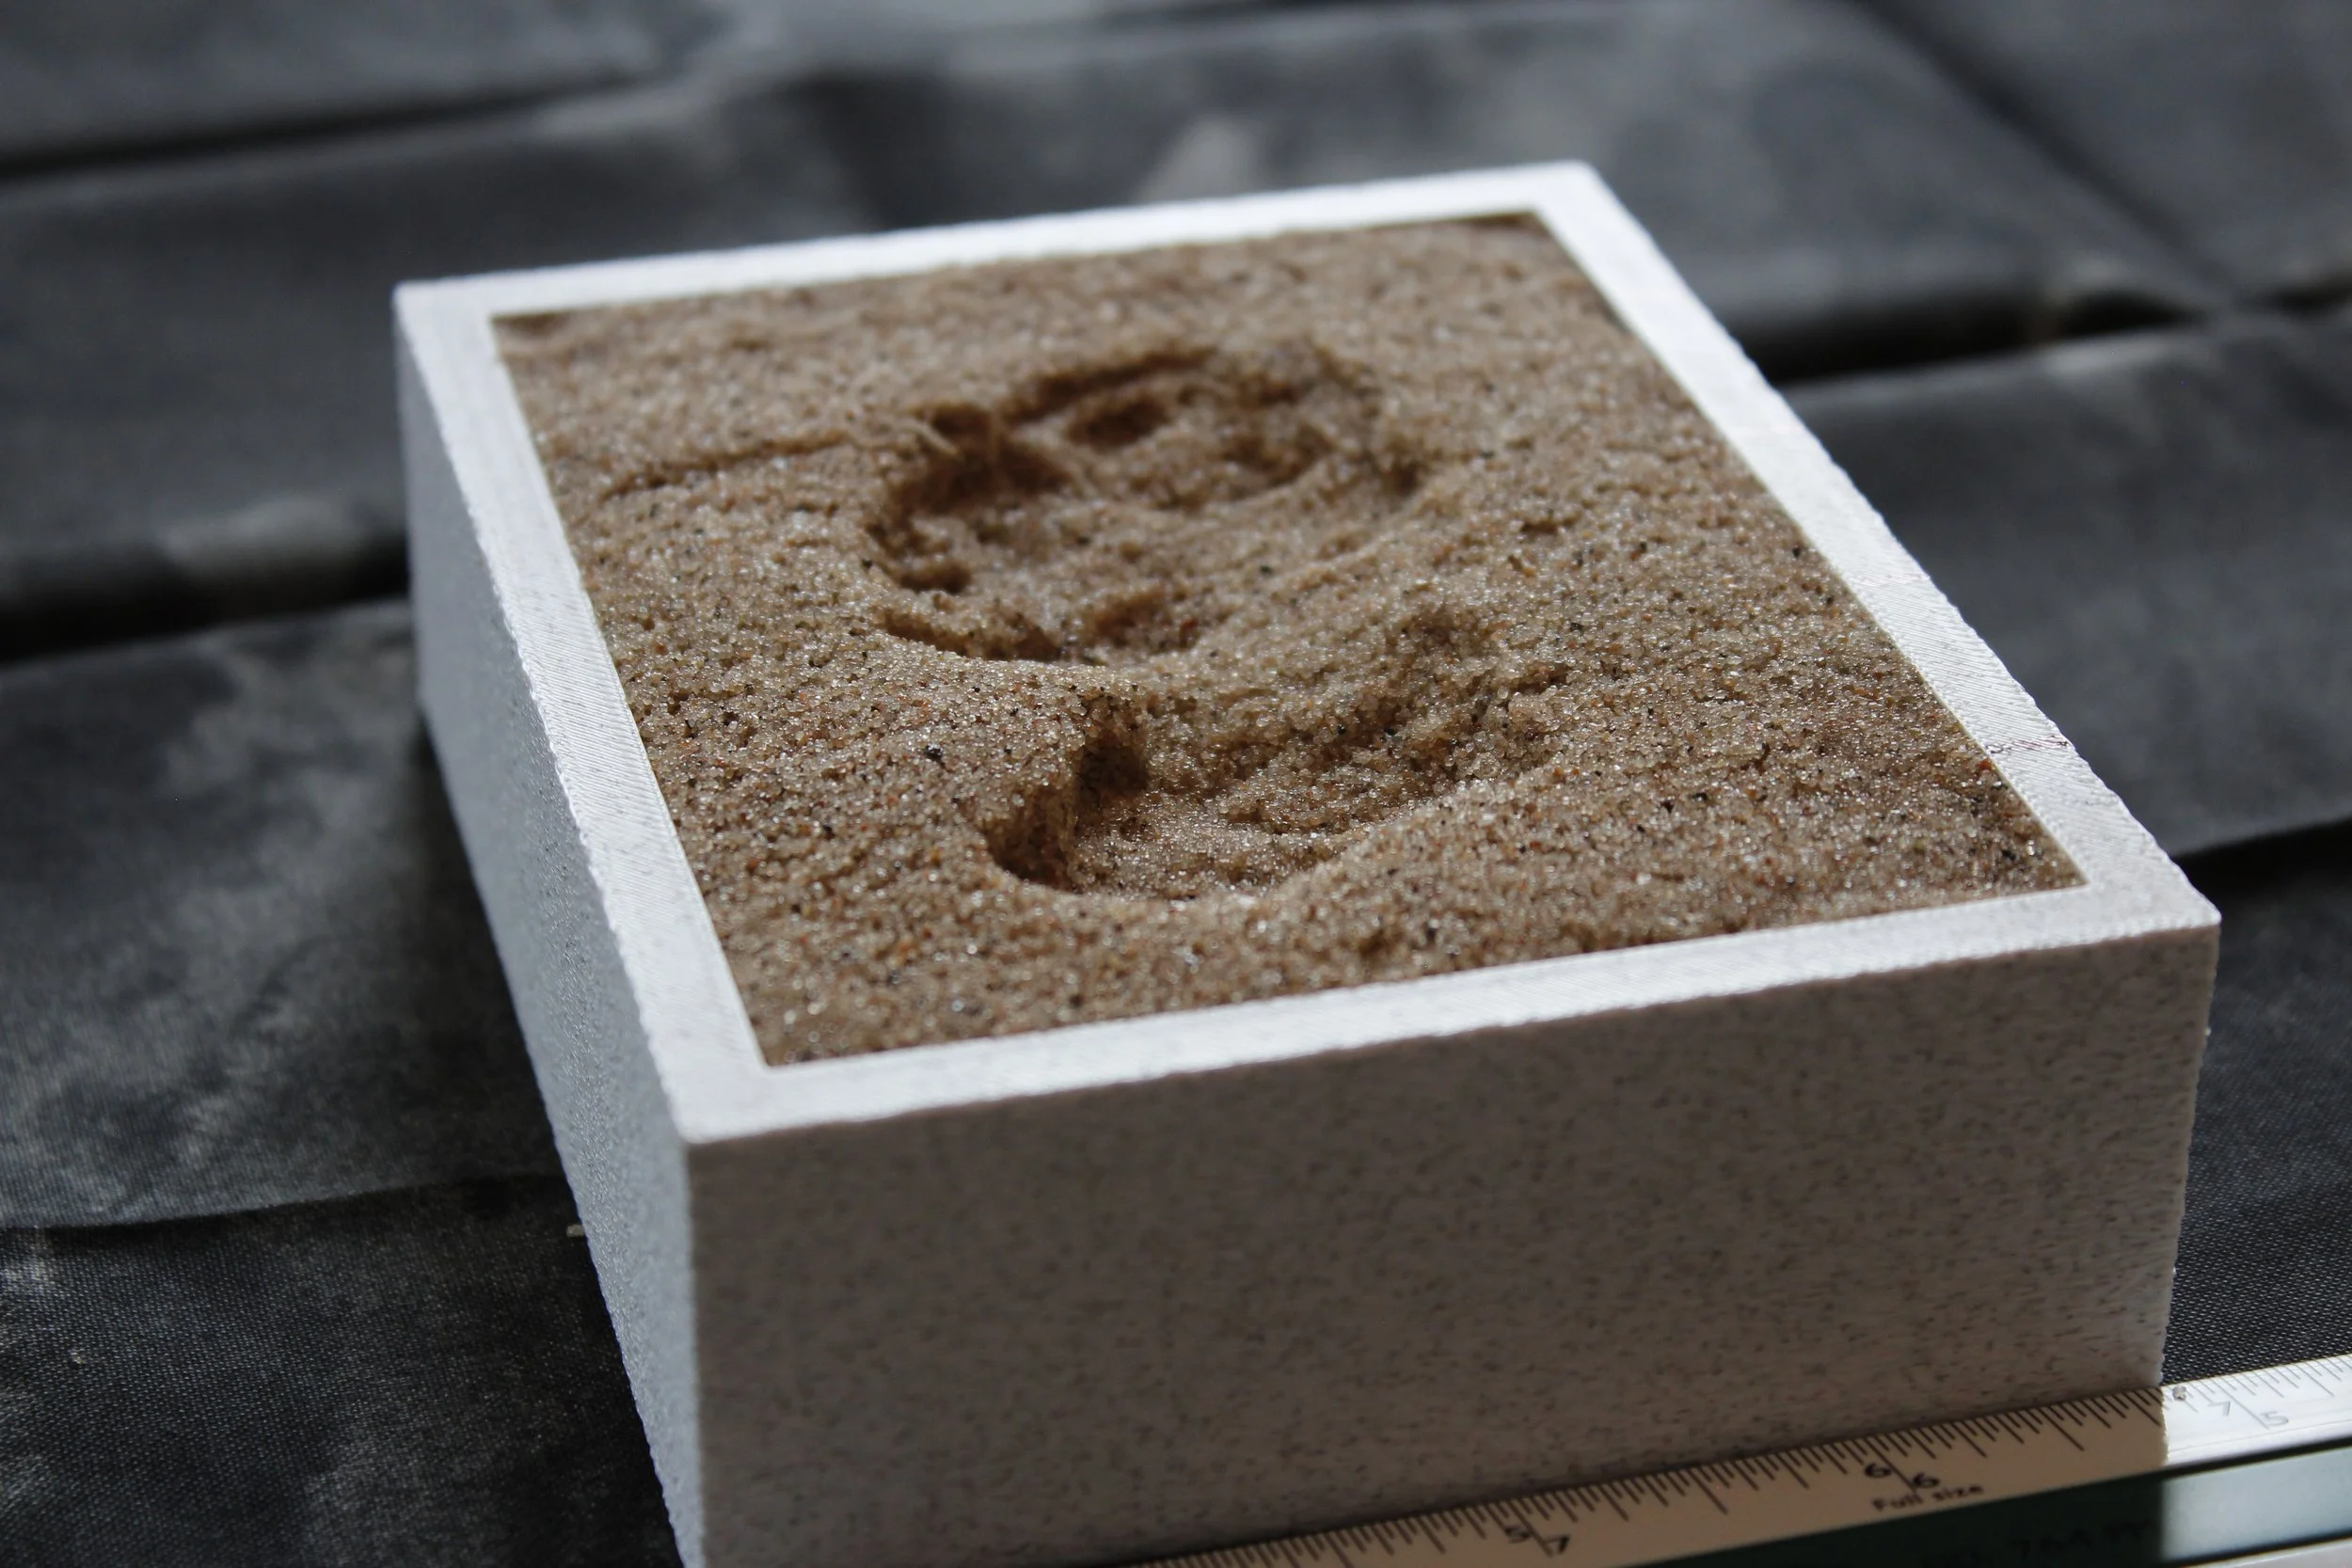
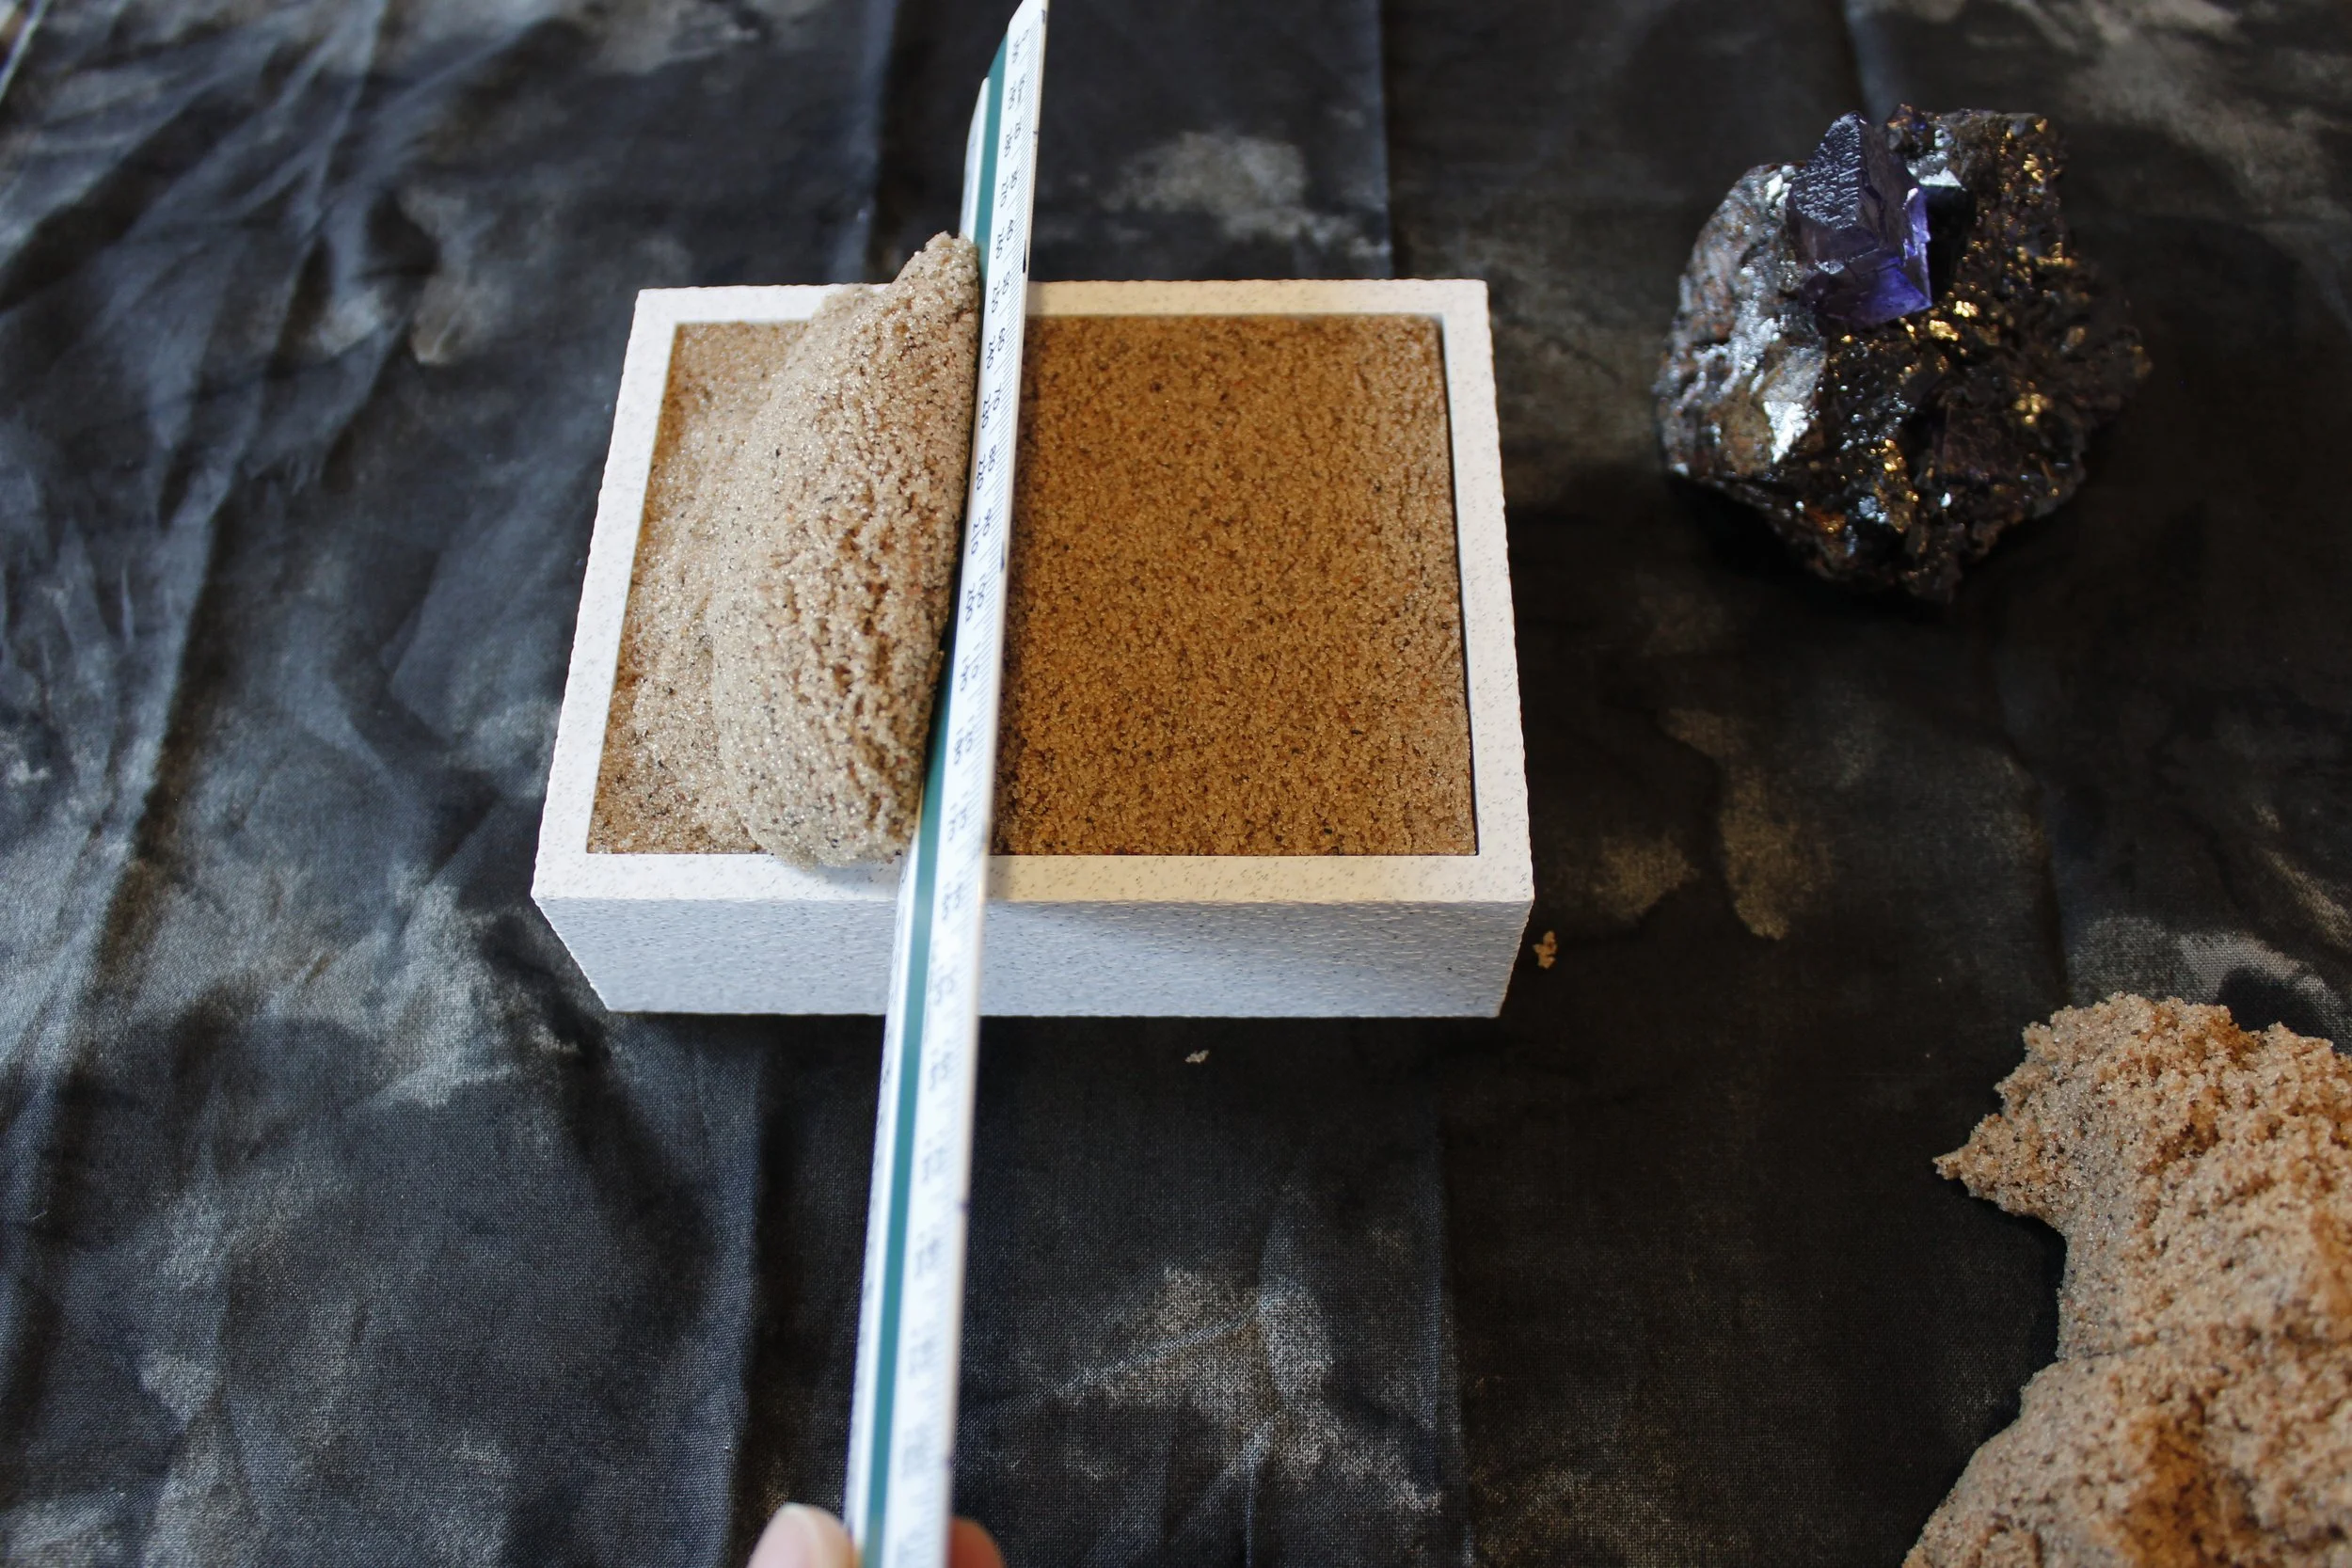
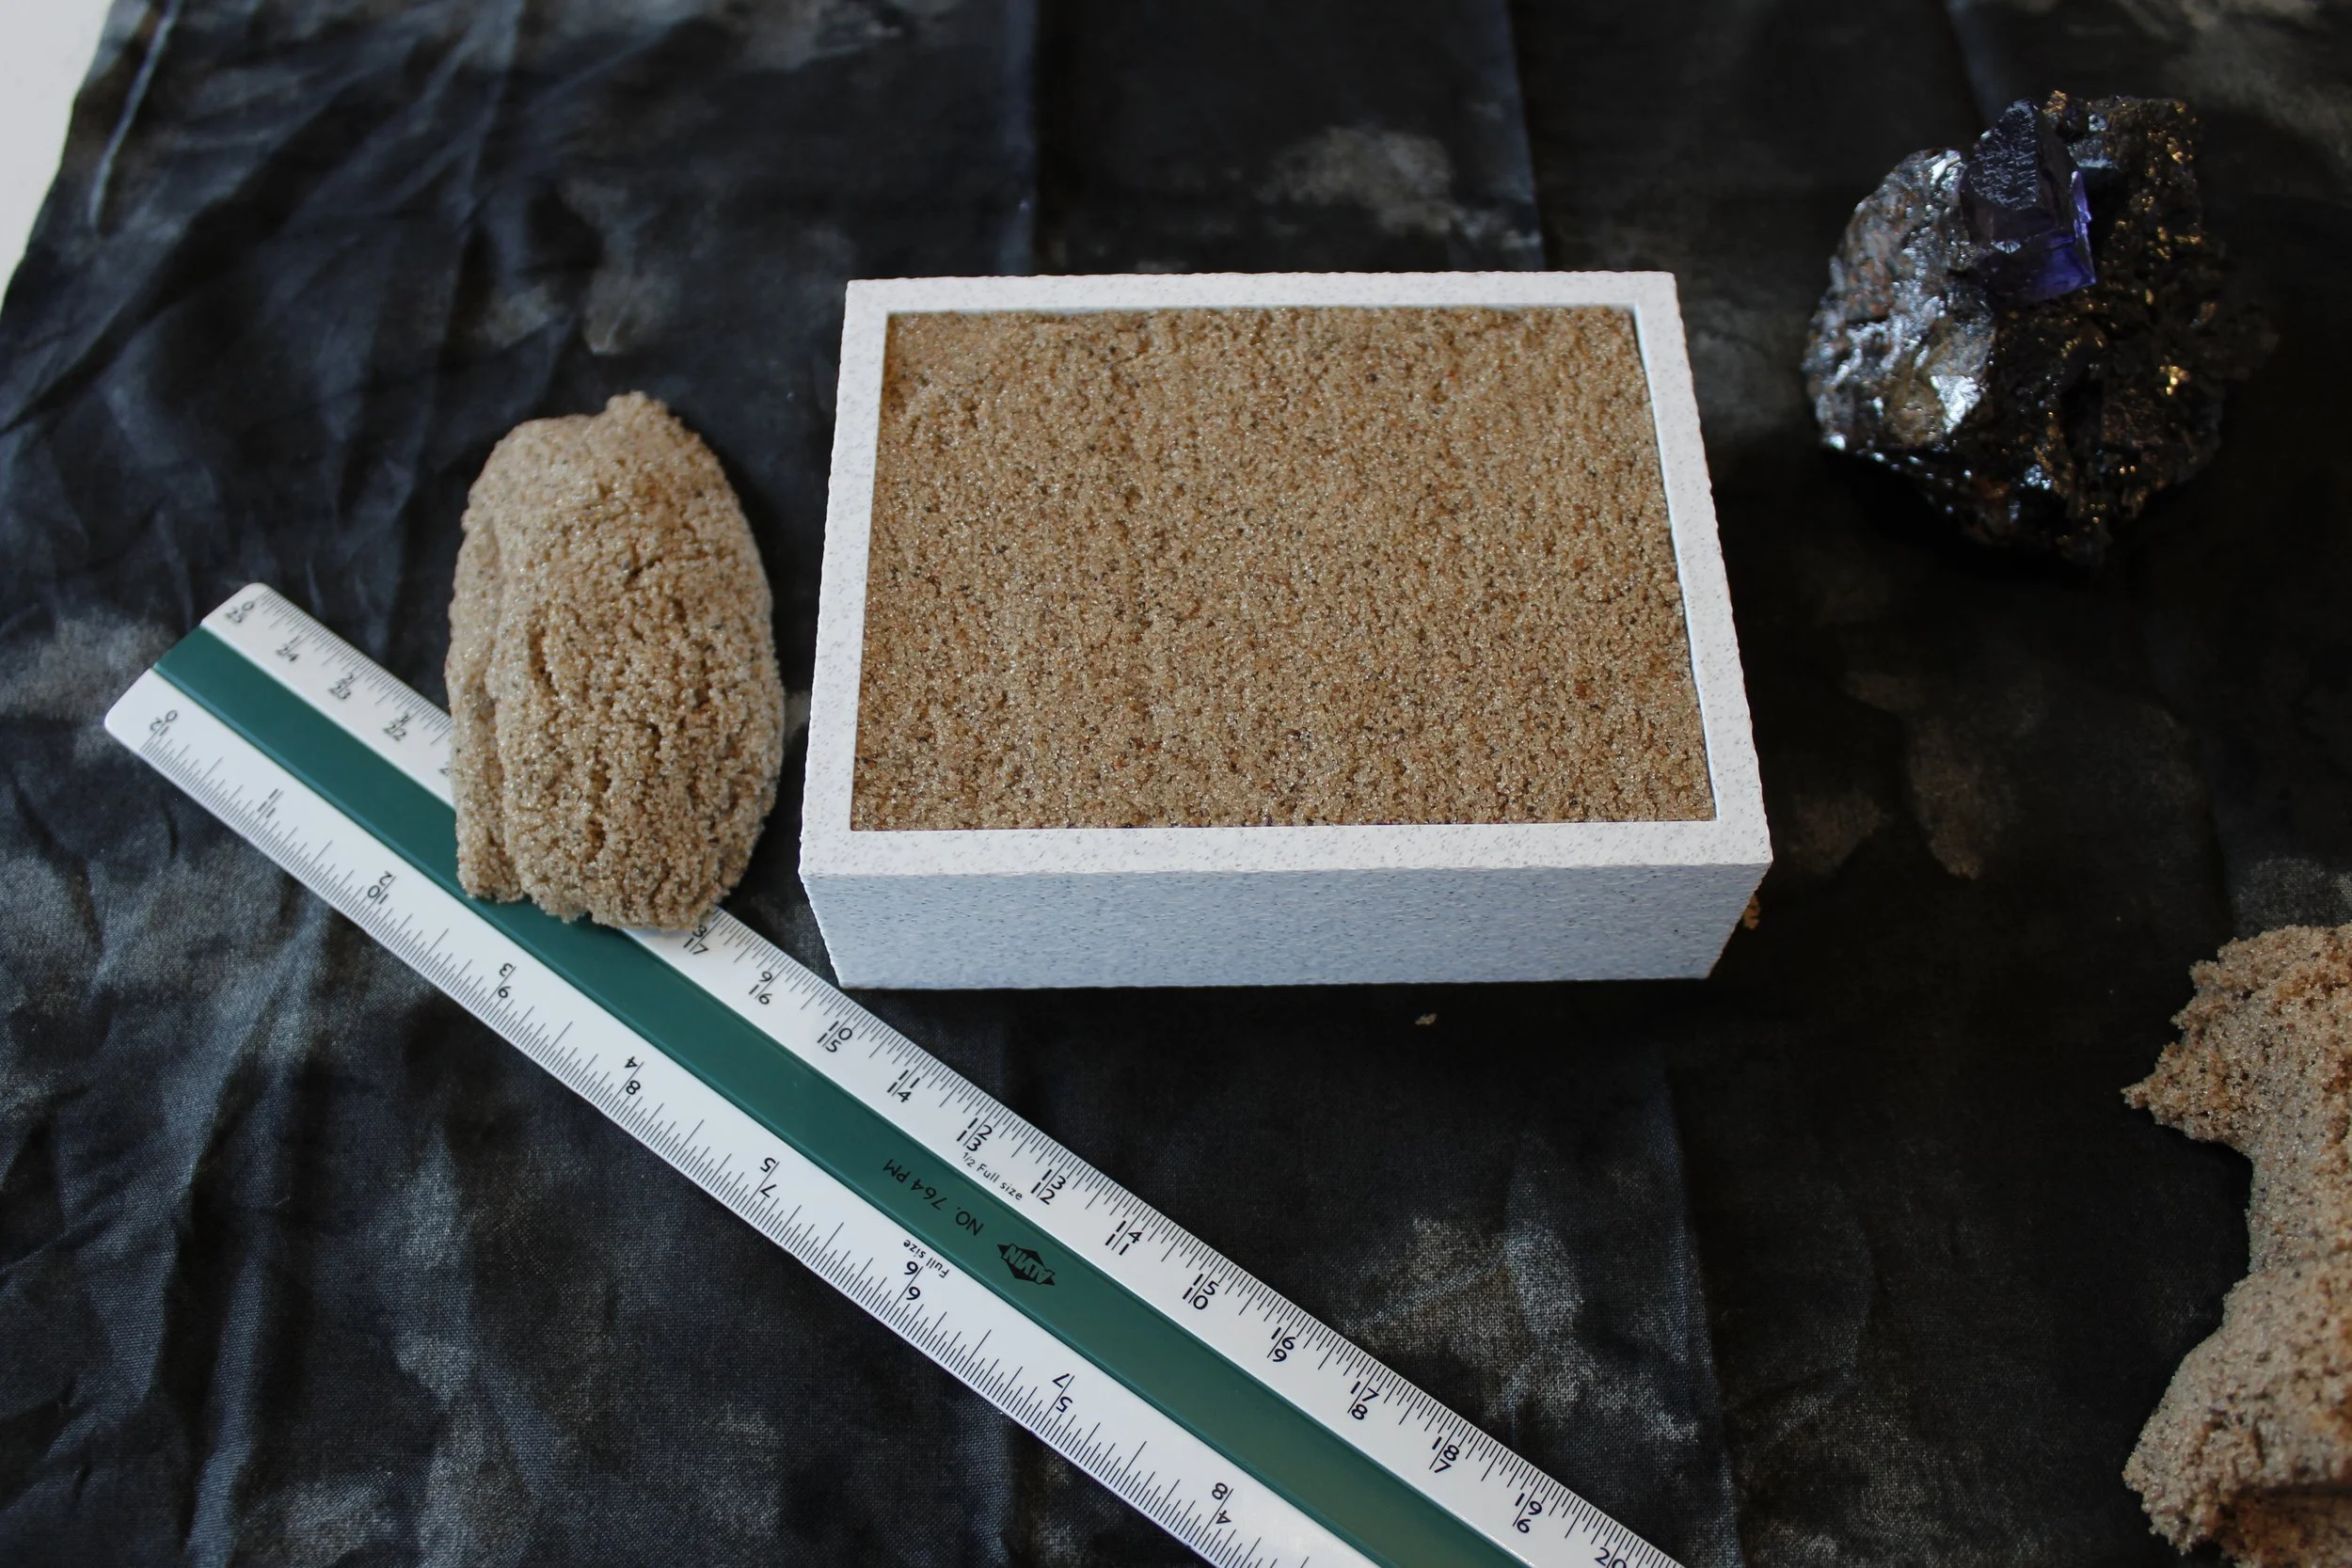
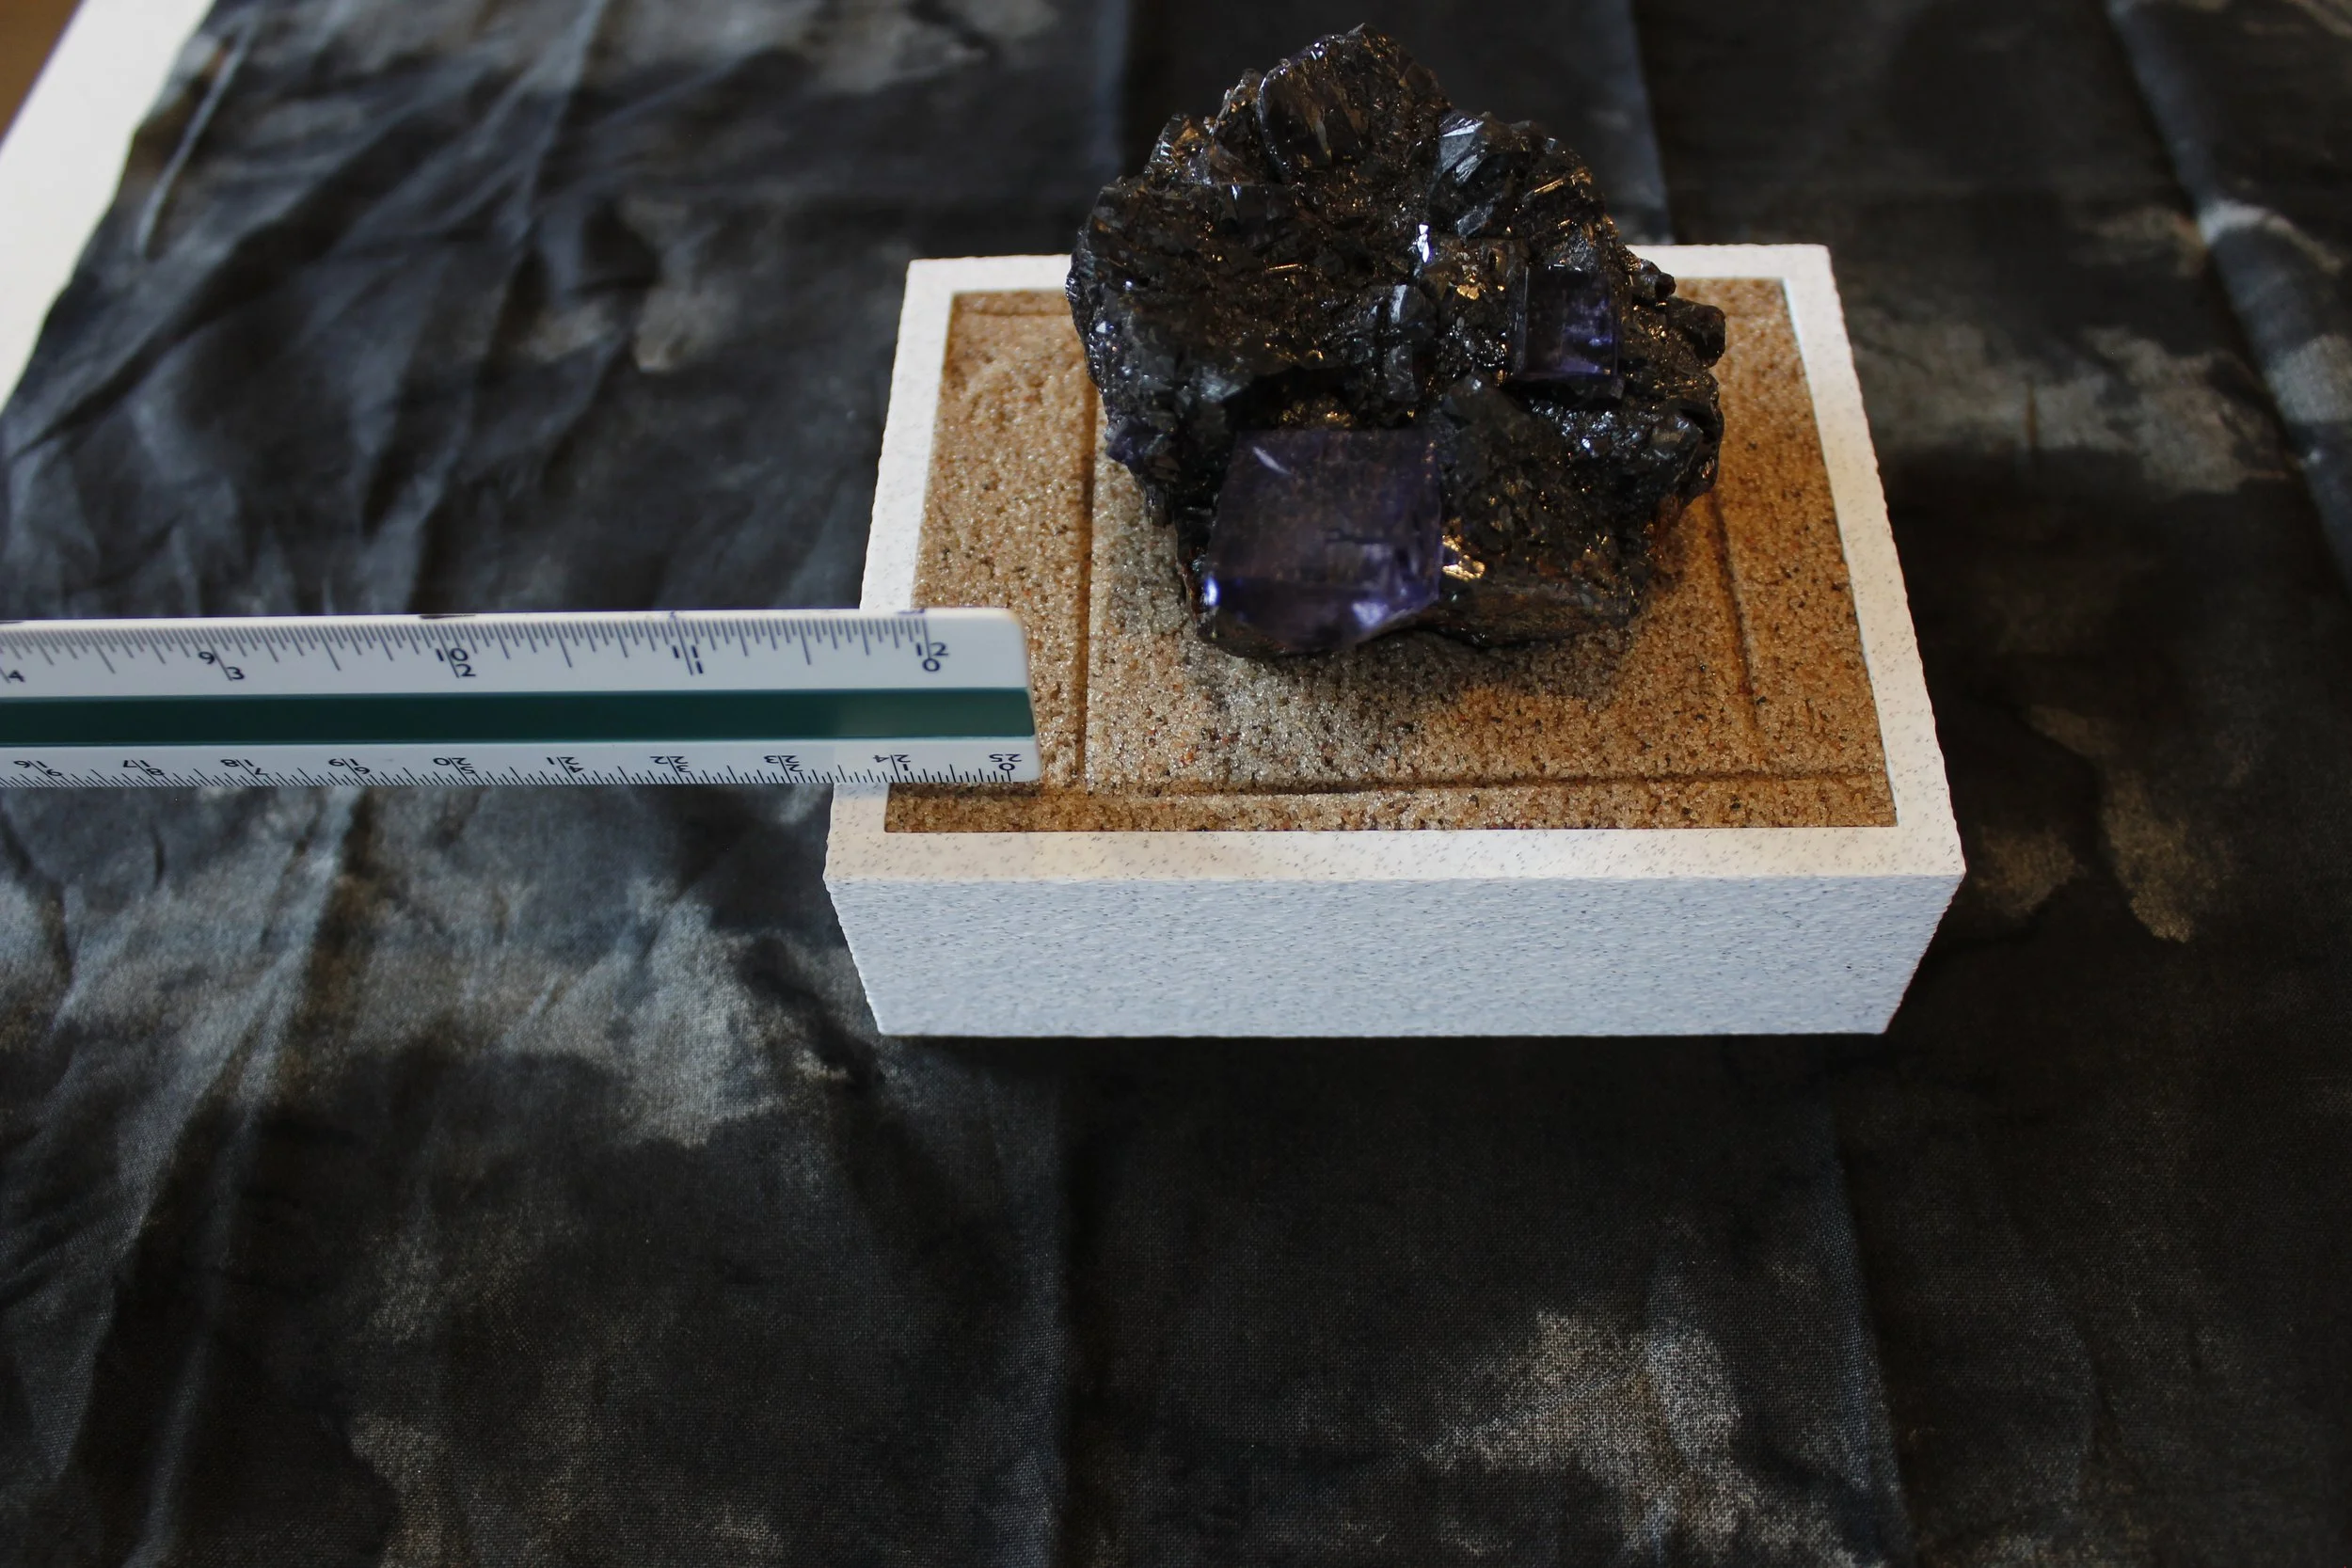
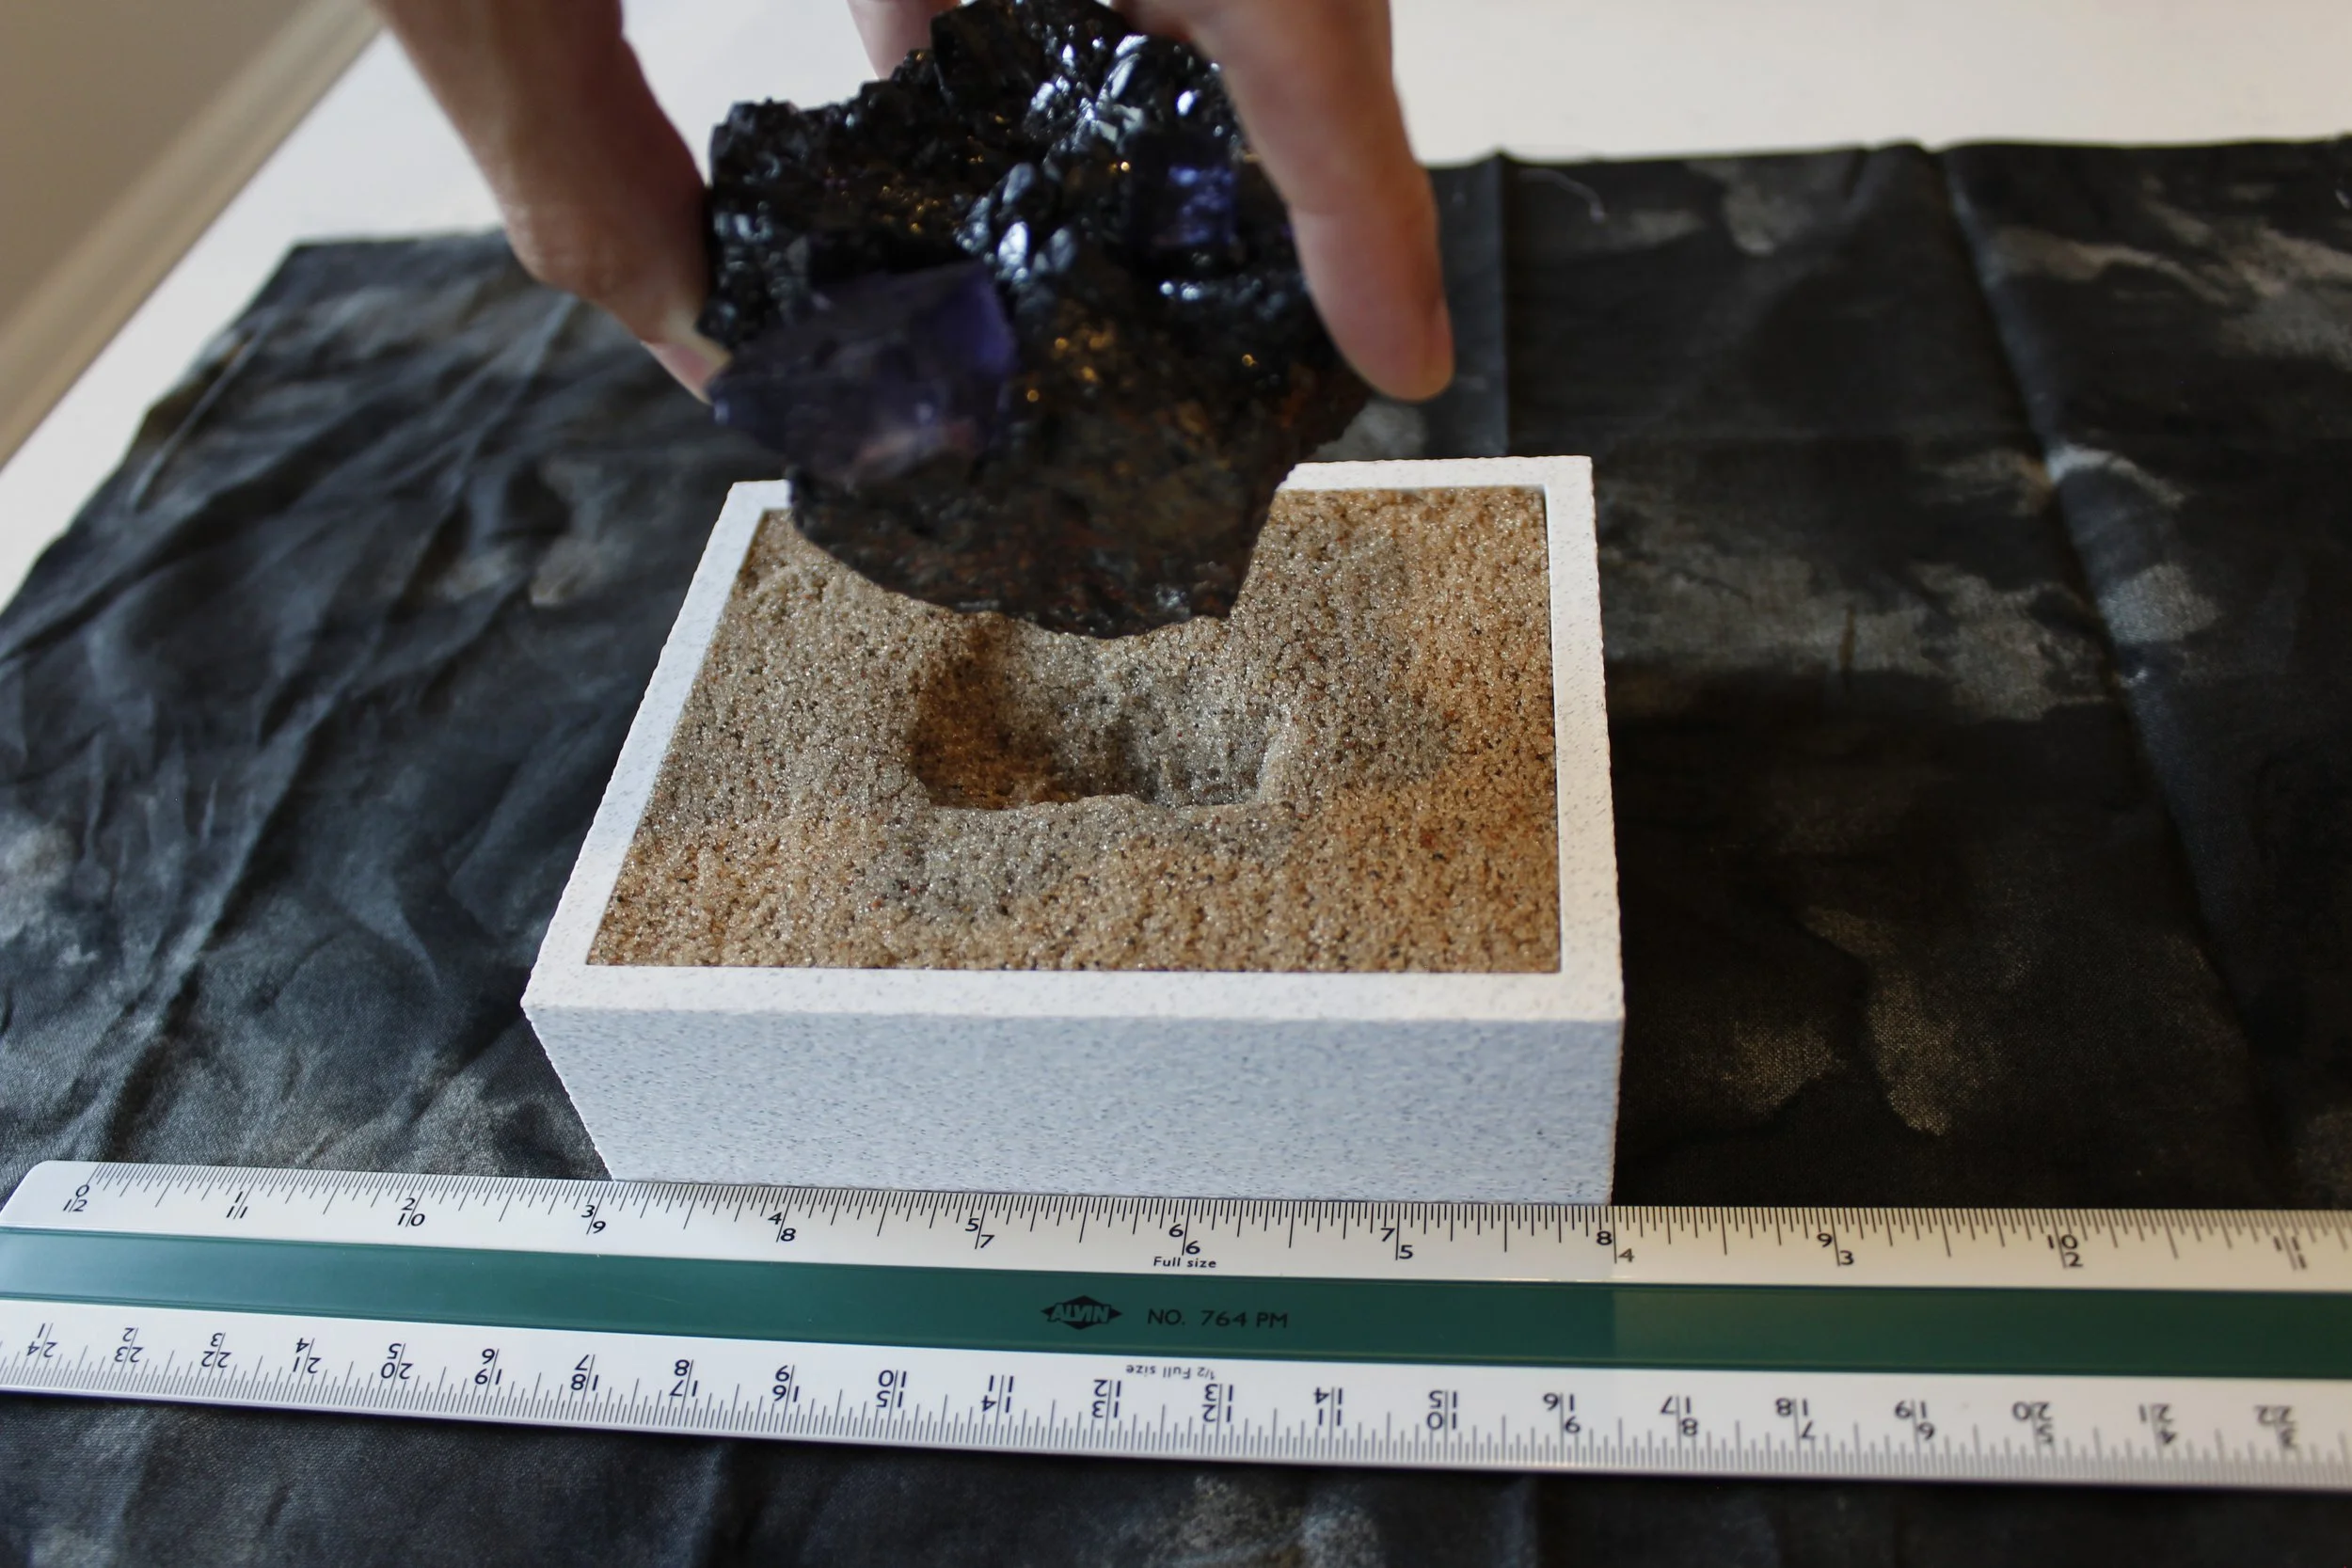
Follow our How-To Guide for step-by-step instructions on creating the impression mold. Make sure the sand surface is perfectly flat before you press your specimen in, and remember to “seal” the mold once you’re done so it holds every detail. You’ll need a ruler as well, if you don’t have one you can print one HERE.
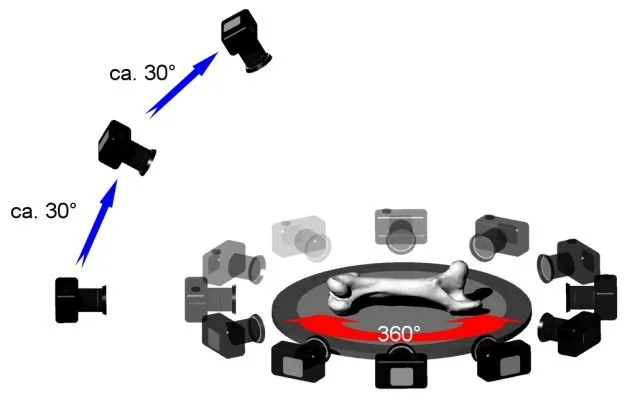
Step 3: Photogrammetry Time
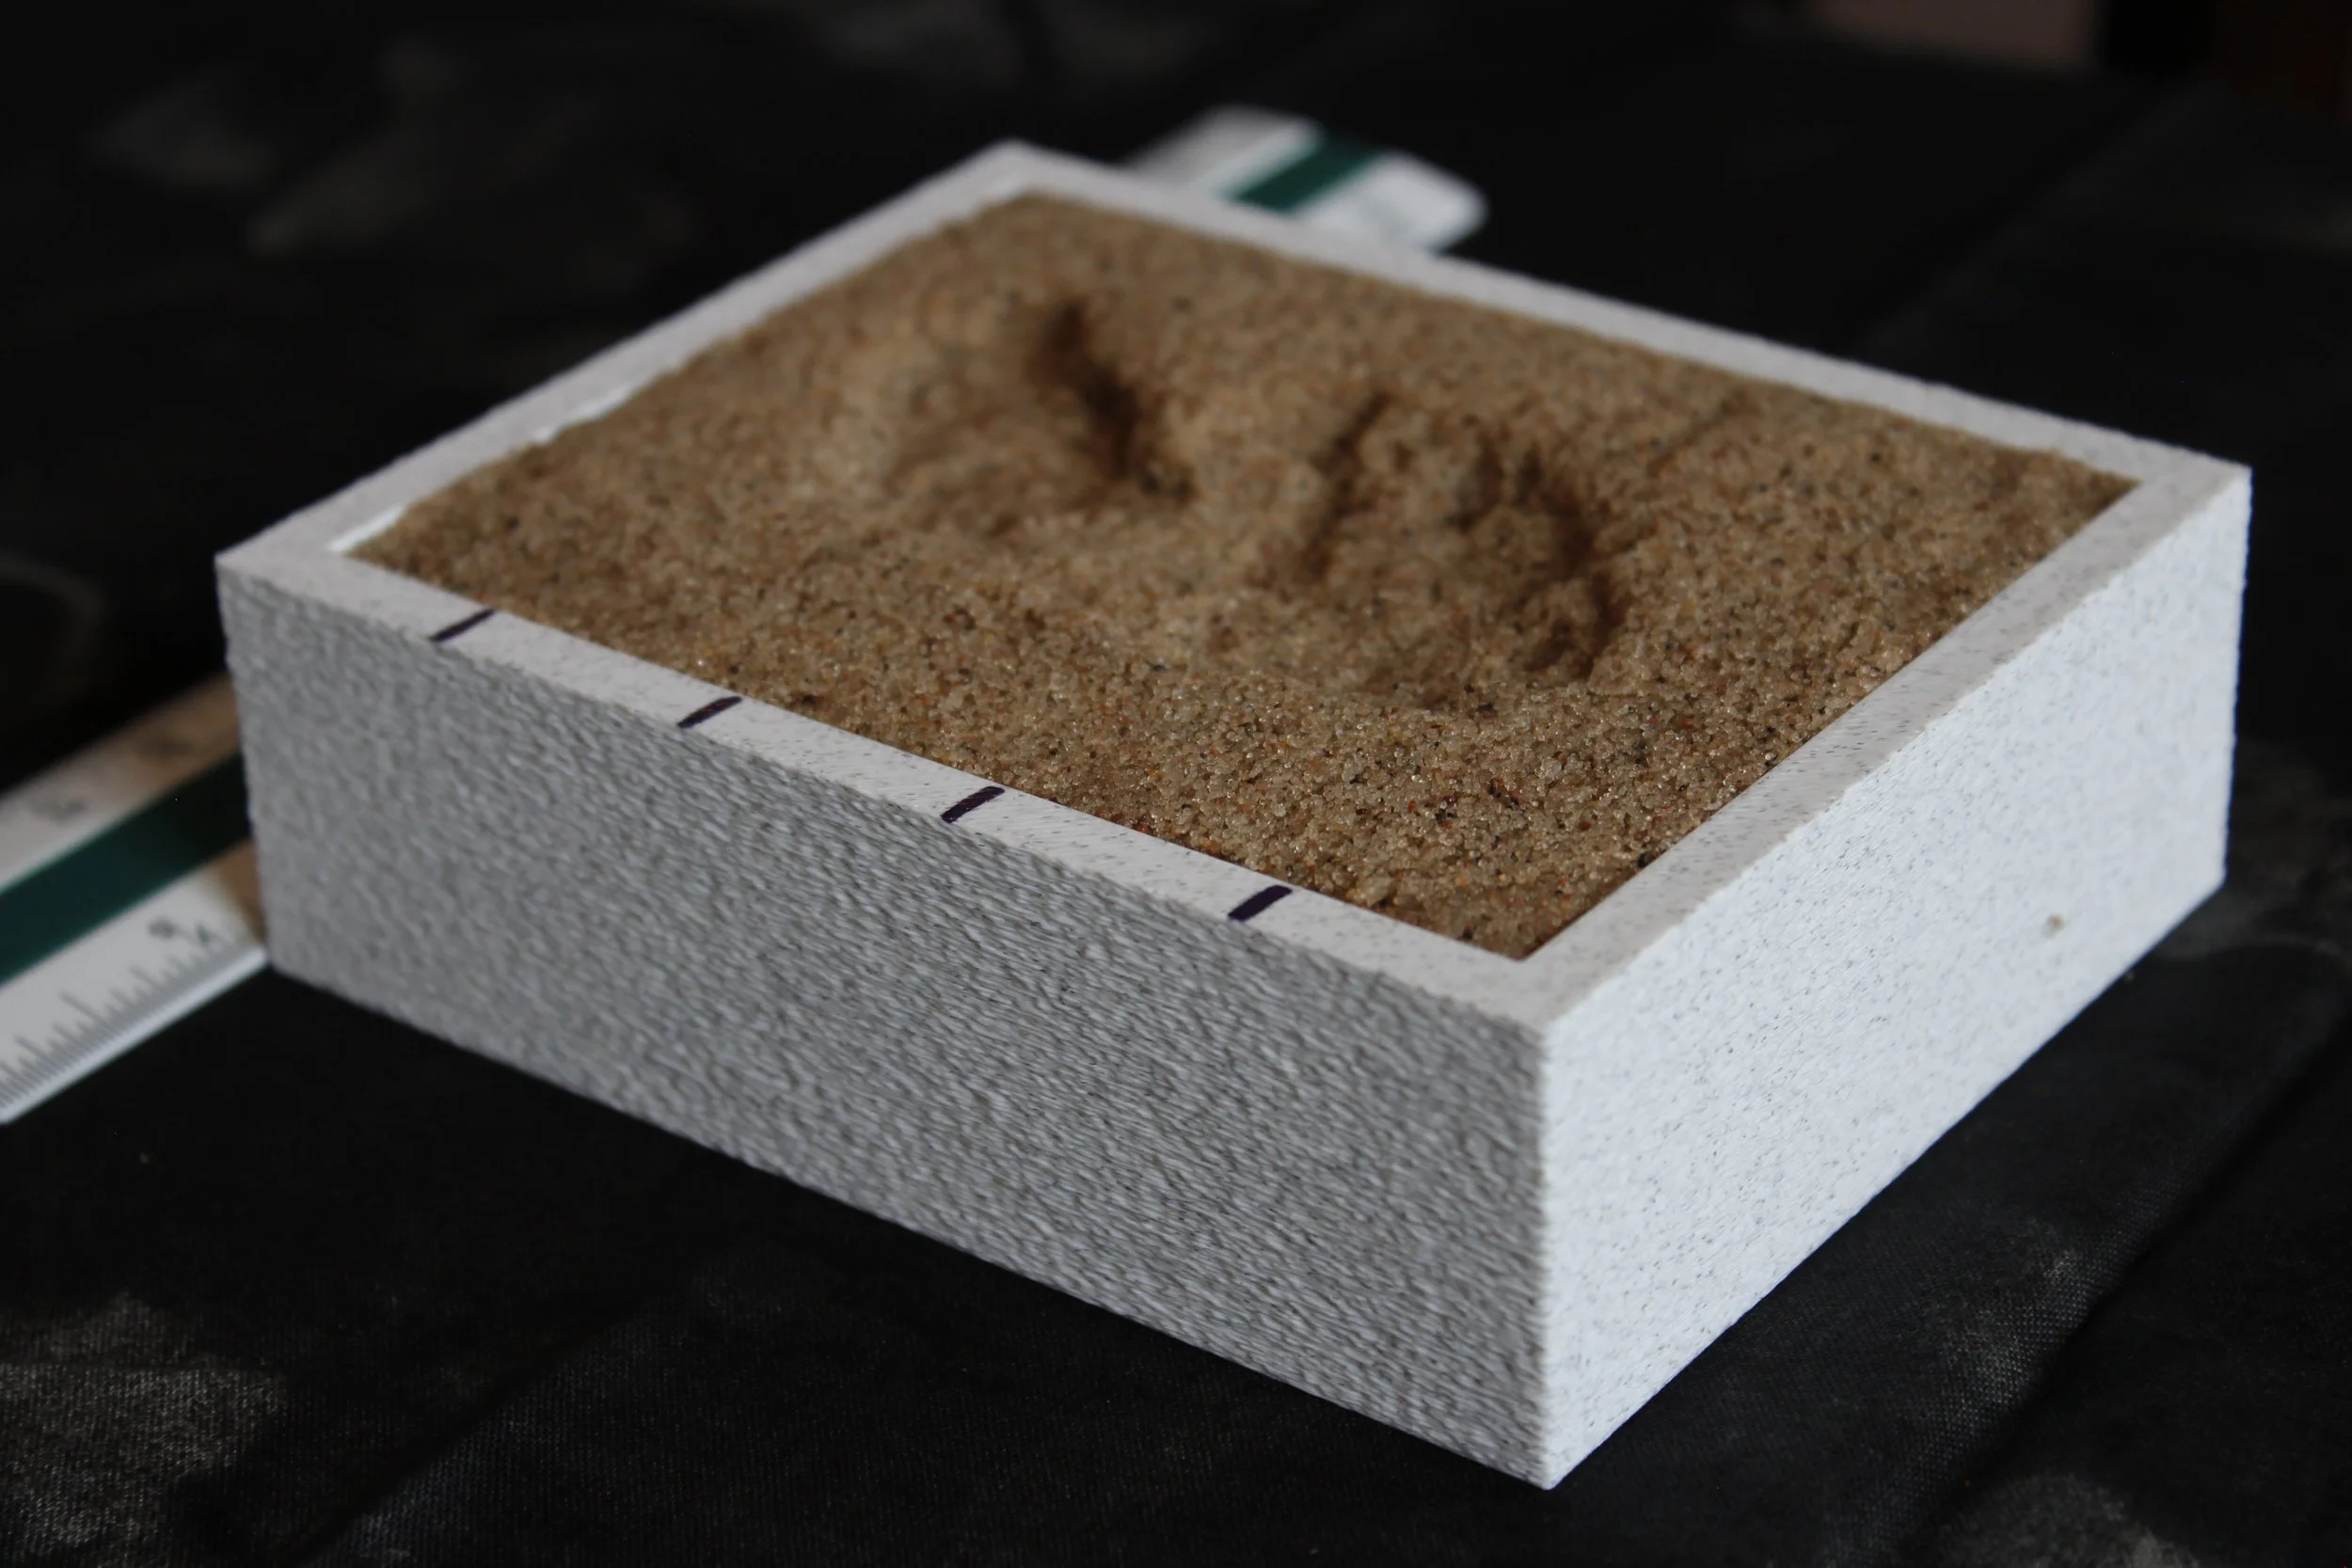
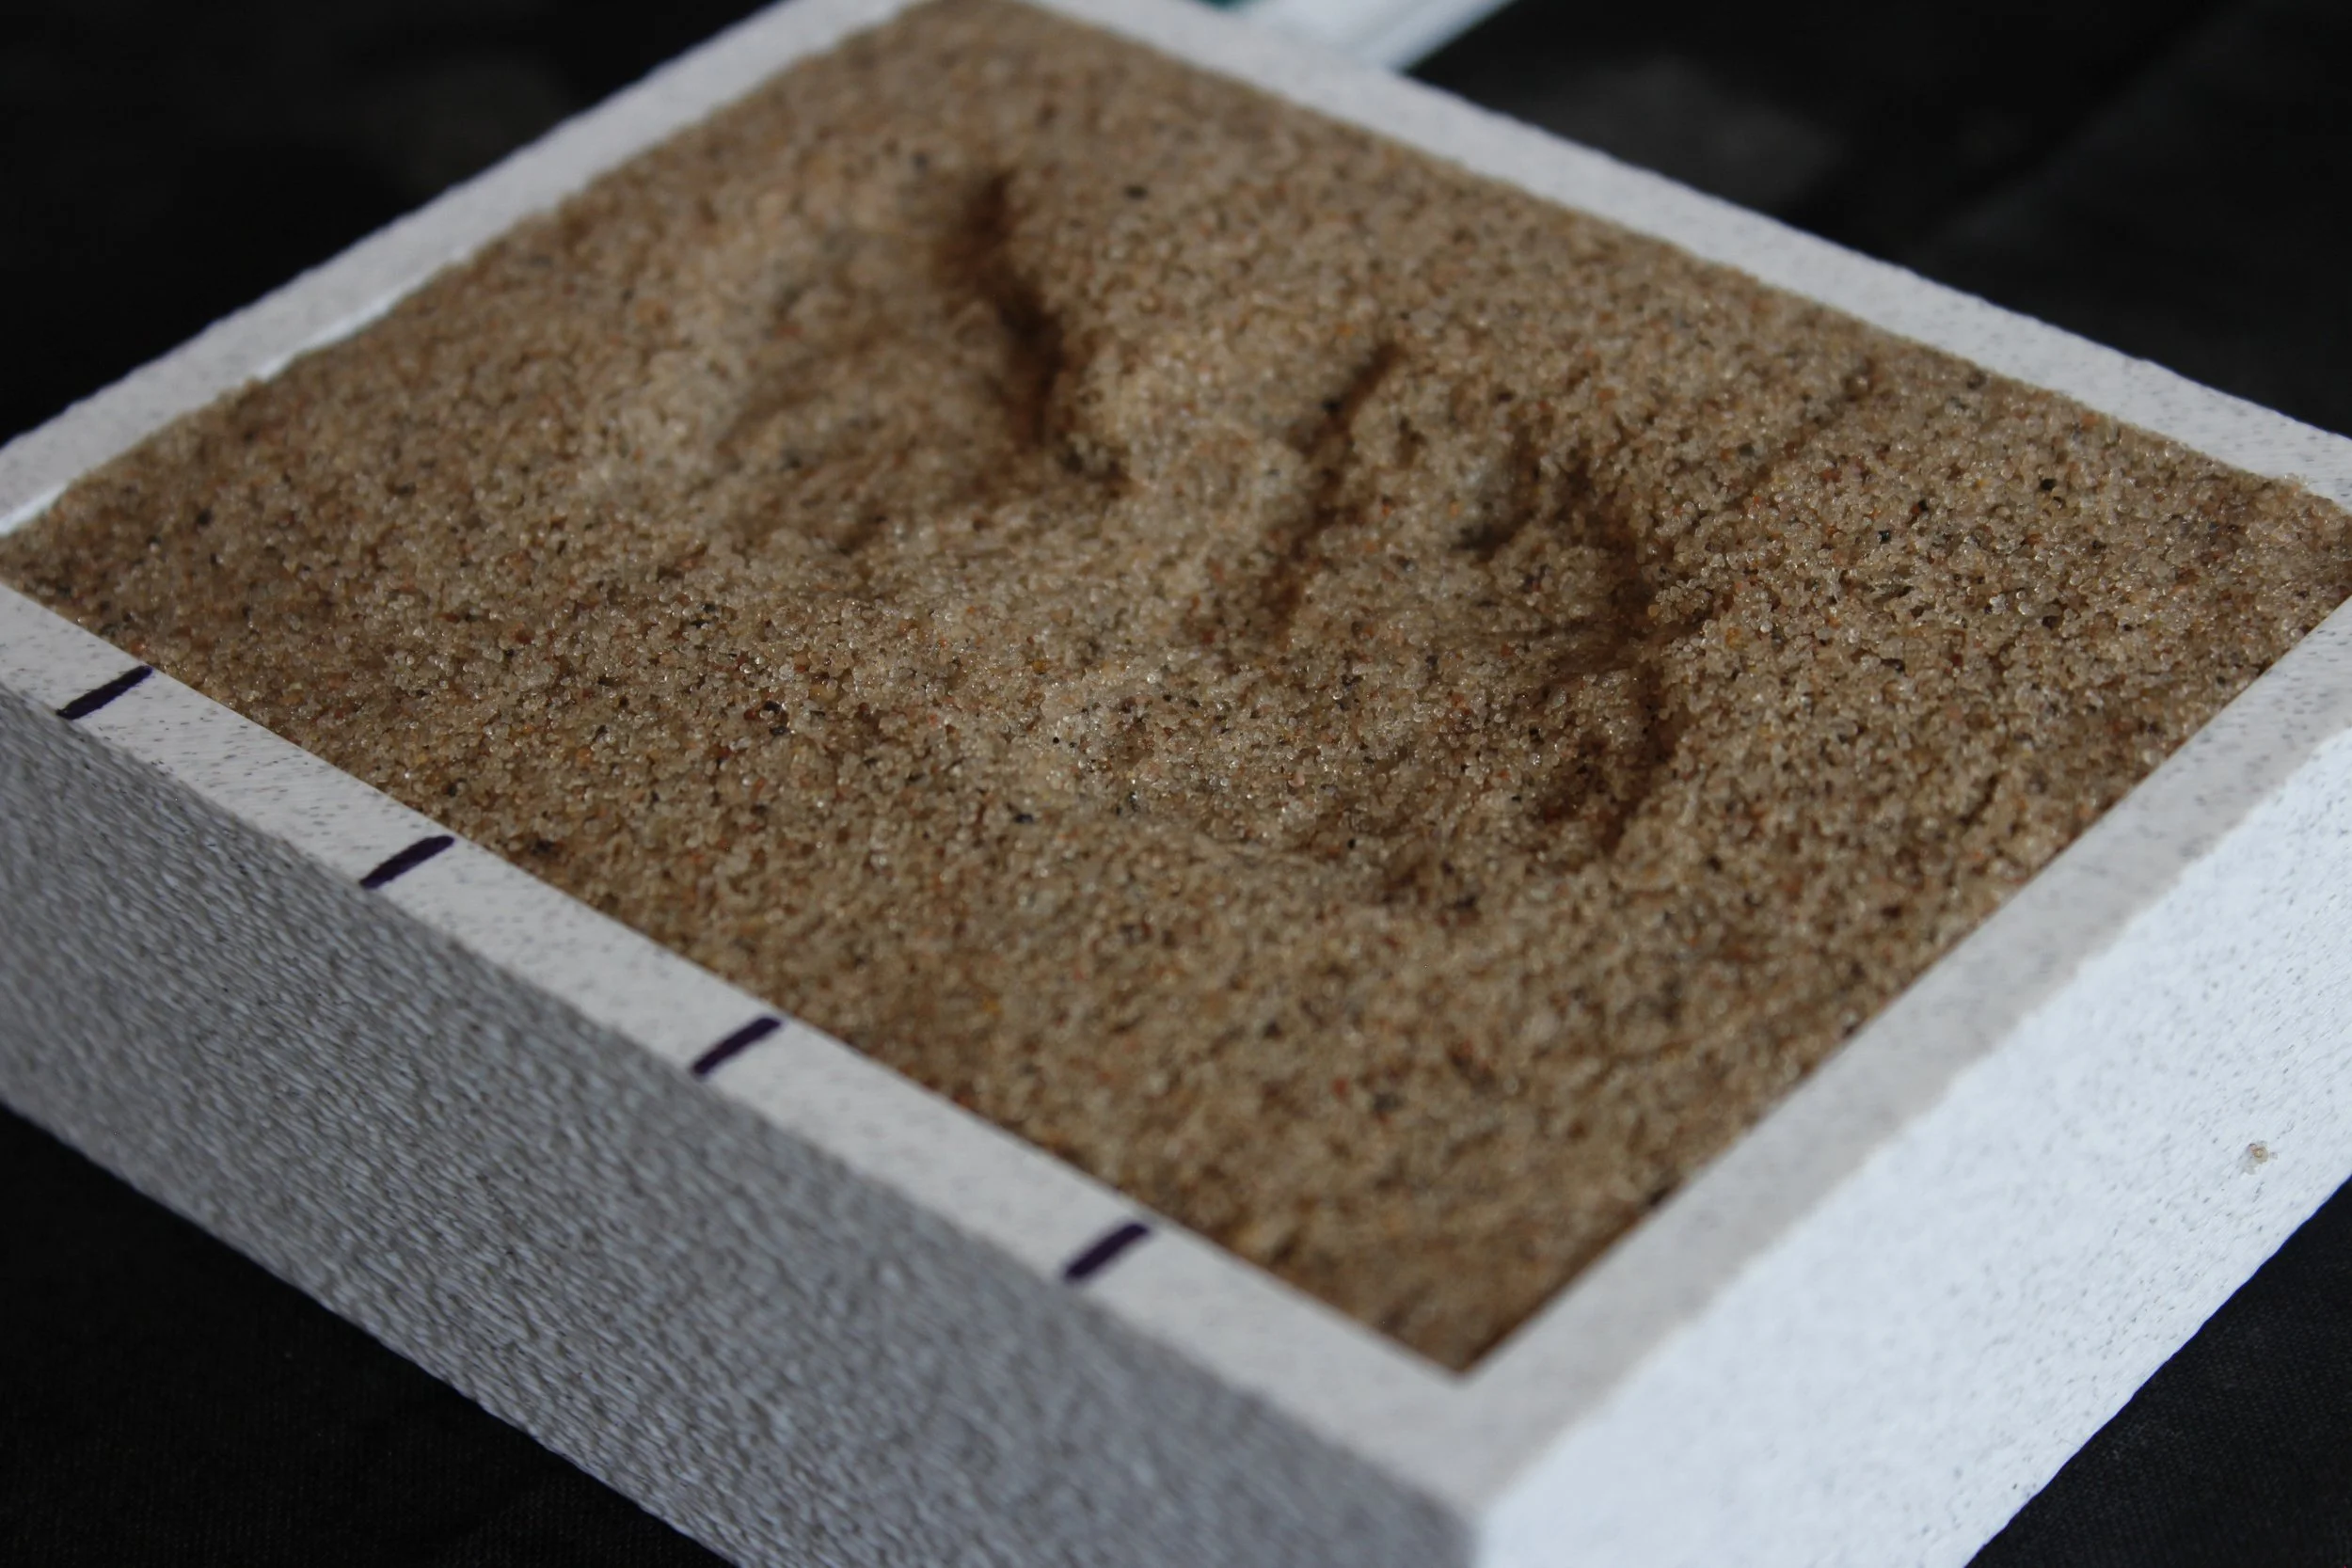
Time to learn a new skill! We will be using photogrammetry to turn your impression into a 3D model. Don’t worry—we handle all of the heavy lifting. You simply need to take about 30–45 photos from various angles and distances. Check the How-To Guide for more tips on lighting, overlap, and camera positioning.
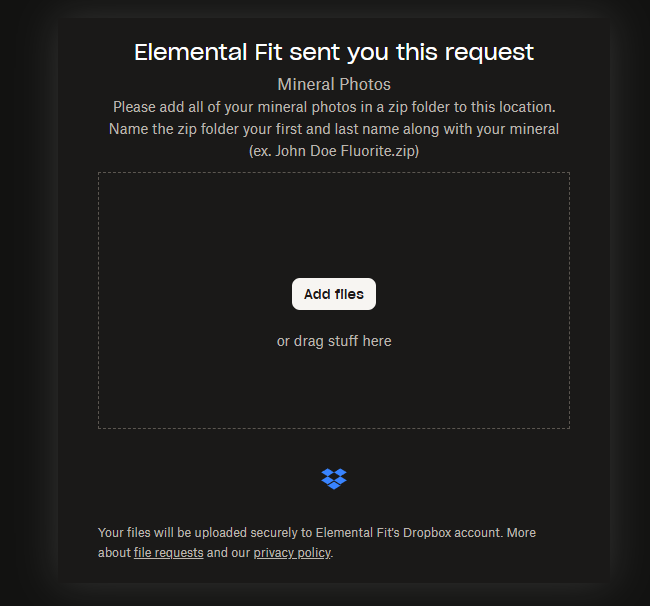
Step 4: Upload Your Files
Once you’ve taken your photos, it’s time to place your order. We offer a simple upload form for Dropbox located on the Order Form, or feel free to share your images via your preferred platform—Dropbox, Google Drive, OneDrive, etc. Just be sure to include a link so we can access and download your photo set.
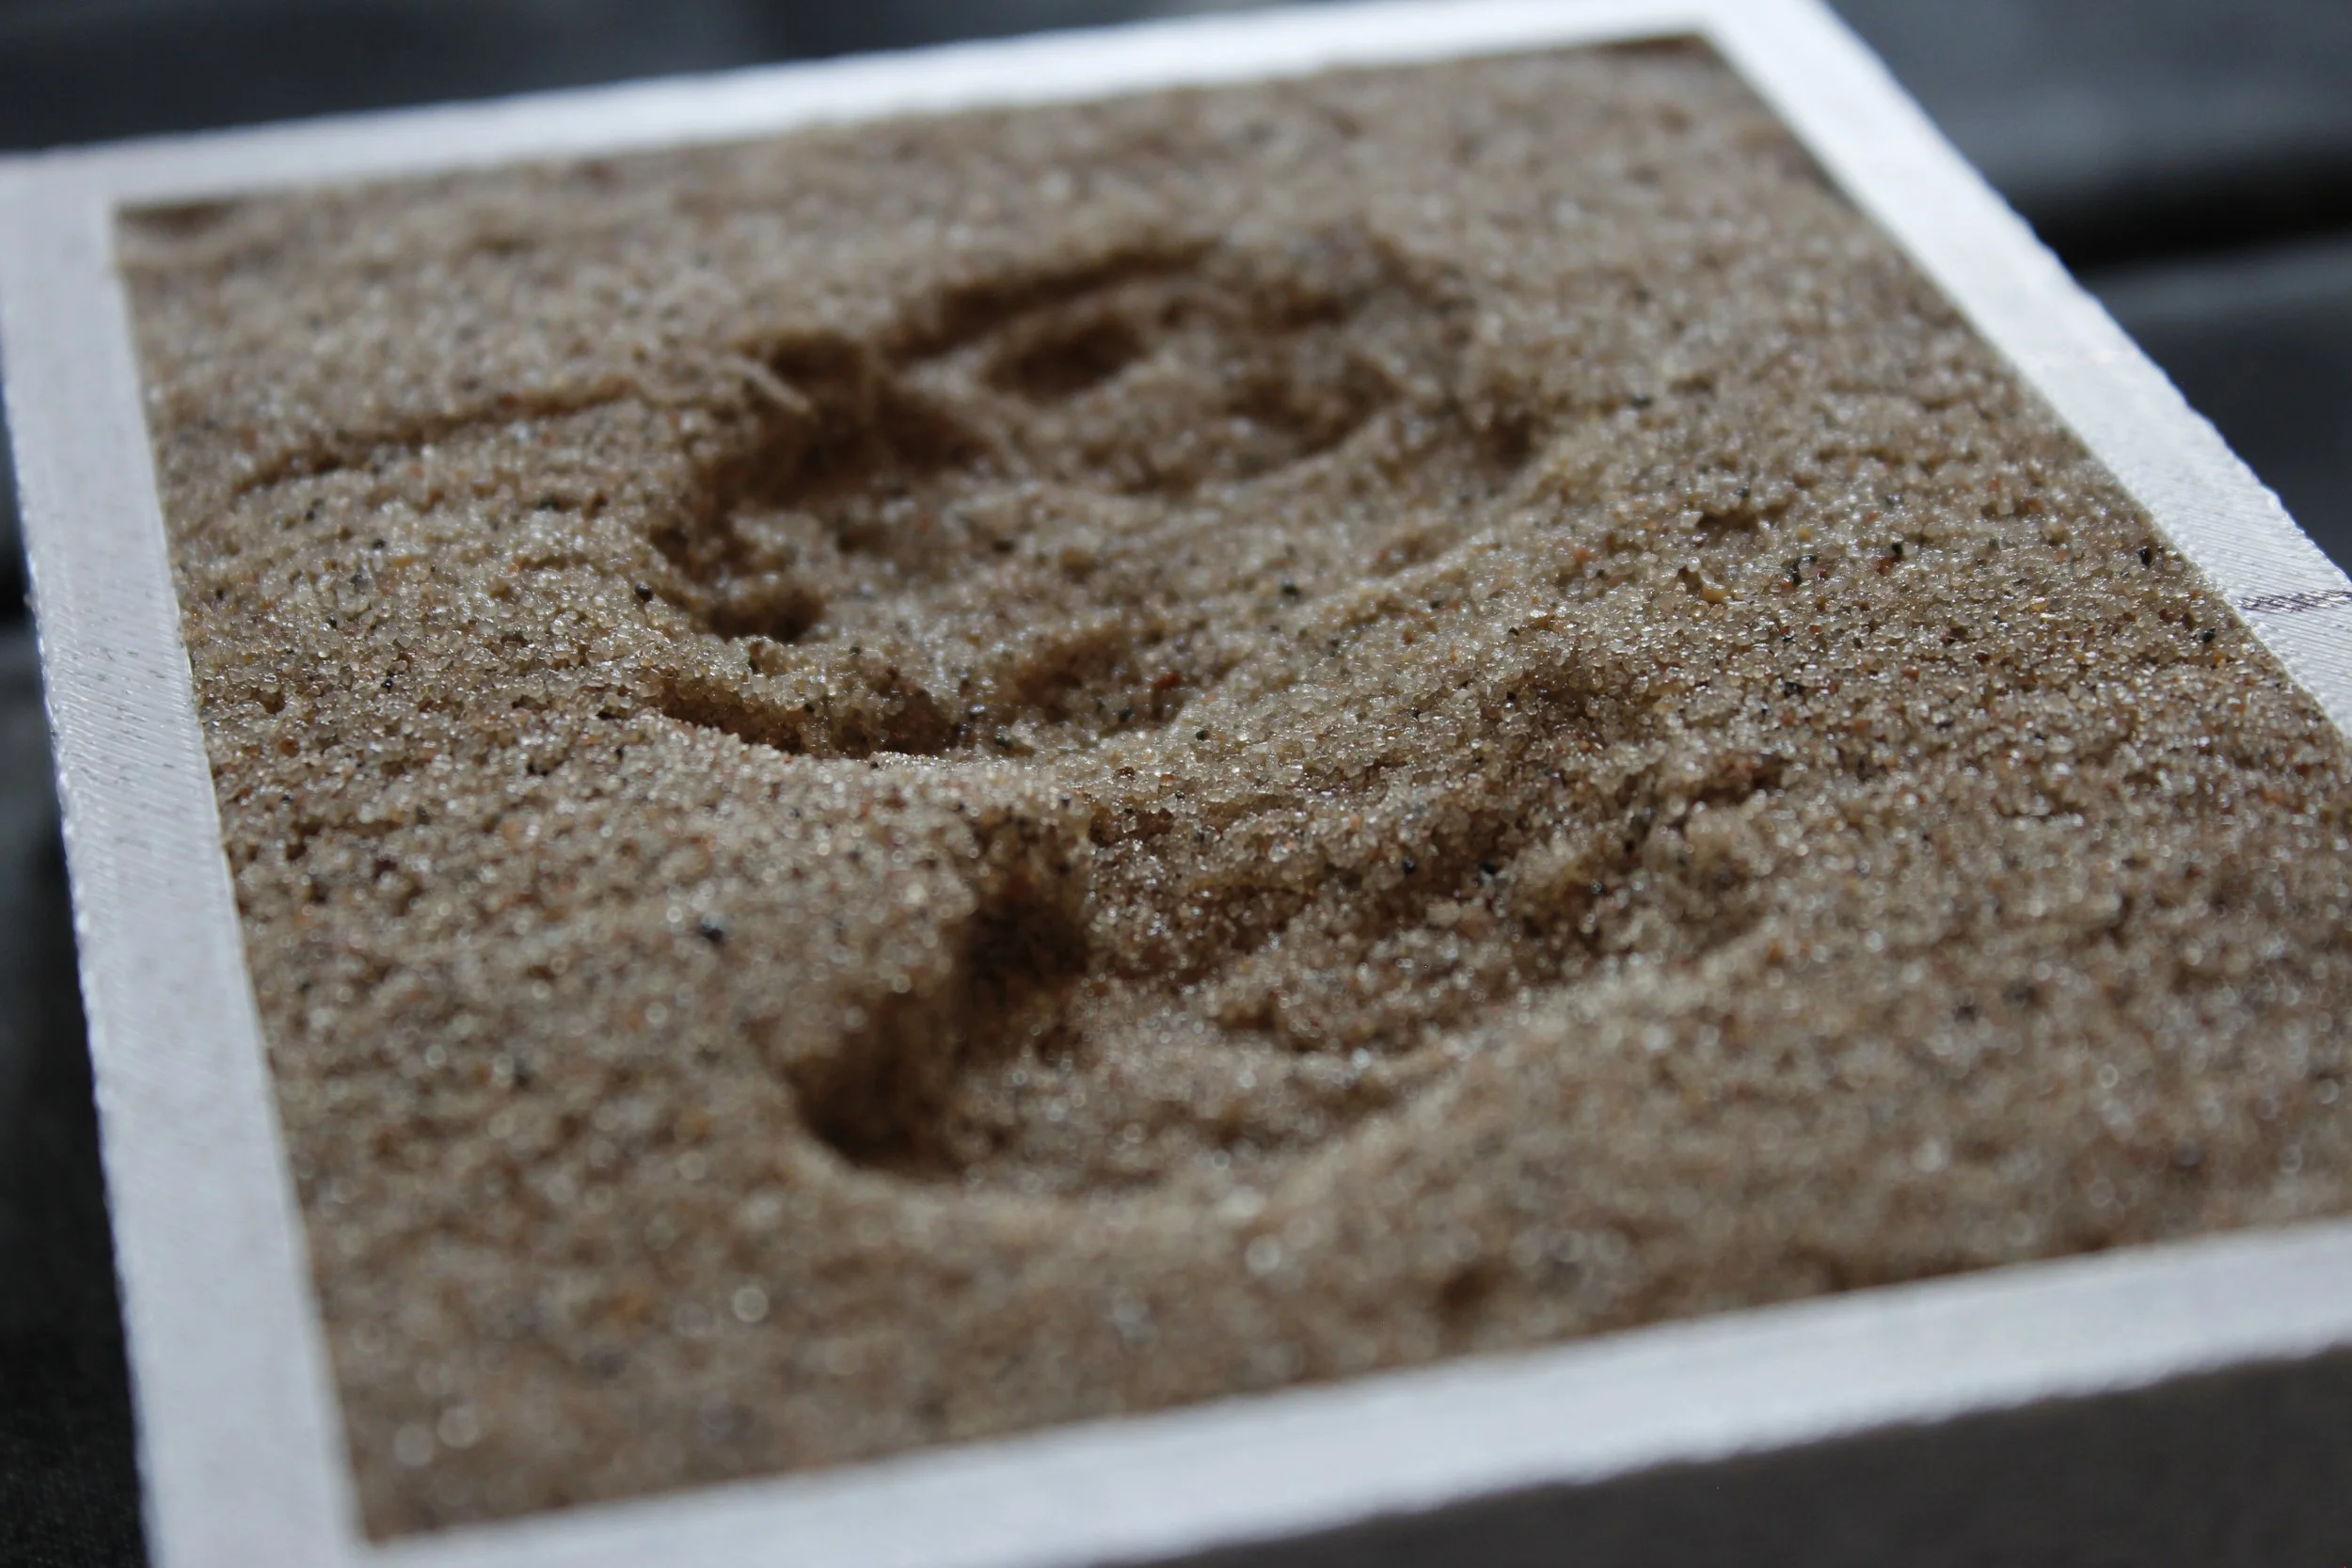
Example Photographs to Upload
Step 5: Pick Your Options and Submit Your Order
This is the final step: fill out the order form, select any customization options you like, and hit submit. We’ll process your photogrammetry files, create your custom 3D model, and reach out to confirm that everything looks perfect. Once you approve, we’ll send an invoice and ship your new custom base right to your door!